Installation Instructions
for
your new
BEFORE YOU BEGIN, READ THE FOLLOWING IN- STRUCTIONS COMPL ETEL Y AND CAREFUL L Y. THEY WI1 L SIMPLIFY THE INSTAL LA TION.
AFTER COMPLETING THE INSTALLATION, SAVE THESE INSTRUCTIONS FOR FUTURE USE.
1.GENERAL
‘I’oor rlevv Mrcrowave oven can be set In a convenrent place on any counter or surface strong enough to support the oven. It may be placed anywhere there IS a grounded, tnree prong,
DO NOT BLOCK THE VENT OPENINGS ON THE REAR
OF THE OVEN OR ThE AIR INTAKE OPENINGS ON THE BOTTOM OF THE OVEN.
Exhaust tder,ts arc b>rov,ded UC the rear of the m;c:owav? over) for
A:; stake openings are povrded at the bottom of the oven. Make
Bottr srdrs, or the top and one side of the mrcrowave cabinet may be installed flush with adjacent walls or cabinets.
CAUTION: Do not install the microwave oven so that both sides and the top of the cabinet are flush with adjacent cabinets.
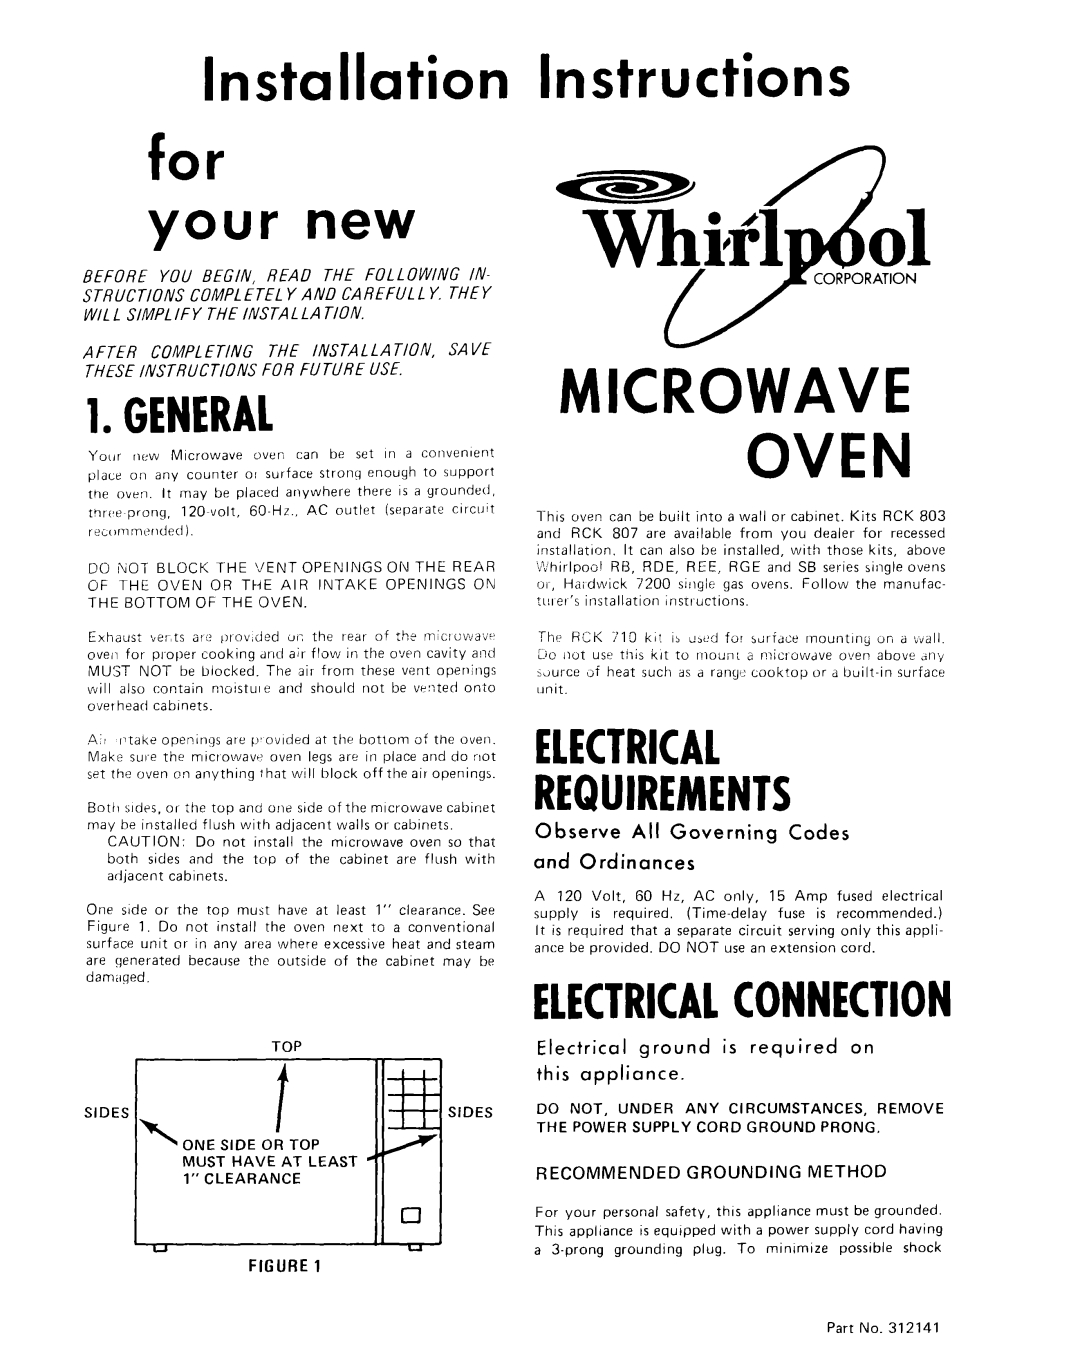
One srde or the top must have at least 1” clearance. See Figure 1. Do not install the oven next to a conventional surface unit or in any area where excessive heat and steam are generated because the outside of the cabinet may be damaged.
TOPSIDESSIDES
f
\ONE SIDE OR TOPMUST HAVE AT LEAST d’
1” CLEARANCE0
U | ” |
FIGURE 1
CORPORATION
MICROWAVE
OVEN
This oven can be built into a wall or cabinet. Kits RCK 803 and RCK 807 are available from you dealer for recessed
installatron. It can also be installed, with those kits, above
?ihirlpost RB, RDE, REE, RGE and SB series single ovens
tu~et’s installation
The RCK 710 kr! is us~‘d for surface mountrny on a wall. Lie rlut use trlis krt to mount a
ELECTRICAL
REQUIREMENTS
Observe All Governing Codes
and Ordinances
A 120 Volt, 60 Hz, AC only, 15 Amp fused electrical
supply is required.
It is required that a separate circuit serving only this appli- ance be provided. DO NOT use an extension cord.
ELECTRICALCONNECTION
Electrical ground is required on
this appliance.
DO NOT, UNDER ANY CIRCUMSTANCES, REMOVE THE POWER SUPPLY CORD GROUND PRONG,
RECOMMENDED GROUNDING METHOD
For your personal safety, thus appliance must be grounded. This appliance is equipped with a power supply cord having
a
Part No. 312141