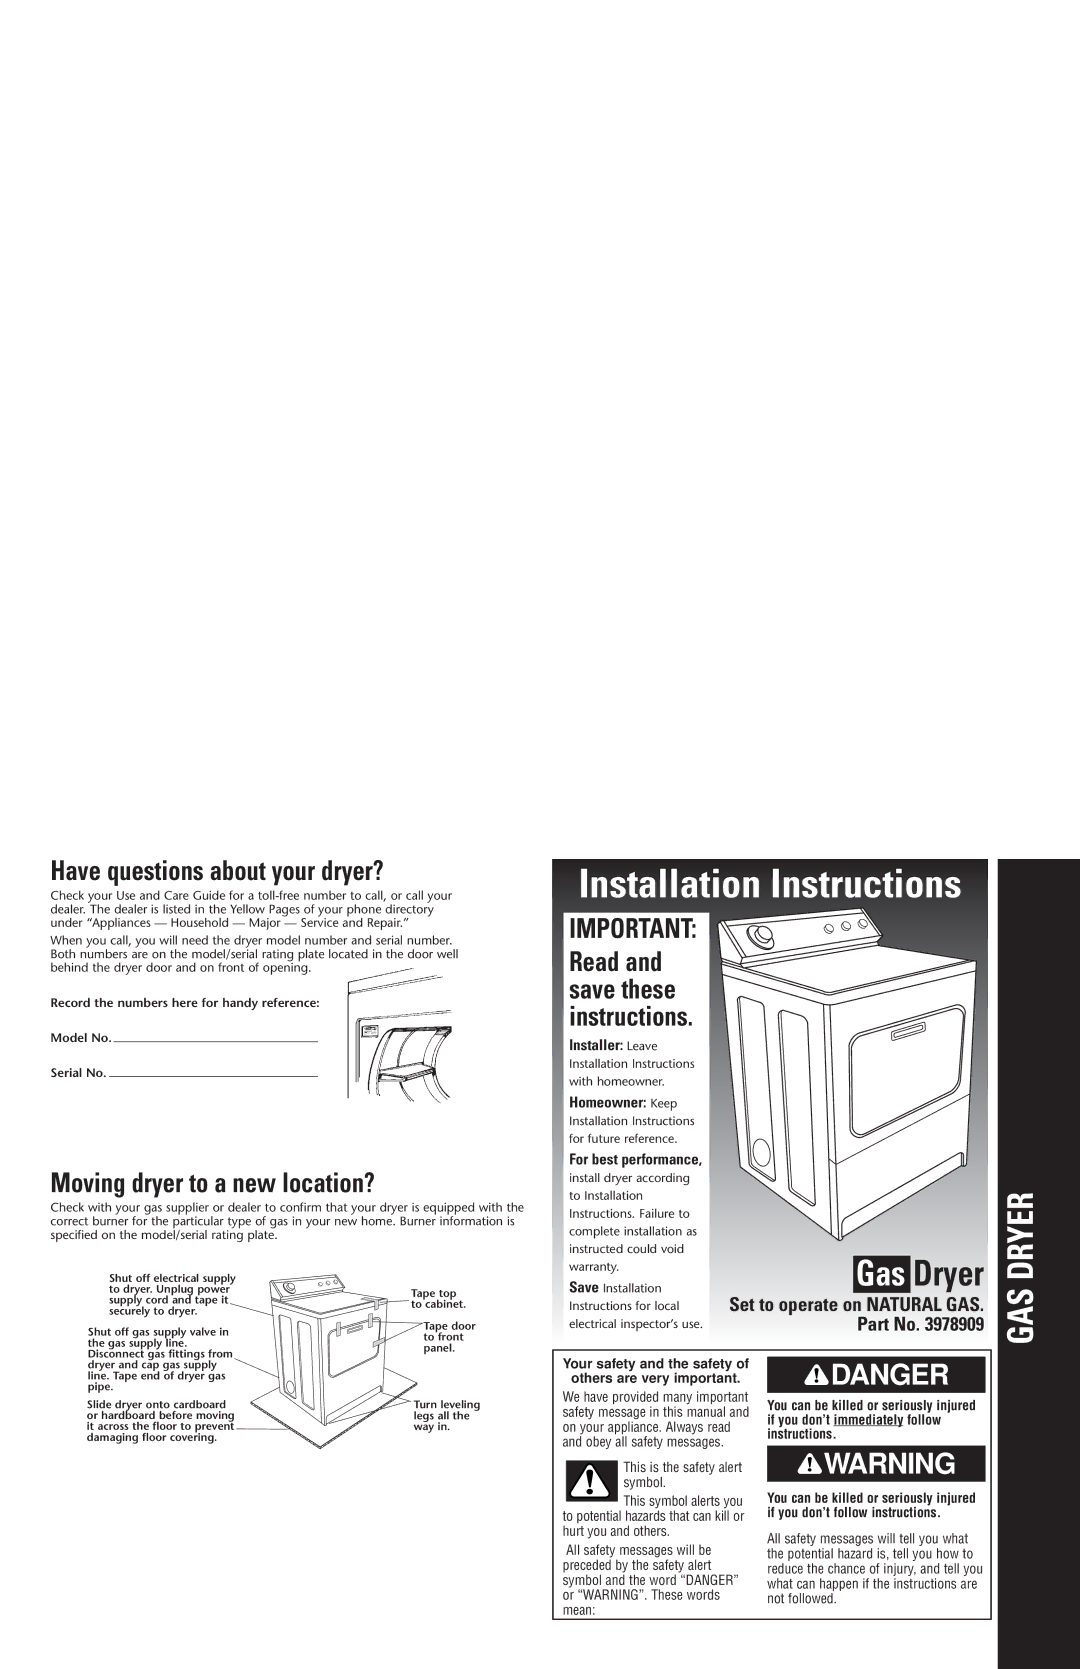
Have questions about your dryer?
Check your Use and Care Guide for a toll-free number to call, or call your
dealer. The dealer is listed in the Yellow Pages of your phone directory
under “Appliances — Household — Major — Service and Repair.”
When you call, you will need the dryer model number and serial number.
Both numbers are on the model/serial rating plate located in the door well
behind the dryer door and on front of opening.
Record the numbers here for handy reference:
Model No.
Serial No.
Moving dryer to a new location?
Check with your gas supplier or dealer to confirm that your dryer is equipped with the
correct burner for the particular type of gas in your new home. Burner information is
specified on the model/serial rating plate.
Installation Instructions
IMPORTANT:
Read and
save these
instructions.
Installer: Leave
Installation Instructions
with homeowner.
Homeowner: Keep
Installation Instructions
for future reference.
For best performance,
install dryer according
to Installation
Instructions. Failure to
complete installation as
instructed could void
warranty.
Save Installation
Instructions for local
electrical inspector’s use.
Mobile home installations require:
• Mobile Home Installation Kit, Part Number 346764*
• Metal exhaust system hardware*
Floors sloped greater than 1 inch:
Require Extended Dryer Feet Kit, Part No. 279810*
*Available for purchase from your dealer.
Parts supplied:Parts needed:VentingGas

Before you start:

4 leveling legs
Remove parts package from dryer drum.
Check that all 4 legs were included.
Gas supply line must have:
• 1/8" NPT plugged tapping.
• Shutoff valve within 6 feet of appliance is required.
Rigid gas supply line must be:
• 1/2" IPS pipe used with a combination of pipe
fittings.
• Connection to dryer:
New, flexible metal tubing design-certified by
AGA or CSA.
— 3/8" flare x 3/8" NPT female.
Optional connection to dryer:
Gas supply line tubing must be:
• Lengths under 20 feet can use 3/8" approved
tubing (if codes and gas supplier permit).
• Lengths over 20 feet should use larger tubing.
L.P. Gas Conversion:
Conversion must be made by a qualified
technician. A qualified service technician is someone
experienced and trained in servicing gas equipment
and familiar with necessary precautions. See gas valve
burner base for gas conversion kit part number.*
Check local codes and with gas supplier, and read
electrical, gas and venting requirements before
purchasing parts.
Preferred AcceptableExhaust hood
Do Not use exhaust hoods with magnetic latches.
Vent
4" 4" 2-1/2"
Benton Harbor, Michigan 49022

Gas Dryer

Set to operate on NATURALGAS.Part No. 3978909

GAS DRYER

Shut off electrical supply
to dryer. Unplug power
supply cord and tape it
securely to dryer.
Shut off gas supply valve in
the gas supply line.
Disconnect gas fittings from
dryer and cap gas supply
line. Tape end of dryer gas
pipe.
Tape top
to cabinet.
Tape door
to front
panel.
Turn leveling
legs all the
way in.
Slide dryer onto cardboard
or hardboard before moving
it across the floor to prevent
damaging floor covering.
Printed in U.S.A.
Part No. 3978909
© 2000 Whirlpool Corporation
Your safety and the safety ofothers are very important.We have provided many importantsafety message in this manual andon your appliance. Always readand obey all safety messages.This is the safety alertsymbol. This symbol alerts youto potential hazards that can kill orhurt you and others.All safety messages will bepreceded by the safety alertsymbol and the word “DANGER”or “WARNING”. These wordsmean:All safety messages will tell you whatthe potential hazard is, tell you how toreduce the chance of injury, and tell youwhat can happen if the instructions arenot followed.
You can be killed or seriously injured
if you don’t immediately followinstructions.
You can be killed or seriously injured
if you don’t follow instructions.Tools needed:Check that you have everything necessary for correctinstallation. Proper installation is your responsibility.
• 8" or 10" pipe wrench
• 8" or 10" adjustable
wrench (for gas
connections)
• flat-blade screwdriver
• adjustable wrench that
opens to 1" or 1" hex-
head socket wrench (for
adjusting dryer feet)
• level
• safety glasses
• pipe-joint compound
resistant to L.P. gas
• caulking gun and
compound (for installing
new exhaust vent)
• gloves
• pliers
• putty knife
• tin snips (new vent
installations)
DANGER
WARNING
— Do not store or use gasoline, or other flammable vapors andliquids in the vicinity of this or anyother appliance.— WHAT TO DO IF YOU SMELL GAS:• Do not try to light any appliance.• Do not touch any electrical switch;Do not use any phone in yourbuilding. Clear the room, building or area ofall occupants. Immediately call your gas supplierfrom a neighbor’s phone. Follow gassupplier’s instructions. If you cannot reach your gassupplier, call the fire department.— Installation and service must bedone by a qualified installer, serviceagency or the gas supplier.WARNING: For your safety theinformation in this manual must befollowed to minimize the risk of fireor explosion or to prevent propertydamage, personal injury or death.
Four-inch heavy metal exhaust vent and clamps
must be used. Dura Safe™ vent products are
recommended.
Dura Safe vent products can be purchased from your
dealer or by calling Whirlpool Parts & Accessories
1-800-442-9991, Mon-Fri: 8am to 9pm (CST), Sat:
9am to 4:30pm (CST). Visit our internet site at
http://www.whirlpoolappliances.com/accessories
See Panel E for more information.
Fire Hazard
Use a heavy metal vent.
Do not use a plastic vent.
Do not use a metal foil vent.
Failure to do so can result in death or fire.
WARNING