✔Before you start:
Your safety and the safety of others
is very important.
We have provided many important safety messages in this manual and on your appliance. Always read and obey all safety messages.
This is the safety alert symbol. This symbol alerts you to hazards that can kill or hurt you and others. All safety
messages will be preceded by the safety alert symbol and the word “DANGER” or “WARNING”. These words mean:
![]() DANGER
DANGER
You will be killed or seriously injured if you don’t follow instructions.
![]() WARNING
WARNING
You can be killed or seriously injured if you don’t follow instructions.
All safety messages will identify the hazard, tell you how to reduce the chance of injury, and tell you what can happen if the instructions are not followed.
Check that you have everything necessary for correct installation. Proper installation is your responsibility.
Tools needed:
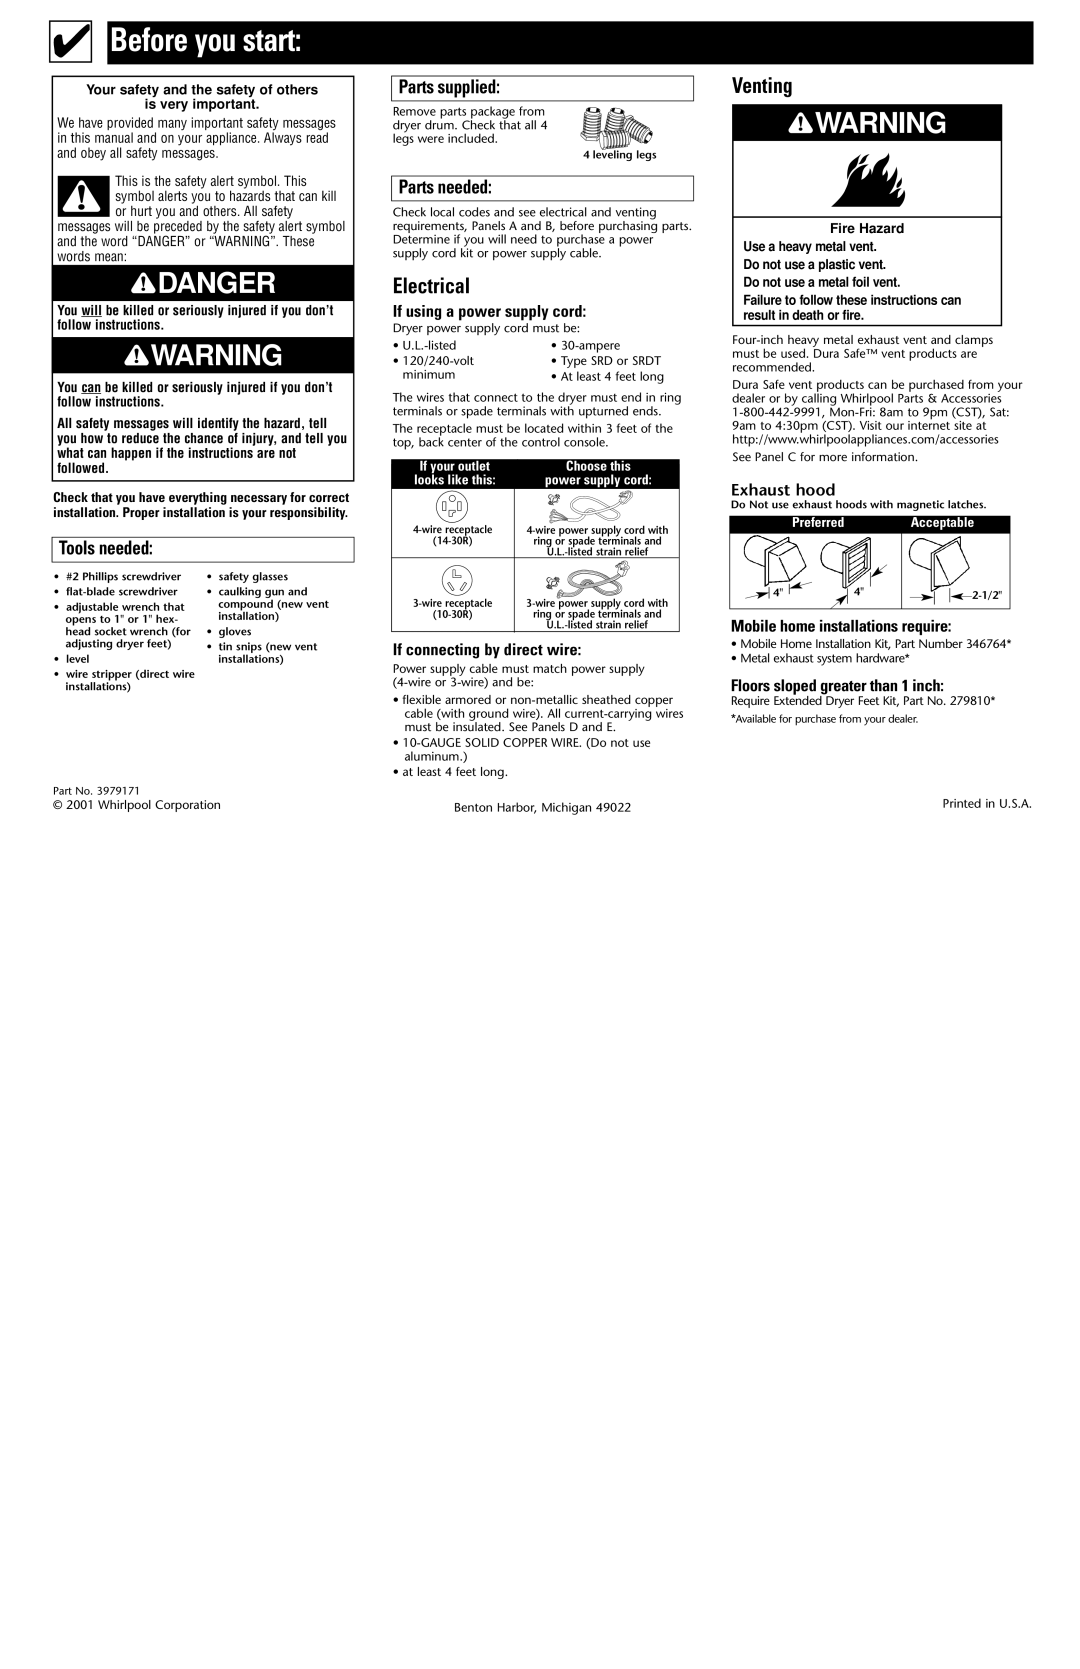
Parts supplied:
Remove parts package from dryer drum. Check that all 4 legs were included.
4 leveling legs
Parts needed:
Check local codes and see electrical and venting requirements, Panels A and B, before purchasing parts. Determine if you will need to purchase a power supply cord kit or power supply cable.
Electrical
If using a power supply cord:
Dryer power supply cord must be:
• | • |
• | • Type SRD or SRDT |
minimum | • At least 4 feet long |
The wires that connect to the dryer must end in ring terminals or spade terminals with upturned ends.
The receptacle must be located within 3 feet of the top, back center of the control console.
If your outlet | Choose this |
looks like this: | power supply cord: |
ring or spade terminals and | |
|
Venting
![]() WARNING
WARNING
Fire Hazard
Use a heavy metal vent. Do not use a plastic vent. Do not use a metal foil vent.
Failure to follow these instructions can result in death or fire.
Dura Safe vent products can be purchased from your dealer or by calling Whirlpool Parts & Accessories
See Panel C for more information.
Exhaust hood
Do Not use exhaust hoods with magnetic latches.
PreferredAcceptable
•#2 Phillips screwdriver
•
•adjustable wrench that opens to 1" or 1" hex- head socket wrench (for adjusting dryer feet)
•level
•wire stripper (direct wire installations)
•safety glasses
•caulking gun and compound (new vent installation)
•gloves
•tin snips (new vent installations)
|
|
| |
|
|
| |
|
|
| |
ring or spade terminals and | |||
|
|
| |
If connecting by direct wire:
Power supply cable must match power supply
•flexible armored or
•
•at least 4 feet long.
4" |
|
|
| 4" |
|
|
|
|
|
|
|
|
Mobile home installations require:
•Mobile Home Installation Kit, Part Number 346764*
•Metal exhaust system hardware*
Floors sloped greater than 1 inch:
Require Extended Dryer Feet Kit, Part No. 279810*
*Available for purchase from your dealer.
Part No. 3979171
© 2001 Whirlpool Corporation | Benton Harbor, Michigan 49022 | Printed in U.S.A. |
