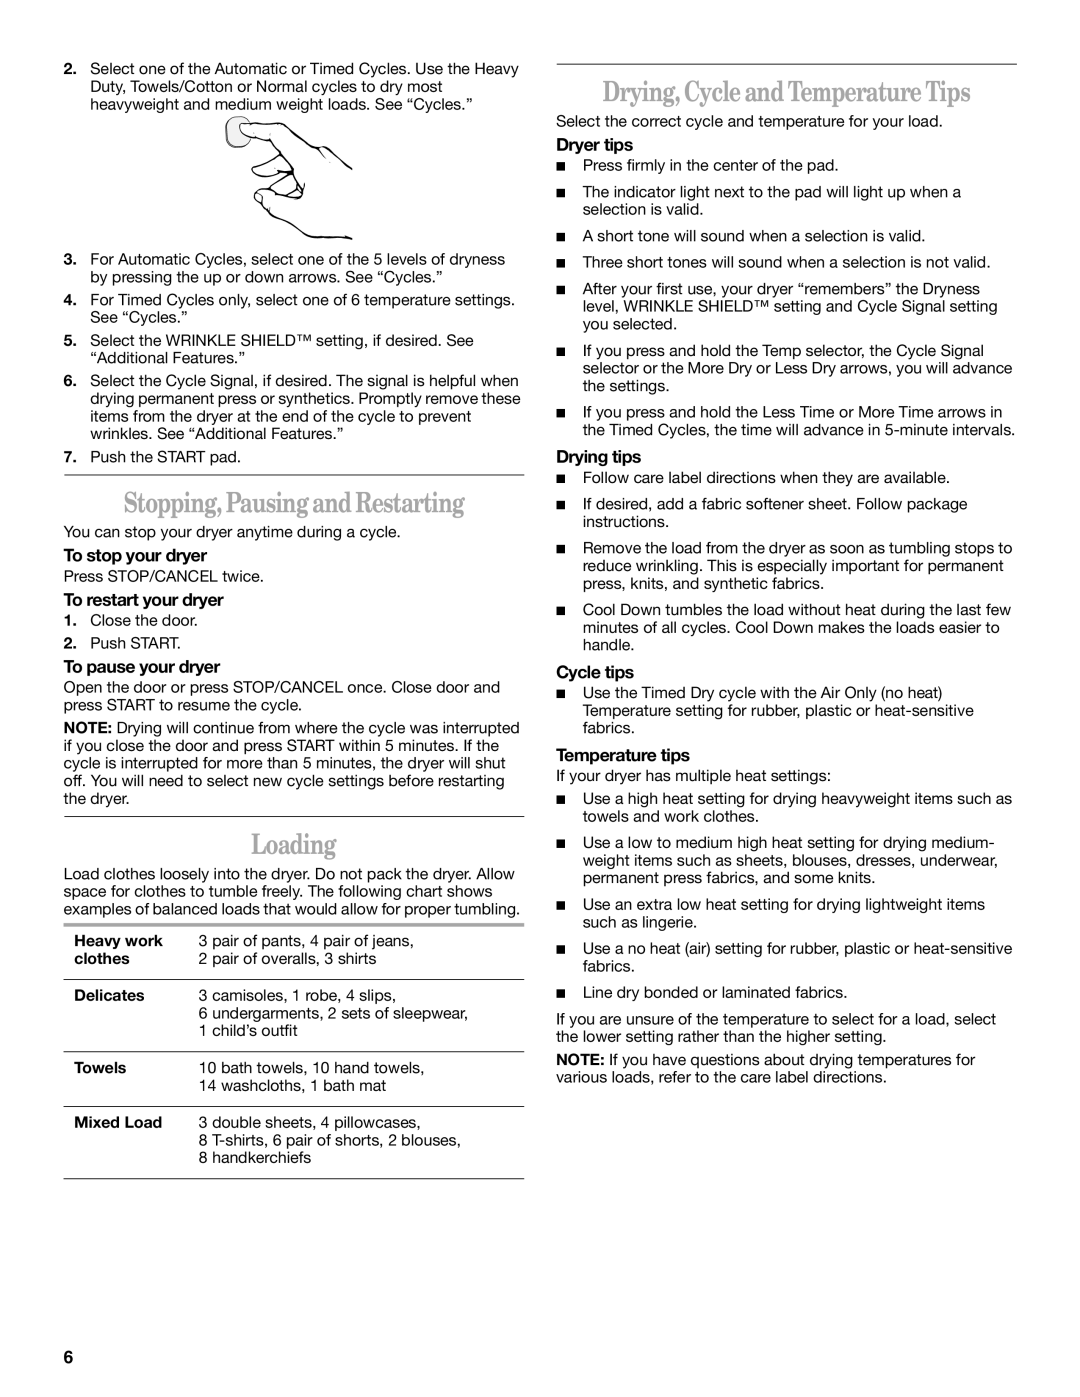
2.Select one of the Automatic or Timed Cycles. Use the Heavy Duty, Towels/Cotton or Normal cycles to dry most heavyweight and medium weight loads. See “Cycles.”
3.For Automatic Cycles, select one of the 5 levels of dryness by pressing the up or down arrows. See “Cycles.”
4.For Timed Cycles only, select one of 6 temperature settings. See “Cycles.”
5.Select the WRINKLE SHIELD™ setting, if desired. See “Additional Features.”
6.Select the Cycle Signal, if desired. The signal is helpful when drying permanent press or synthetics. Promptly remove these items from the dryer at the end of the cycle to prevent wrinkles. See “Additional Features.”
7.Push the START pad.
Stopping, Pausing and Restarting
You can stop your dryer anytime during a cycle.
To stop your dryer
Press STOP/CANCEL twice.
To restart your dryer
1.Close the door.
2.Push START.
To pause your dryer
Open the door or press STOP/CANCEL once. Close door and press START to resume the cycle.
NOTE: Drying will continue from where the cycle was interrupted if you close the door and press START within 5 minutes. If the cycle is interrupted for more than 5 minutes, the dryer will shut off. You will need to select new cycle settings before restarting the dryer.
Loading
Load clothes loosely into the dryer. Do not pack the dryer. Allow space for clothes to tumble freely. The following chart shows examples of balanced loads that would allow for proper tumbling.
Heavy work | 3 pair of pants, 4 pair of jeans, |
clothes | 2 pair of overalls, 3 shirts |
|
|
Delicates | 3 camisoles, 1 robe, 4 slips, |
| 6 undergarments, 2 sets of sleepwear, |
| 1 child’s outfit |
|
|
Towels | 10 bath towels, 10 hand towels, |
| 14 washcloths, 1 bath mat |
|
|
Mixed Load | 3 double sheets, 4 pillowcases, |
| 8 |
| 8 handkerchiefs |
|
|
Drying, Cycle and Temperature Tips
Select the correct cycle and temperature for your load.
Dryer tips
■Press firmly in the center of the pad.
■The indicator light next to the pad will light up when a selection is valid.
■A short tone will sound when a selection is valid.
■Three short tones will sound when a selection is not valid.
■After your first use, your dryer “remembers” the Dryness level, WRINKLE SHIELD™ setting and Cycle Signal setting you selected.
■If you press and hold the Temp selector, the Cycle Signal selector or the More Dry or Less Dry arrows, you will advance the settings.
■If you press and hold the Less Time or More Time arrows in the Timed Cycles, the time will advance in
Drying tips
■Follow care label directions when they are available.
■If desired, add a fabric softener sheet. Follow package instructions.
■Remove the load from the dryer as soon as tumbling stops to reduce wrinkling. This is especially important for permanent press, knits, and synthetic fabrics.
■Cool Down tumbles the load without heat during the last few minutes of all cycles. Cool Down makes the loads easier to handle.
Cycle tips
■Use the Timed Dry cycle with the Air Only (no heat) Temperature setting for rubber, plastic or
Temperature tips
If your dryer has multiple heat settings:
■Use a high heat setting for drying heavyweight items such as towels and work clothes.
■Use a low to medium high heat setting for drying medium- weight items such as sheets, blouses, dresses, underwear, permanent press fabrics, and some knits.
■Use an extra low heat setting for drying lightweight items such as lingerie.
■Use a no heat (air) setting for rubber, plastic or
■Line dry bonded or laminated fabrics.
If you are unsure of the temperature to select for a load, select the lower setting rather than the higher setting.
NOTE: If you have questions about drying temperatures for various loads, refer to the care label directions.
6
