4.Remove the parts for the top hinge as shown in Top Hinge graphic. Lift the freezer door free from the cabinet.

5.Remove the parts for the center hinge as shown in the Center Hinge graphic. Lift the refrigerator door free from the cabinet.

6.Remove the parts for the bottom hinge as shown in the Bottom Hinge graphic.

IMPORTANT: If you want to reverse your doors so that they open in the opposite direction, continue with the “Reverse Doors (optional)” instructions. If you are not reversing the doors, see “Replace Doors and Hinges.”

Reverse Doors (optional)

Style 1–Standard Doors

See complete Style 1 graphics later in this section.

Door Stop Screw

Door Hinge Hole Plug

Door Handle Sealing Screw

Cabinet Hinge Hole Plug

Flat-Head Handle Screw

Door Handle Screw Cover

Door Handle Seal Screw Front

Round-Head Handle Screw

Cabinet

1.Remove ⁵⁄₁₆" hex-head hinge screws from handle side and move them to opposite side. See Graphic 1-1.

2.Remove cabinet hinge hole plugs from cabinet top and move them to opposite side hinge holes as shown in Graphic 1-2.

Freezer Door

1.Remove freezer handle assembly as shown. Keep all parts together. See Graphic 2.

2.Remove door hinge hole plug. Move to opposite side as shown in Graphic 3.

3.Remove door handle sealing screws. Move to opposite side of freezer door as shown in Graphic 4.

4.Remove door stop. Move to opposite side of freezer door as shown in Graphic 5.

5.Position handle on opposite side of freezer door. Assemble handles on door as shown in Graphic 2.

6.Tighten all screws. Set aside door until hinges and refrigerator compartment door are in place.

Refrigerator Door

1.Remove refrigerator handle assembly as shown. Keep all parts together. See Graphic 6-1.

2.Remove shoulder handle screw from refrigerator door as shown. Keep all parts together. See Graphic 6-2.

3.Remove door hinge hole plug from refrigerator door. Move to opposite side hinge hole as shown in Graphic 3.

4.Remove door handle sealing screws. Move to opposite side of refrigerator door as shown in Graphic 4.

5.Remove door handle seal screw front. Move to opposite side of refrigerator door as shown in Graphic 7.

6.Position shoulder handle screw on opposite side of refrigerator door and drive screw as show in Graphic 6-2.

7.Remove door stop. Move to opposite side of refrigerator door as shown in Graphic 5.

8.Position refrigerator handle on opposite side of the refrigerator door as shown in Graphic 6-3. Drive top two screws in handle first. Align lower portion of handle and drive bottom screw.

9.Tighten all screws. Set aside refrigerator door until bottom hinge is installed on refrigerator.

Style 2–Contour Doors

See complete Style 2 graphics later in this section.

Round-Head

Door Handle

Door Hinge

Handle Screw

Screw Hole Plug

Hole Plug

Cabinet

1.Remove ⁵⁄₁₆" hex-head hinge screws from handle side and move them to opposite side. See Graphic 1-1.

2.Remove cabinet hinge hole plugs from the cabinet top and move them to opposite side hinge holes as shown in Graphic 1-2.

Doors

1.Remove door hinge hole plug from top of freezer door. Move to opposite side as shown in Graphic 2.

2.Remove door stop from both the freezer and refrigerator doors and move to the other side. See Graphic 3.

Replace Doors and Hinges

NOTE: Graphic may be reversed if door swing is reversed.

1.Replace the parts for the bottom hinge as shown. Tighten screws. Replace the refrigerator door.

NOTE: Provide additional support for the doors while the hinges are being moved. Do not depend on the door magnets to hold the doors in place while you are working.

2.Assemble the parts for the center hinge as shown and tighten all screws. See Center Hinge graphic. Replace the freezer door.

3.Assemble the parts for the top hinge as shown in the Top Hinge graphic. Do not tighten the screws completely.

4.Line up the doors so that the bottom of the freezer door aligns evenly with the top of the refrigerator door. Tighten all screws.

Final Steps

1.Check all holes to make sure that hole plugs and screws are in place. Reinstall top hinge cover. See Top Hinge graphic.

NOTE: On the left-hand side of the base grille there is a removable tab which is a bottom hinge hole plug. Break off the tab from the base grille and insert the bottom hinge hole plug into the bottom hinge holes. See Base Grille graphic.

2.Replace the base grille. See Base Grille graphic.

3.Plug in refrigerator or reconnect power.

4.Reset the controls. See “Using the Controls.”

5.Return all removable door parts to doors and food to refrigerator.

7

Page 7
Image 7
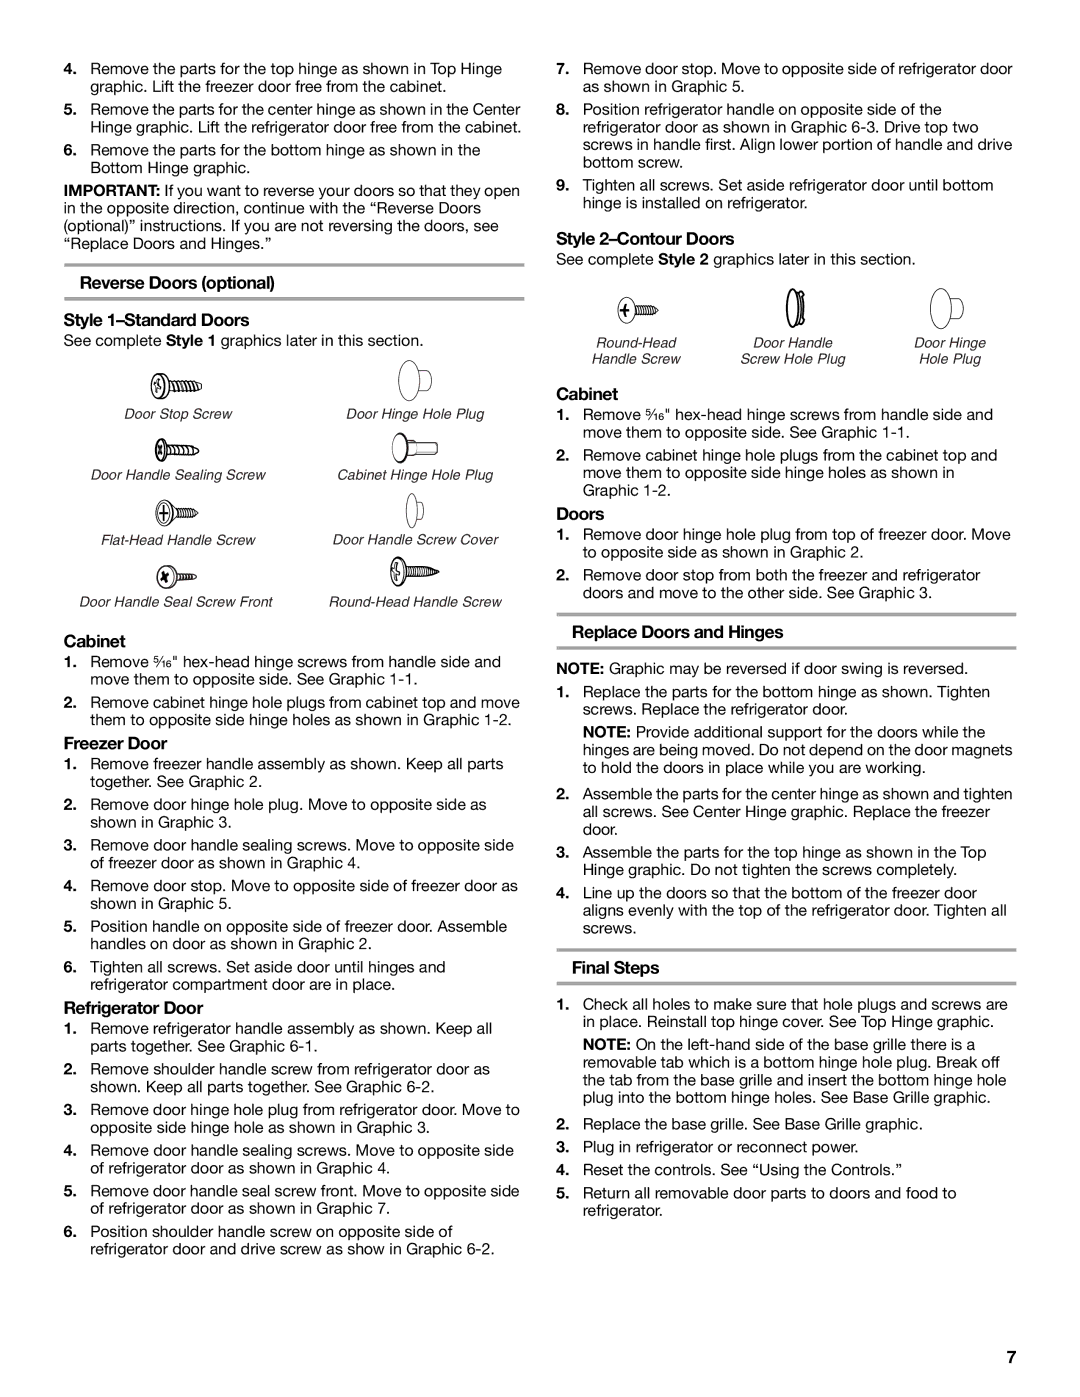
Whirlpool 8ET8MTKXKT04 manual Reverse Doors optional Style 1-Standard Doors, Cabinet, Freezer Door, Refrigerator Door

8ET8MTKXKT04 specifications

The Whirlpool 8ET8MTKXKT04 is a high-performance refrigerator that combines cutting-edge technology with practical design to enhance your culinary experience at home. This model is particularly designed for users seeking efficiency and style in their kitchen appliances.

One of the standout features of the Whirlpool 8ET8MTKXKT04 is its energy efficiency. With an impressive Energy Star rating, this refrigerator helps consumers save on electricity bills while also minimizing their carbon footprint. The appliance is equipped with advanced cooling technologies that ensure consistent temperature regulation throughout the fridge and freezer compartments.

The refrigerator also includes an innovative Adaptive Defrost feature. This technology allows the fridge to monitor how often the freezer is accessed and defrosts only when necessary, which not only saves energy but also enhances food preservation. Moreover, the Accu-Chill Temperature Management System is another notable characteristic that intelligently senses and adjusts cooling for optimal food storage, ensuring that groceries stay fresh for longer periods.

Storage is a major consideration in the design of the 8ET8MTKXKT04. The refrigerator features adjustable shelves, allowing users to customize their storage options based on individual needs. The crispers are specially designed to maintain humidity, keeping fruits and vegetables fresh. Additionally, the unit boasts ample door storage, which can accommodate large bottles and condiments with ease.

Another innovative feature is the FreshFlow Air Filter, which filters out odors and ensures fresher air circulation within the fridge. This technology helps in maintaining the quality of food stored inside, translating into better taste and longevity. The exterior design is sleek and modern, available in various finishes to complement different kitchen styles.

For added convenience, the Whirlpool 8ET8MTKXKT04 includes LED interior lighting that not only illuminates the contents clearly but is also energy-efficient. The exterior is designed with easy-to-use controls, allowing users to set preferences effortlessly.

In conclusion, the Whirlpool 8ET8MTKXKT04 stands out for its energy-efficient features, advanced cooling technologies, adjustable storage options, and modern aesthetics. It represents a perfect blend of functionality and style, making it an ideal addition to any contemporary kitchen. Whether you are storing groceries for weekly meals or preserving leftovers, this refrigerator has the features to meet all your needs.