
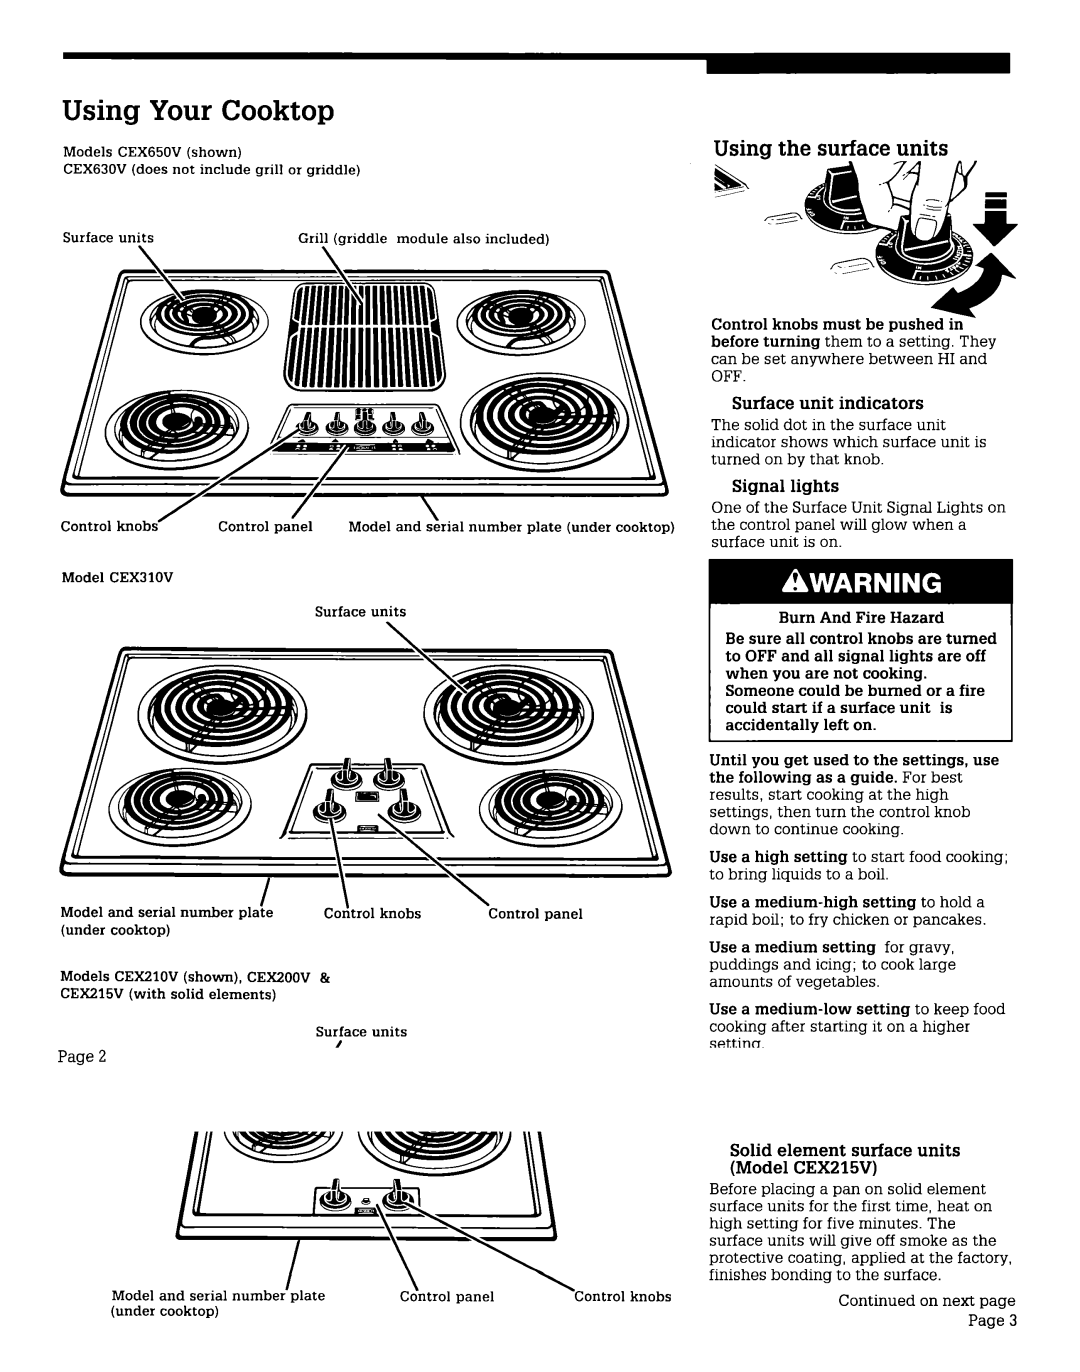
CEX630V, CEX215V, CEX200V, CEX310V, CEX210V specifications
Whirlpool has continued to lead the appliance industry with its innovative range of cooling and heating solutions, notably through the launch of its CEX series. This article highlights pivotal models: CEX650V, CEX210V, CEX310V, CEX200V, and CEX215V, each boasting unique features and technologies designed to cater to diverse customer needs.The Whirlpool CEX650V stands out with its robust heating and cooling capacity, making it ideal for larger spaces. It employs advanced inverter technology, which optimizes energy efficiency while maintaining consistent temperatures. The self-cleaning feature is a practical addition, ensuring the unit remains hygienic and reduces maintenance efforts.
Moving to the CEX210V, this model is designed for compact spaces while delivering efficient performance. It utilizes a fast cooling system that ensures rapid temperature regulation upon activation. The CEX210V's sleek design and quiet operation make it a perfect fit for bedrooms or office spaces. It also comes equipped with a digital display for seamless operation and monitoring.
The CEX310V combines versatility with efficiency. With multi-function capabilities, it can effectively serve as both an air conditioner and a heater, allowing users to enjoy comfort year-round. Its smart air distribution system ensures that airflow is evenly distributed throughout the room, reducing cold spots and enhancing overall comfort.
The CEX200V offers robust features tailored for smaller households or office environments. Despite its compact size, this model does not compromise on performance, delivering powerful cooling and heating functions. It features user-friendly controls and an energy-saving mode that minimizes electricity usage without sacrificing comfort.
Lastly, the CEX215V is engineered for energy-conscious users. Its energy-efficient design helps reduce power consumption, making it an environmentally friendly option. This model integrates advanced filtration technology, effectively removing dust and allergens from the air, promoting a healthier living environment.
In conclusion, the Whirlpool CEX series, with models like CEX650V, CEX210V, CEX310V, CEX200V, and CEX215V, delivers a diverse range of features and technologies that cater to various needs. Whether it's for spacious living areas or compact offices, these appliances embody Whirlpool's commitment to quality, efficiency, and innovative design.