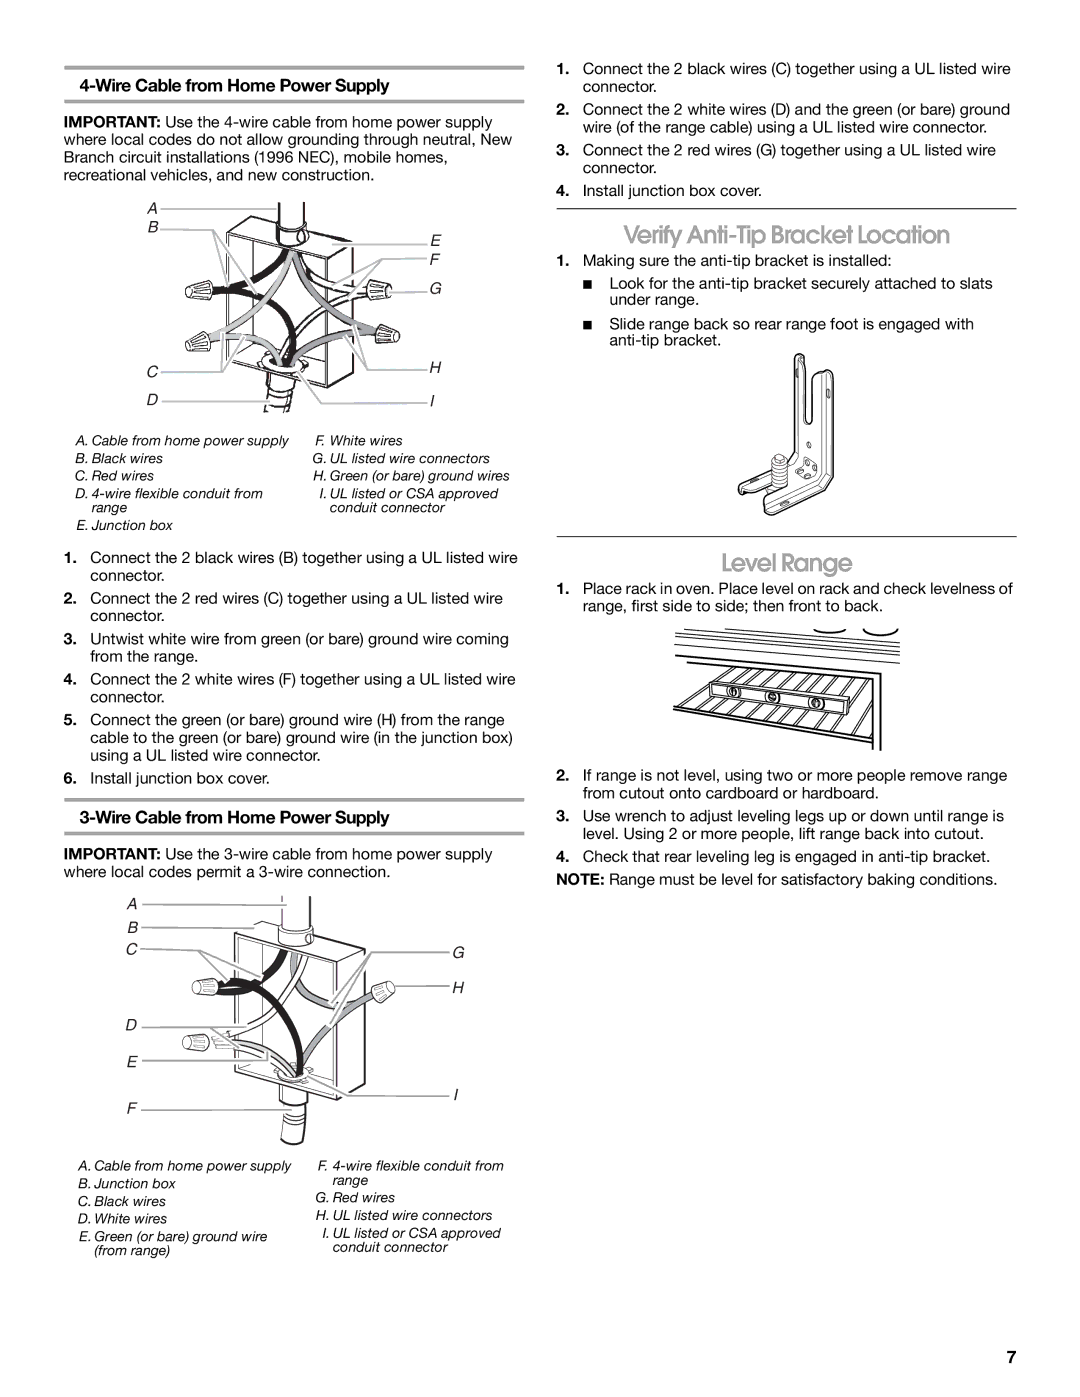
Drop-In Electric Range specifications
The Whirlpool Drop-In Electric Range is a versatile kitchen appliance designed to enhance cooking experiences and streamline meal preparation. This range combines style with functionality, making it a popular choice for modern kitchens. One of its standout features is the sleek, drop-in design that provides a seamless look, allowing it to blend seamlessly with countertops while providing the ease of access often preferred in contemporary cooking spaces.One of the key characteristics of the Whirlpool Drop-In Electric Range is its cooking capacity. With multiple burners, including a powerful high-heat option for boiling and a simmer burner for delicate dishes, this range is designed to meet the needs of home cooks. The cooktop is equipped with smooth glass-ceramic surfaces, which not only add a touch of elegance but also ensure easy cleanup after cooking. The elements heat quickly and efficiently, allowing for faster meal preparation and consistent cooking results.
In terms of technology, the Whirlpool Drop-In Electric Range often includes features such as advanced electronic controls, which provide precise temperature settings and improve overall user experience. Some models feature Smart capabilities, enabling users to control the oven via smartphone apps. This connectivity allows users to preheat the oven, set timers, and receive notifications, adding convenience for those with busy lifestyles.
The oven itself is spacious, providing ample room for large dishes and multiple racks, making it suitable for baking multiple items at once. Many models come with convection cooking options, which circulate hot air for even baking and roasting, ensuring that dishes cook thoroughly. Additionally, some ranges include self-cleaning settings that make maintenance easier and keep the oven in pristine condition.
Safety features are also a priority in the Whirlpool Drop-In Electric Range. With options like a control lock for preventing unintended operation and indicator lights that notify when surfaces are hot, this appliance prioritizes user safety, making it an excellent choice for families.
Overall, the Whirlpool Drop-In Electric Range is a perfect blend of style, technology, and functionality, designed to elevate the cooking experience in any home. Its advanced features and beautiful design make it a standout choice for both aspiring chefs and casual home cooks alike.

