3..Using the Live Mode
3.4Passcode connection (continued)
Wired LAN
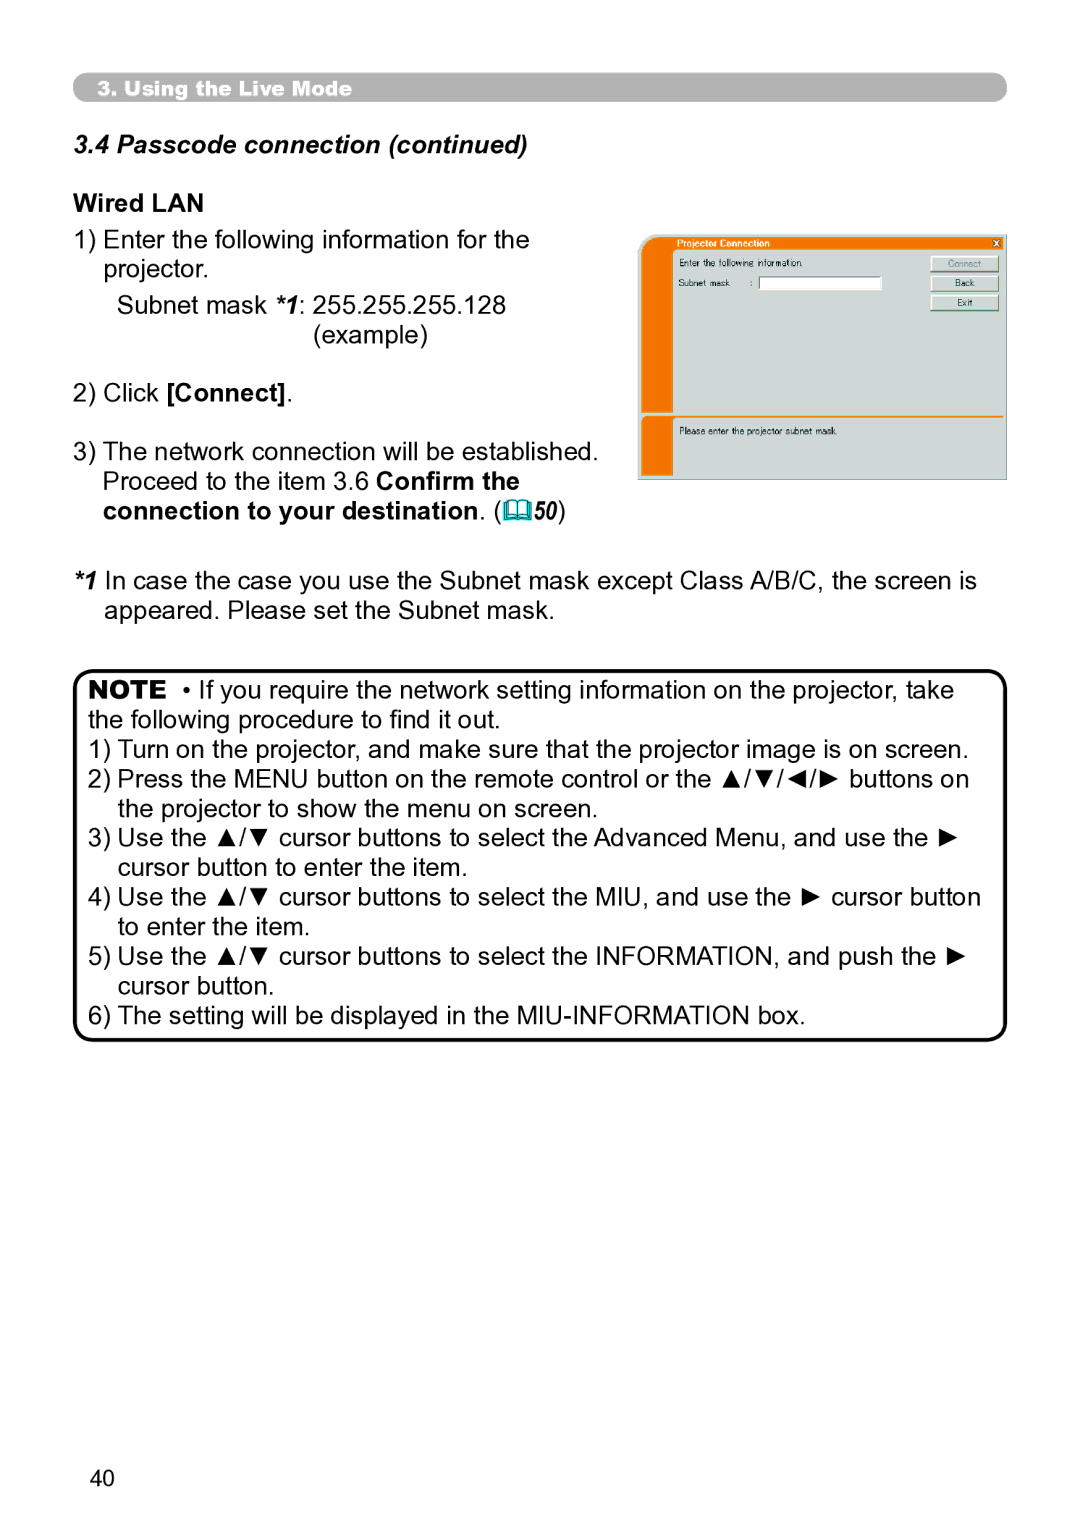
1)Enter the following information for the projector.
Subnet mask *1: 255.255.255.128 (example)
2)Click [Connect].
3)The network connection will be established. Proceed to the item 3.6 Confirm the connection to your destination. (50)
*1 In case the case you use the Subnet mask except Class A/B/C, the screen is appeared. Please set the Subnet mask.
NOTE • If you require the network setting information on the projector, take the following procedure to find it out.
1)Turn on the projector, and make sure that the projector image is on screen.
2)Press the MENU button on the remote control or the ▲/▼/◄/► buttons on the projector to show the menu on screen.
3)Use the ▲/▼ cursor buttons to select the Advanced Menu, and use the ► cursor button to enter the item.
4)Use the ▲/▼ cursor buttons to select the MIU, and use the ► cursor button to enter the item.
5)Use the ▲/▼ cursor buttons to select the INFORMATION, and push the ► cursor button.
6)The setting will be displayed in the
40
