3..Using the Live Mode
3.5Manual configuration (continued)
3..5..2 History connection
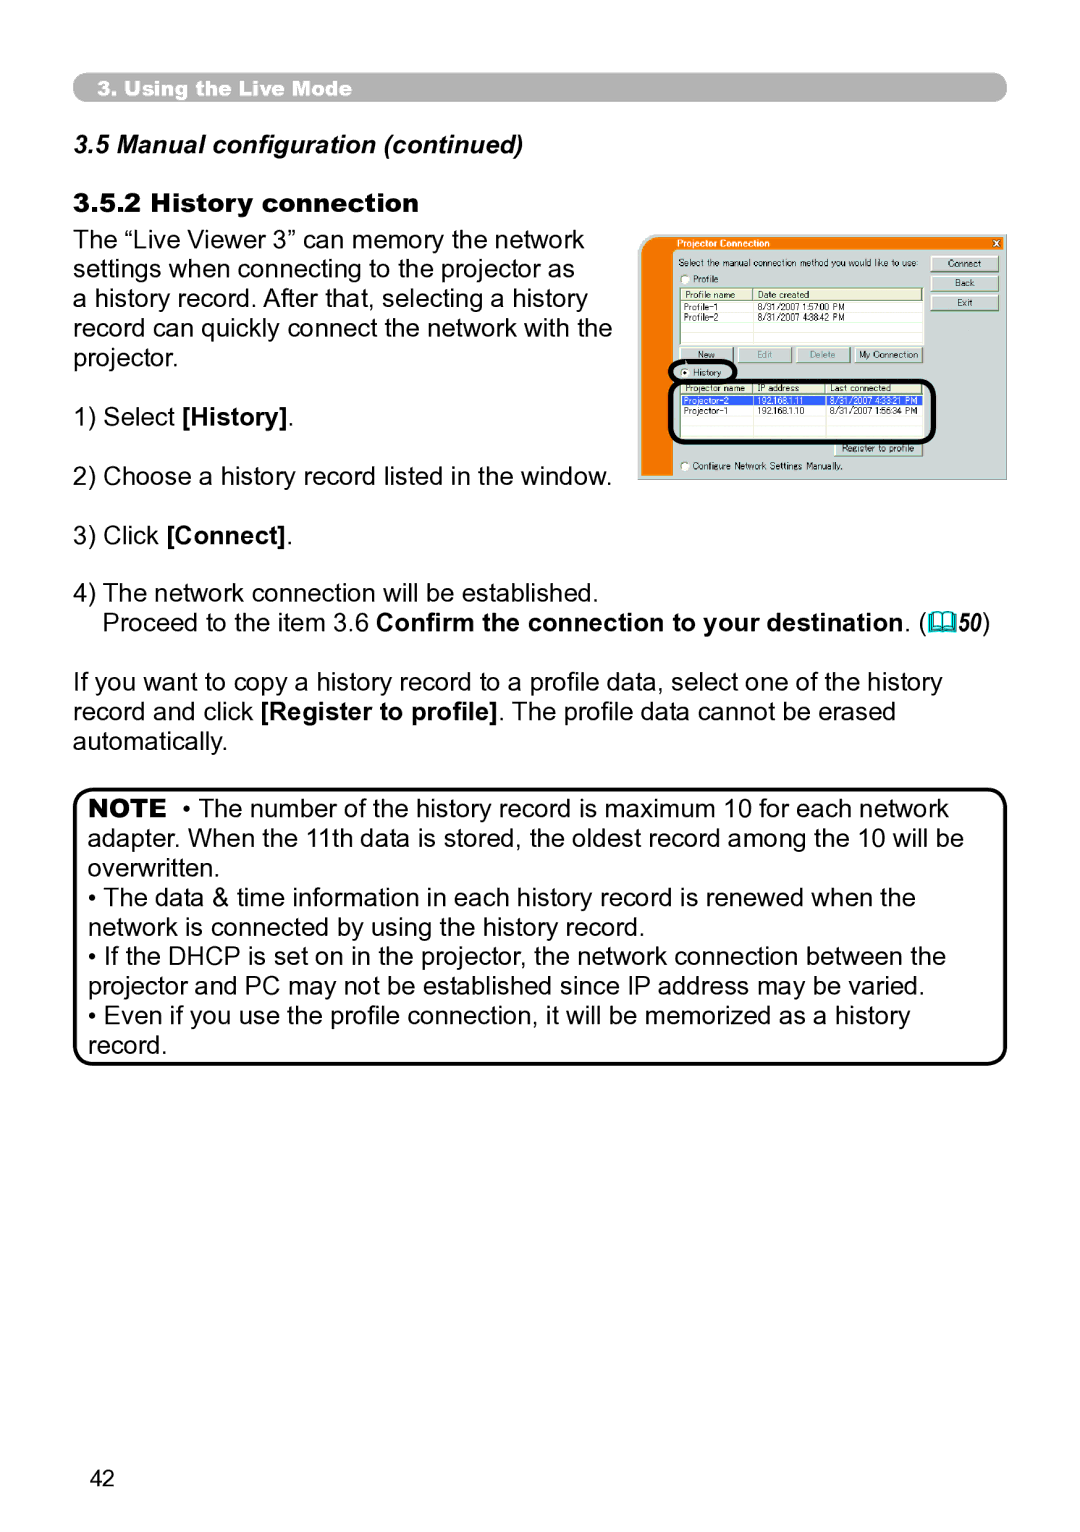
The “Live Viewer 3” can memory the network settings when connecting to the projector as a history record. After that, selecting a history record can quickly connect the network with the projector.
1) Select [History].
2)Choose a history record listed in the window.
3)Click [Connect].
4)The network connection will be established.
Proceed to the item 3.6 Confirm the connection to your destination. (50)
If you want to copy a history record to a profile data, select one of the history record and click [Register to profile]. The profile data cannot be erased automatically.
NOTE • The number of the history record is maximum 10 for each network adapter. When the 11th data is stored, the oldest record among the 10 will be overwritten.
•The data & time information in each history record is renewed when the network is connected by using the history record.
•If the DHCP is set on in the projector, the network connection between the projector and PC may not be established since IP address may be varied.
•Even if you use the profile connection, it will be memorized as a history record.
42