3.. Using the Live Mode
3.2 Install “Live Viewer 3” (continued)
8)The Hardware Installation dialog appears. Press Continue Anyway.
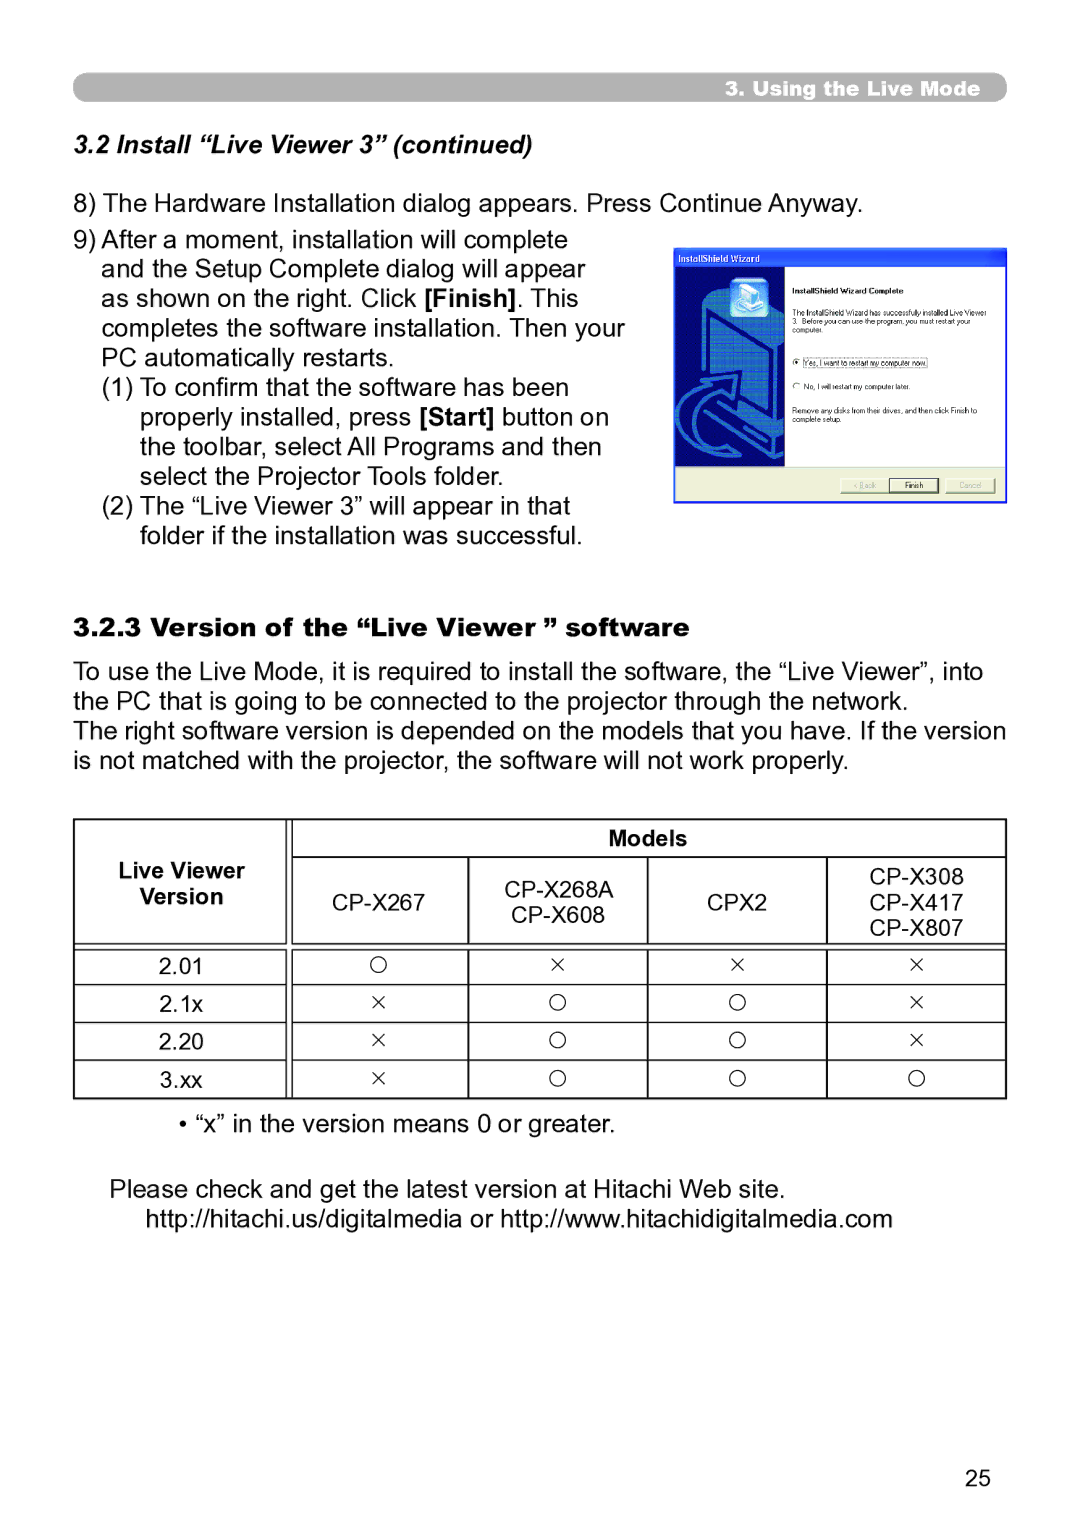
9)After a moment, installation will complete and the Setup Complete dialog will appear as shown on the right. Click [Finish]. This completes the software installation. Then your
PC automatically restarts.
(1)To confirm that the software has been properly installed, press [Start] button on the toolbar, select All Programs and then select the Projector Tools folder.
(2)The “Live Viewer 3” will appear in that folder if the installation was successful.
3..2..3 Version of the “Live Viewer ” software
To use the Live Mode, it is required to install the software, the “Live Viewer”, into the PC that is going to be connected to the projector through the network.
The right software version is depended on the models that you have. If the version is not matched with the projector, the software will not work properly.
|
|
| Models |
|
| |
Live Viewer |
|
|
|
| ||
Version |
|
| CPX2 | |||
|
|
|
|
| ||
|
|
|
|
|
| |
|
|
|
|
|
|
|
2.01 |
| | Í |
| Í | Í |
2.1x |
| Í | |
| | Í |
2.20 |
| Í | |
| | Í |
3.xx |
| Í | |
| | |
• “x” in the version means 0 or greater.
Please check and get the latest version at Hitachi Web site. http://hitachi.us/digitalmedia or http://www.hitachidigitalmedia.com
25