3.. Using the Live Mode
3.6 Confirm the connection to your destination
3..6..1 Connection and transmission
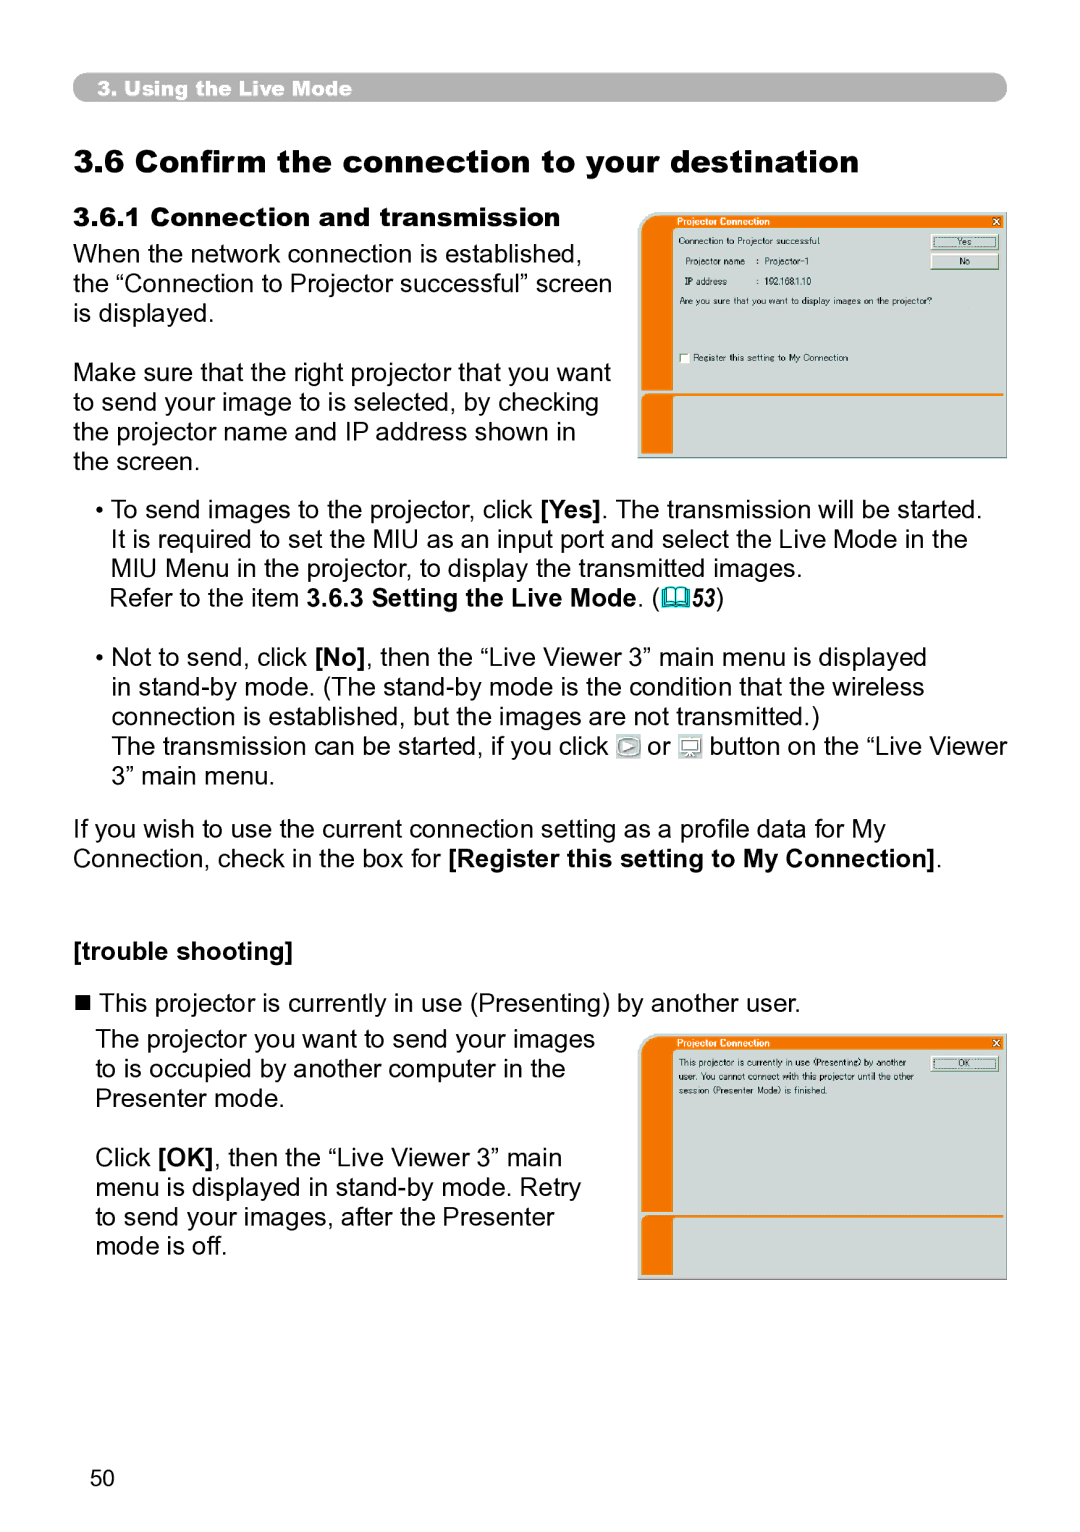
When the network connection is established, the “Connection to Projector successful” screen is displayed.
Make sure that the right projector that you want to send your image to is selected, by checking the projector name and IP address shown in the screen.
•To send images to the projector, click [Yes]. The transmission will be started. It is required to set the MIU as an input port and select the Live Mode in the MIU Menu in the projector, to display the transmitted images.
Refer to the item 3.6.3 Setting the Live Mode. (53)
•Not to send, click [No], then the “Live Viewer 3” main menu is displayed in
The transmission can be started, if you click ![]() or
or ![]() button on the “Live Viewer
button on the “Live Viewer
3” main menu.
If you wish to use the current connection setting as a profile data for My Connection, check in the box for [Register this setting to My Connection].
[trouble shooting]
n This projector is currently in use (Presenting) by another user.
The projector you want to send your images to is occupied by another computer in the Presenter mode.
Click [OK], then the “Live Viewer 3” main menu is displayed in
50