3..Using the Live Mode
3.2Install “Live Viewer 3” (continued)
3..2..2 Software Installation Procedure
1)Turn on the PC.
2)Shut down all applications.
3)Insert the accompanying
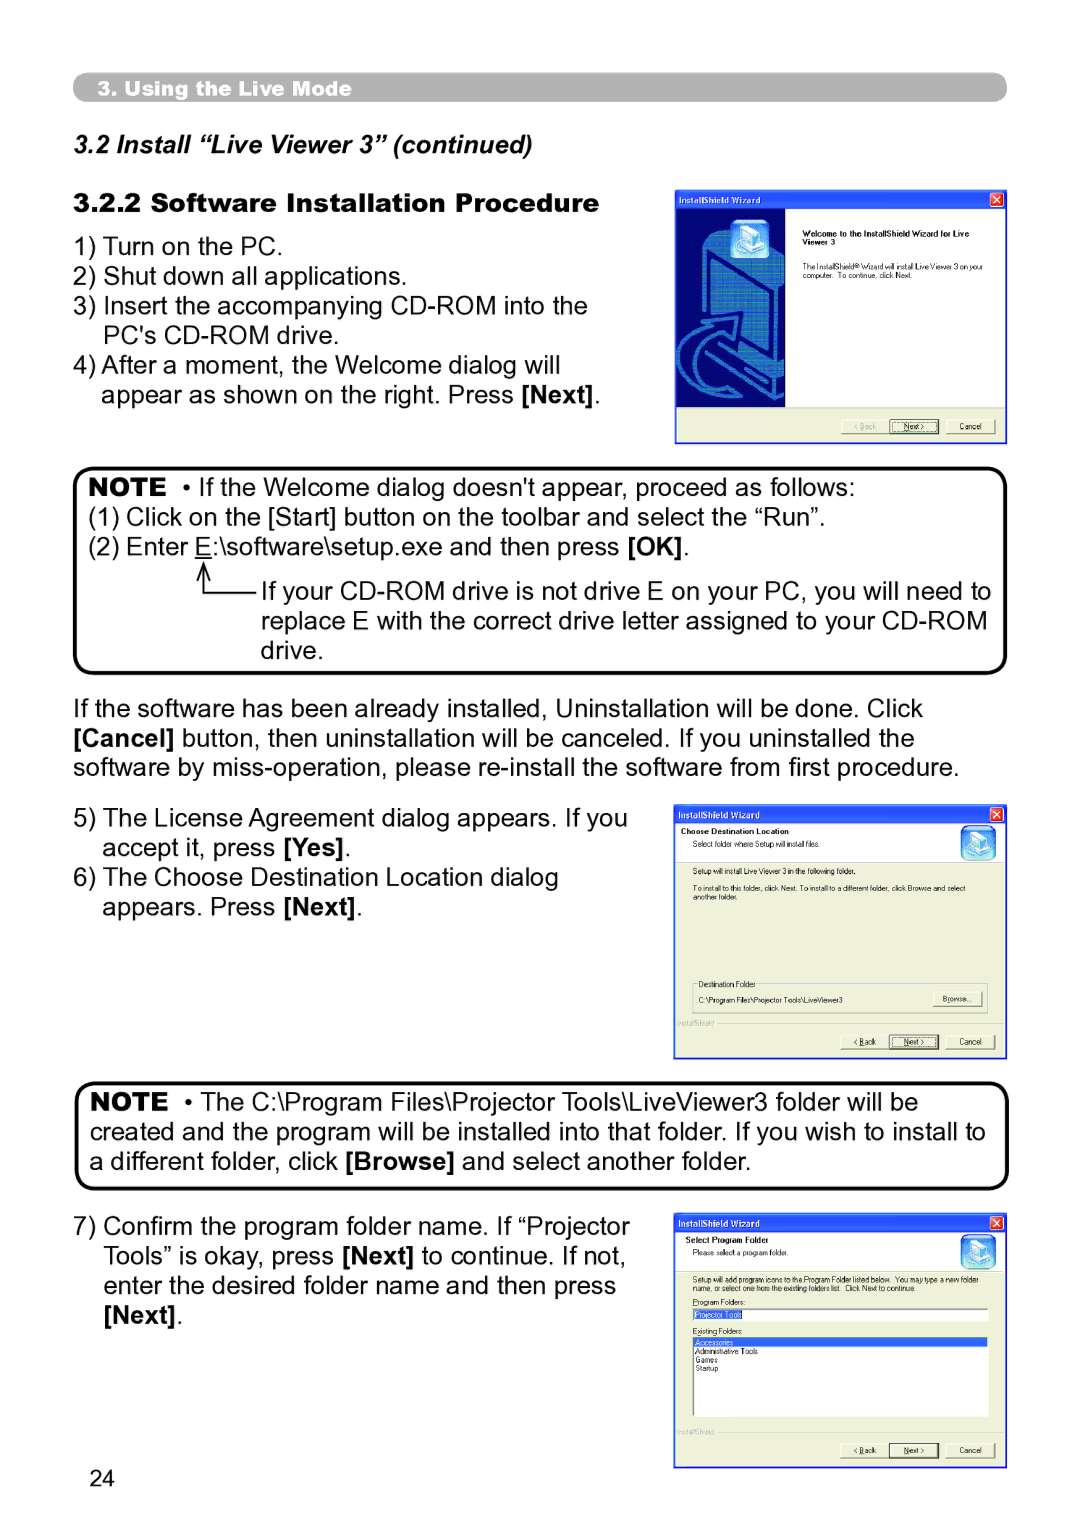
4)After a moment, the Welcome dialog will appear as shown on the right. Press [Next].
NOTE • If the Welcome dialog doesn't appear, proceed as follows:
(1)Click on the [Start] button on the toolbar and select the “Run”.
(2)Enter E:\software\setup.exe and then press [OK].
![]() If your
If your
If the software has been already installed, Uninstallation will be done. Click [Cancel] button, then uninstallation will be canceled. If you uninstalled the software by
5)The License Agreement dialog appears. If you accept it, press [Yes].
6)The Choose Destination Location dialog appears. Press [Next].
NOTE • The C:\Program Files\Projector Tools\LiveViewer3 folder will be created and the program will be installed into that folder. If you wish to install to a different folder, click [Browse] and select another folder.
7)Confirm the program folder name. If “Projector Tools” is okay, press [Next] to continue. If not, enter the desired folder name and then press
[Next].
24