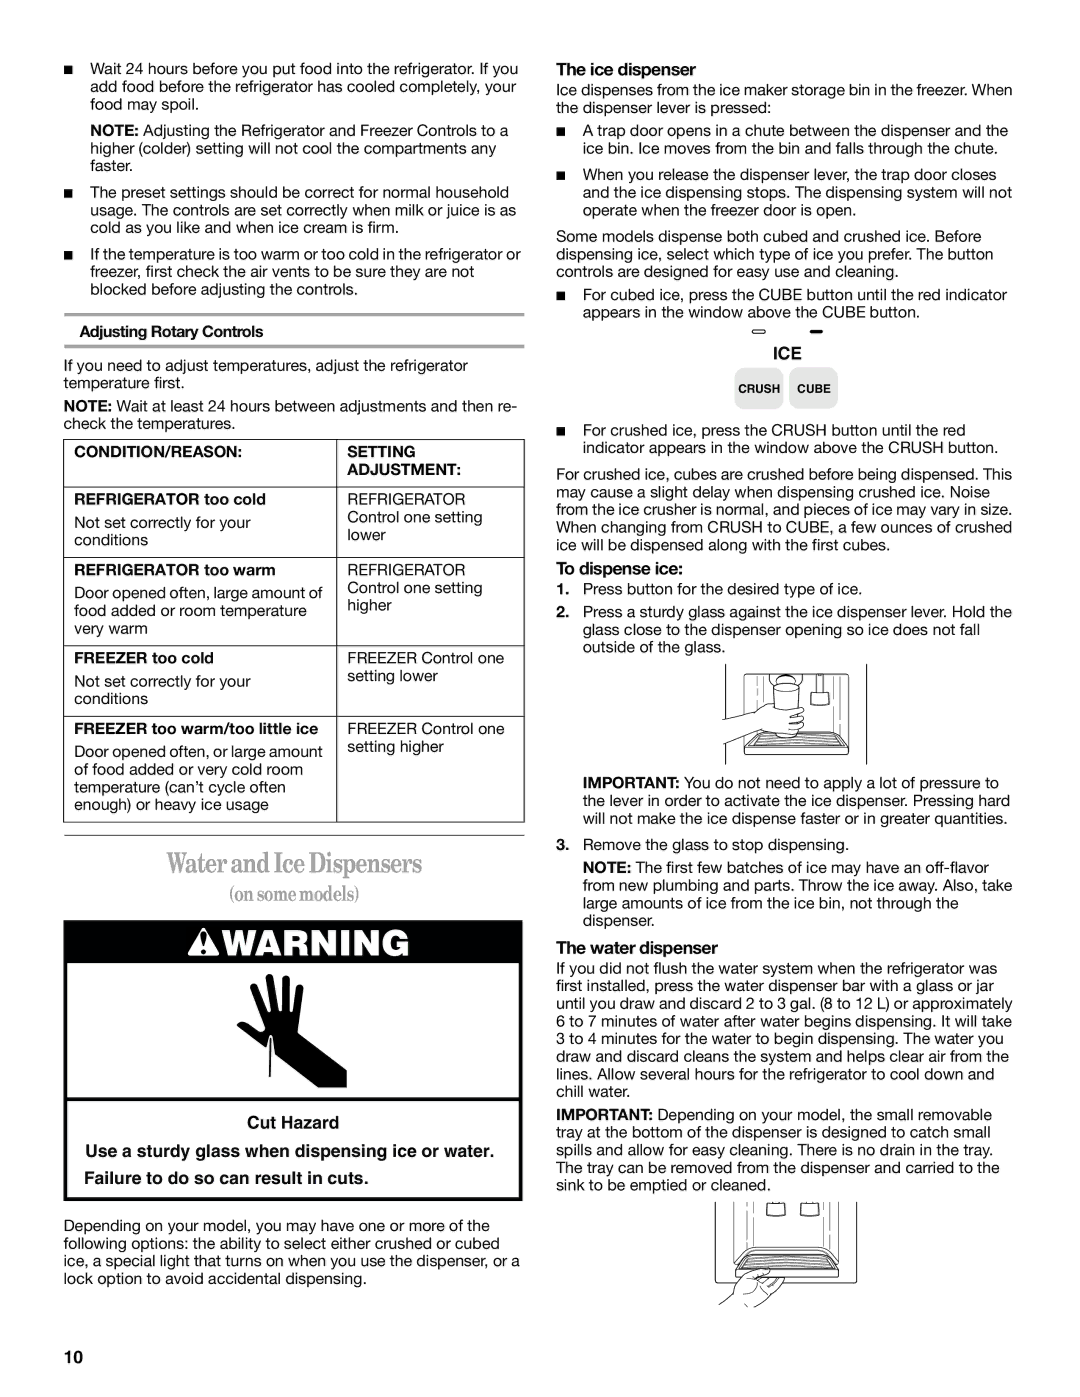
Whirlpool ED2NTGXLQ01 manual Water and Ice Dispensers, on some models, The ice dispenser, Setting

Models: ED2FTGXKQ00 ED2FHGXKQ01 ED2FHGXKT03 ED2FHGXKQ03 ED2FHGXKQ00 ED2FHGXKQ04 ED2FHGXKT01 ED2FTGXKT04 ED2FTGXKQ01 ED2FHGXKT00 ED2FTGXKQ03 ED2FTGXKQ04 ED2FTGXKT00 ED2FTGXKT03 ED2FHGXKT04 ED2FTGXKT01 ED5FHGXKB05 ED5FHGXKB04 ED5FHGXKT04 ED5FHGXKQ02 ED5FHGXKQ00 ED5FHGXKT03 ED5FTGXKT00 ED5FHGXKT01 ED5FTGXKT02 ED5FHGXKQ01 ED5FHGXKT00 ED5FHGXKB00 ED5FHGXKQ04 ED5FHGXKQ05 ED5FHGXKQ03 ED5FTGXKQ00 ED5FTGXKT01 ED5FHGXNQ00 ED5FTGXKQ01 ED5FHGXKB02 ED5FHGXKT05 ED5FHGXNQ01 ED5FHGXKB03 ED5FTGXKQ02 ED5FHGXKT02 GC5SHGXKT01 GC5SHGXLB00 GC5SHGXKS00 GC5SHGXKS01 GC5SHGXKB01 GC5SHGXKT00 GC5SHGXLQ01 GC5SHGXKQ01 GC5SHGXLQ00 GC5SHGXLS00 GC5SHGXLS01 GC5SHGXKQ00 GC5SHGXLB01 GR2SHTXMS01 GR2SHTXMT01 GT1SHTXMT03 GT9MHTXRT00 GT9MHTXRQ00 KTRP22EMBL00 KTRP22EMBT00 GT1SHTXMB02 GT1SHTXMB01 GT1SHTXMQ03 GT1SHTXMQ02 GT1SHTXMQ01 GT1SHTXMB03 GT1SHTXMT01 GT1SHTXMT02 ED7FHGXKQ01 ED5YHGXLT00 ED5YHGXLT01 ED7FHGXKT01 ED5YHGXLQ00 ED7FHGXKT00 ED7FHGXKQ00 ED7FHGXKB00 ED5NTGXLQ00 ED5NTGXLT00 ED5CHGXKQ00 ED5FHEXKQ00 ED5FHEXKT00 ED5FHEXLQ01 ED2YHGXLT01 ED5FHEXLT00 ED5FHEXLQ00 ED2YHGXLQ01 ED5FHEXLT01 ED5CHGXKT00 ED5FHEXLB00 ED2NTGXLQ01 ED2NTGXLT02 ED2NTGXLQ02 ED2NTGXLT01 ED2CHGXKQ00 ED2CHGXKT00 ED2FHEXLQ01 ED2FHEXLT00 ED2FHEXLB01 ED2FHEXLT01 ED2FHEXLQ00

1 48
Download 48 pages 836 b
Page 10
Image 10
Adjusting Rotary Controls

Wait 24 hours before you put food into the refrigerator. If you add food before the refrigerator has cooled completely, your food may spoil.

NOTE: Adjusting the Refrigerator and Freezer Controls to a higher (colder) setting will not cool the compartments any faster.

The preset settings should be correct for normal household usage. The controls are set correctly when milk or juice is as cold as you like and when ice cream is firm.

If the temperature is too warm or too cold in the refrigerator or freezer, first check the air vents to be sure they are not blocked before adjusting the controls.

Adjusting Rotary Controls

If you need to adjust temperatures, adjust the refrigerator temperature first.

NOTE: Wait at least 24 hours between adjustments and then re- check the temperatures.

CONDITION/REASON:

SETTING


ADJUSTMENT:


REFRIGERATOR too cold

REFRIGERATOR

Not set correctly for your

Control one setting

lower

conditions


REFRIGERATOR too warm

REFRIGERATOR

Door opened often, large amount of

Control one setting

higher

food added or room temperature


very warm


FREEZER too cold

FREEZER Control one

Not set correctly for your

setting lower


conditions


FREEZER too warm/too little ice

FREEZER Control one

Door opened often, or large amount

setting higher


of food added or very cold room


temperature (can’t cycle often


enough) or heavy ice usage


Water and Ice Dispensers

(on some models)

CONDITION/REASON:WARNING

Cut Hazard

Use a sturdy glass when dispensing ice or water.

Failure to do so can result in cuts.

Depending on your model, you may have one or more of the following options: the ability to select either crushed or cubed ice, a special light that turns on when you use the dispenser, or a lock option to avoid accidental dispensing.

The ice dispenser

Ice dispenses from the ice maker storage bin in the freezer. When the dispenser lever is pressed:

A trap door opens in a chute between the dispenser and the ice bin. Ice moves from the bin and falls through the chute.

When you release the dispenser lever, the trap door closes and the ice dispensing stops. The dispensing system will not operate when the freezer door is open.

Some models dispense both cubed and crushed ice. Before dispensing ice, select which type of ice you prefer. The button controls are designed for easy use and cleaning.

For cubed ice, press the CUBE button until the red indicator appears in the window above the CUBE button.

ICE

CRUSH CUBE

For crushed ice, press the CRUSH button until the red indicator appears in the window above the CRUSH button.

For crushed ice, cubes are crushed before being dispensed. This may cause a slight delay when dispensing crushed ice. Noise from the ice crusher is normal, and pieces of ice may vary in size. When changing from CRUSH to CUBE, a few ounces of crushed ice will be dispensed along with the first cubes.

To dispense ice:

1.Press button for the desired type of ice.

2.Press a sturdy glass against the ice dispenser lever. Hold the glass close to the dispenser opening so ice does not fall outside of the glass.

IMPORTANT: You do not need to apply a lot of pressure to the lever in order to activate the ice dispenser. Pressing hard will not make the ice dispense faster or in greater quantities.

3.Remove the glass to stop dispensing.

NOTE: The first few batches of ice may have an off-flavor from new plumbing and parts. Throw the ice away. Also, take large amounts of ice from the ice bin, not through the dispenser.

The water dispenser

If you did not flush the water system when the refrigerator was first installed, press the water dispenser bar with a glass or jar until you draw and discard 2 to 3 gal. (8 to 12 L) or approximately 6 to 7 minutes of water after water begins dispensing. It will take 3 to 4 minutes for the water to begin dispensing. The water you draw and discard cleans the system and helps clear air from the lines. Allow several hours for the refrigerator to cool down and chill water.

IMPORTANT: Depending on your model, the small removable tray at the bottom of the dispenser is designed to catch small spills and allow for easy cleaning. There is no drain in the tray. The tray can be removed from the dispenser and carried to the sink to be emptied or cleaned.

10

Page 10
Image 10
Whirlpool ED2NTGXLQ01 Water and Ice Dispensers, on some models, Cut Hazard Use a sturdy glass when dispensing ice or water