FREEZER FEATURES | DOOR FEATURES |
Your model may have some or all of these features. Features that can be purchased separately as product accessories are labeled with the word “Accessory.” Not all accessories will fit all models. If you are interested in purchasing one of the accessories, please call the
Your model may have some or all of these features. Features that can be purchased separately as product accessories are labeled with the word “Accessory.” Not all accessories will fit all models. If you are interested in purchasing one of the accessories, please call the
Freezer Shelf
(number of shelves varies with model)
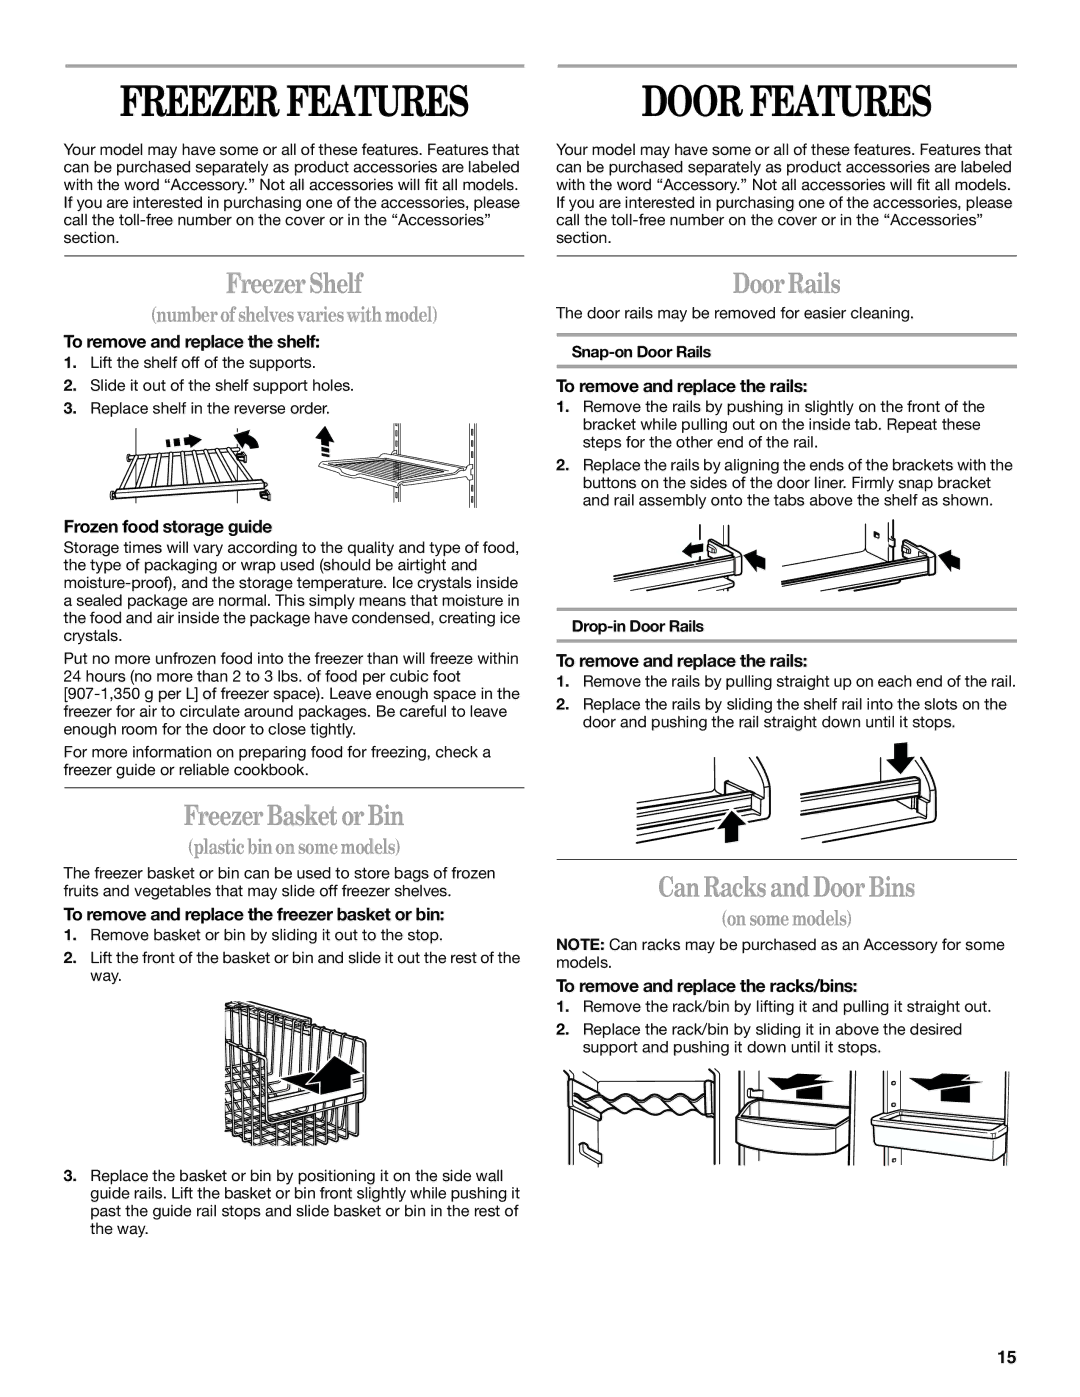
To remove and replace the shelf:
1.Lift the shelf off of the supports.
2.Slide it out of the shelf support holes.
3.Replace shelf in the reverse order.
Frozen food storage guide
Storage times will vary according to the quality and type of food, the type of packaging or wrap used (should be airtight and
Put no more unfrozen food into the freezer than will freeze within 24 hours (no more than 2 to 3 lbs. of food per cubic foot
For more information on preparing food for freezing, check a freezer guide or reliable cookbook.
Freezer Basket or Bin
(plastic bin on some models)
The freezer basket or bin can be used to store bags of frozen fruits and vegetables that may slide off freezer shelves.
To remove and replace the freezer basket or bin:
1.Remove basket or bin by sliding it out to the stop.
2.Lift the front of the basket or bin and slide it out the rest of the way.
3.Replace the basket or bin by positioning it on the side wall guide rails. Lift the basket or bin front slightly while pushing it past the guide rail stops and slide basket or bin in the rest of the way.
Door Rails
The door rails may be removed for easier cleaning.
To remove and replace the rails:
1.Remove the rails by pushing in slightly on the front of the bracket while pulling out on the inside tab. Repeat these steps for the other end of the rail.
2.Replace the rails by aligning the ends of the brackets with the buttons on the sides of the door liner. Firmly snap bracket and rail assembly onto the tabs above the shelf as shown.
To remove and replace the rails:
1.Remove the rails by pulling straight up on each end of the rail.
2.Replace the rails by sliding the shelf rail into the slots on the door and pushing the rail straight down until it stops.
Can Racks and Door Bins
(on some models)
NOTE: Can racks may be purchased as an Accessory for some models.
To remove and replace the racks/bins:
1.Remove the rack/bin by lifting it and pulling it straight out.
2.Replace the rack/bin by sliding it in above the desired support and pushing it down until it stops.
15