ED5LVAXV specifications
The Whirlpool ED5LVAXV represents a seamless blend of style, functionality, and advanced technology, designed to enhance the modern kitchen experience. This refrigerator encompasses a variety of features and characteristics that cater to the needs of families and individuals alike.One of the standout features of the Whirlpool ED5LVAXV is its spacious interior, which offers a generous 25 cu. ft. capacity. This ample space allows for efficient organization of groceries, ensuring that everything from fresh produce to frozen meals can be stored neatly. The refrigerator is equipped with adjustable shelves, which provide flexibility in customizing storage space according to users’ preferences. The humidity-controlled crisper drawers are ideal for preserving the freshness of fruits and vegetables, while the dedicated dairy compartment keeps items like butter and cheese easily accessible.
Another key characteristic of the Whirlpool ED5LVAXV is its energy efficiency. The appliance is designed to operate with minimal energy consumption, contributing to lower electricity bills and reduced environmental impact. Its Energy Star qualification guarantees that the unit meets strict energy efficiency guidelines set by the EPA.
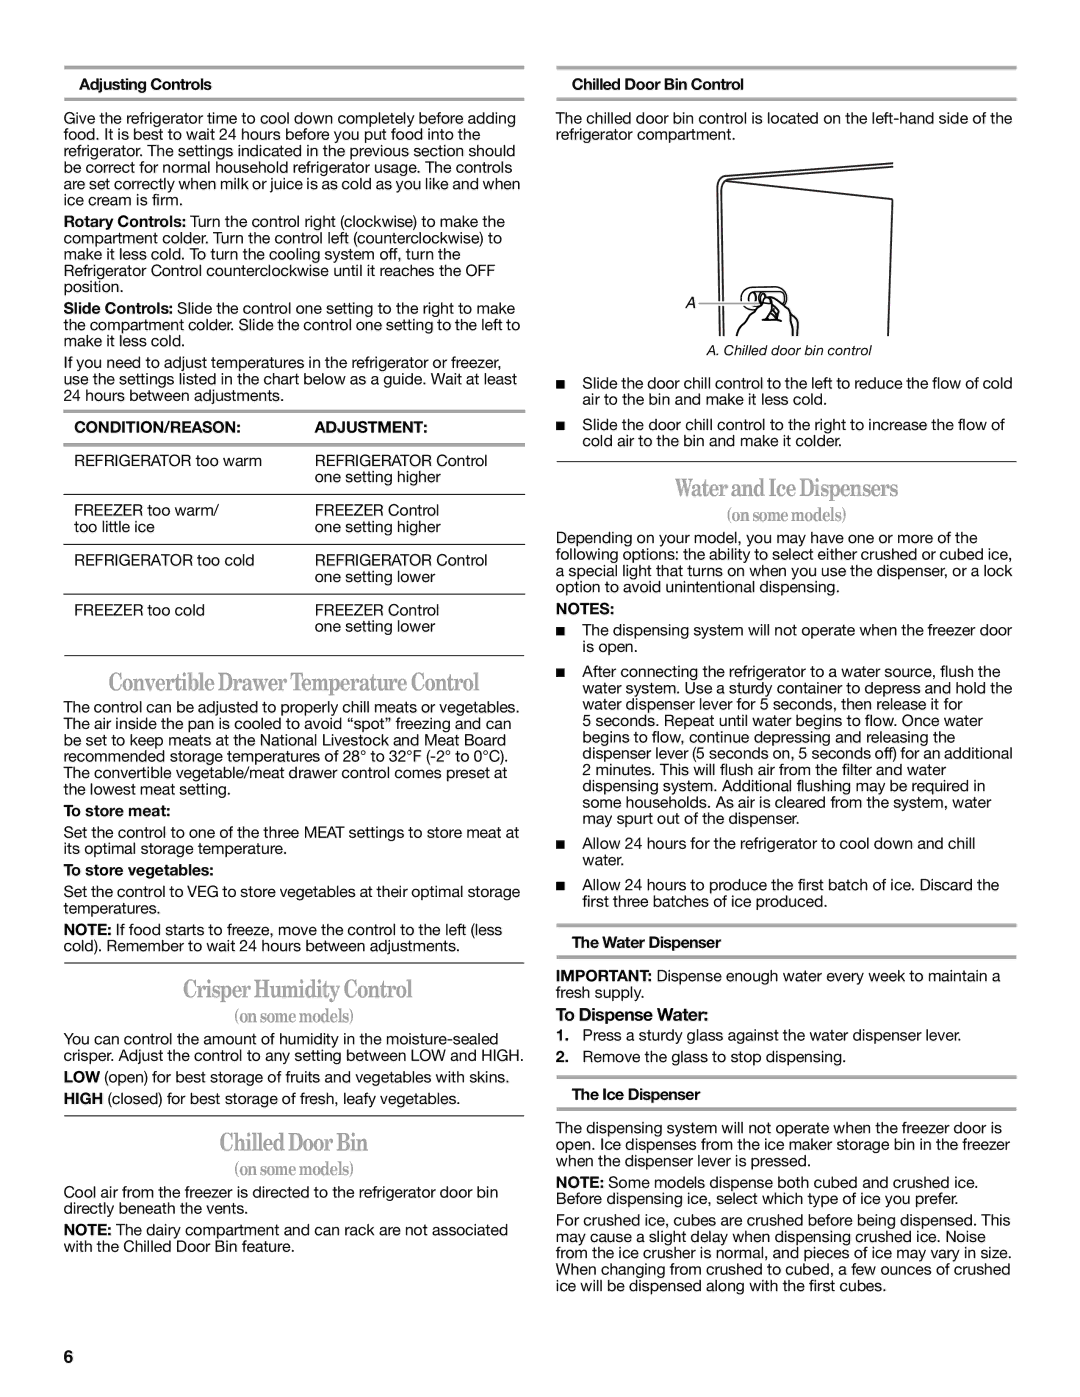
Incorporating cutting-edge technology, the ED5LVAXV features a water and ice dispenser discreetly integrated into the door. This feature not only adds convenience but also saves time by providing cold water and ice at the touch of a button. The filtration system ensures that the water and ice produced are fresh and clean, enhancing the overall quality of hydration.
The refrigerator also boasts easy-to-use electronic controls that allow users to set and adjust temperatures with precision. A temperature-controlled pantry drawer offers additional versatility, with adjustable settings ideal for items that require different storage conditions.
Aesthetic appeal is another advantage of the Whirlpool ED5LVAXV. Its sleek, stainless steel finish adds a touch of modern elegance to any kitchen decor, while the design maintains a classic look that complements various styles. The easy-to-clean surface promotes maintenance and helps to preserve the appliance's appearance over time.
In conclusion, the Whirlpool ED5LVAXV combines functionality, energy efficiency, and modern design to meet the evolving demands of today’s consumers. With its spacious interior, advanced technology, and stylish exterior, it stands as an excellent choice for anyone seeking a reliable and attractive refrigerator. This model exemplifies Whirlpool’s commitment to quality and innovation in kitchen appliances.