Ice Maker and Storage Bin
Turning the Ice Maker On/Off
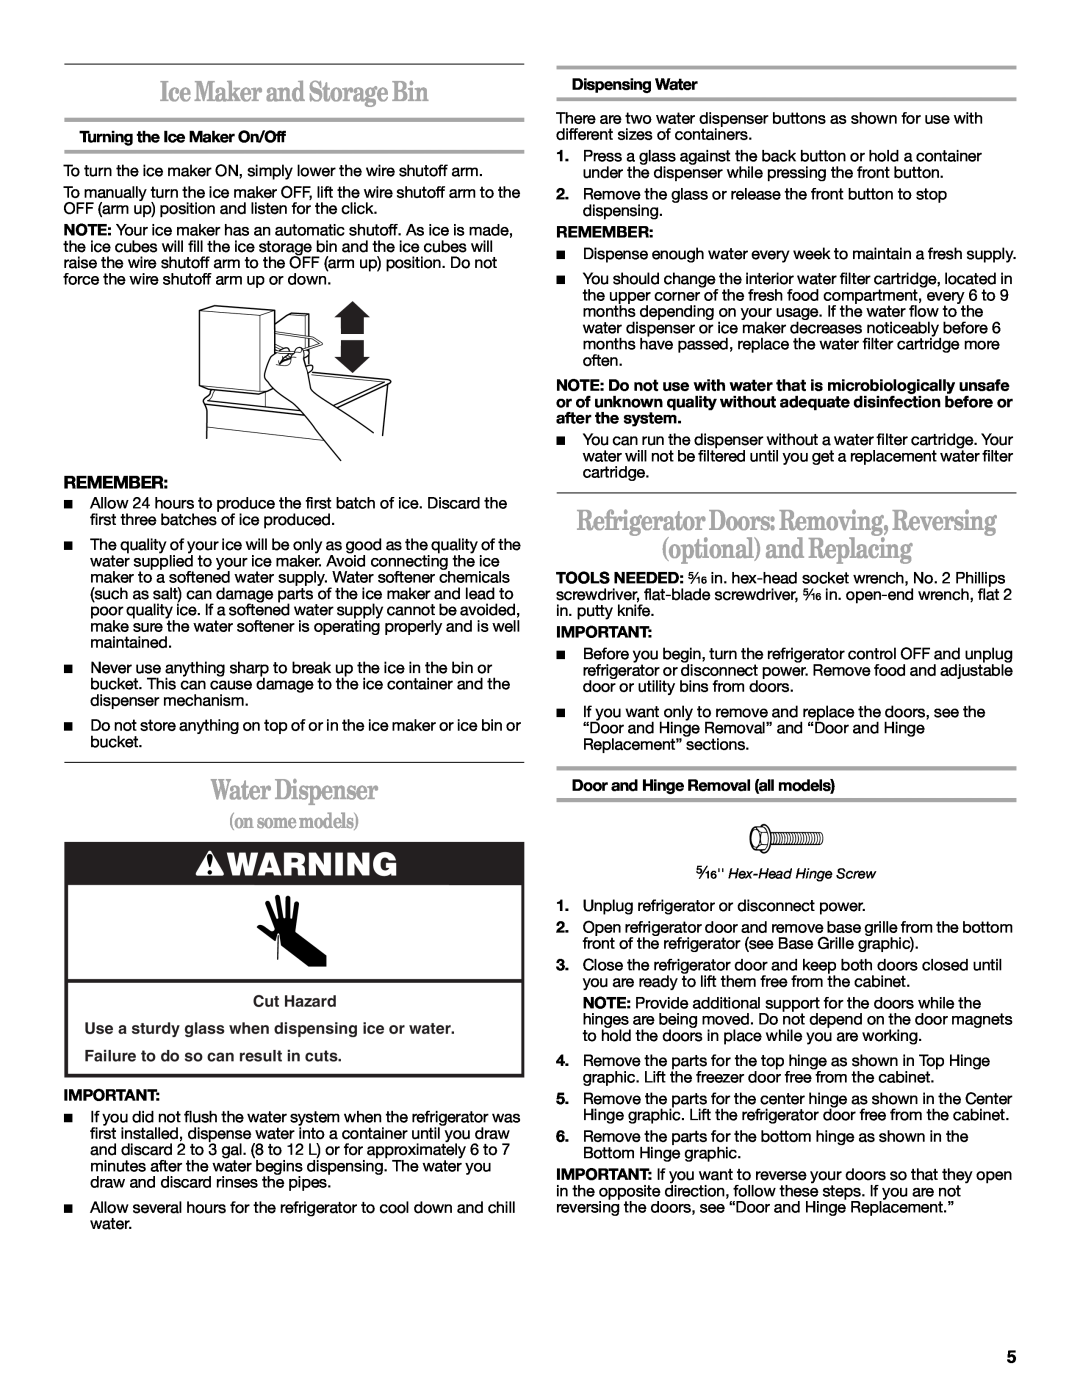
To turn the ice maker ON, simply lower the wire shutoff arm.
To manually turn the ice maker OFF, lift the wire shutoff arm to the OFF (arm up) position and listen for the click.
NOTE: Your ice maker has an automatic shutoff. As ice is made, the ice cubes will fill the ice storage bin and the ice cubes will raise the wire shutoff arm to the OFF (arm up) position. Do not force the wire shutoff arm up or down.
REMEMBER:
■Allow 24 hours to produce the first batch of ice. Discard the first three batches of ice produced.
■The quality of your ice will be only as good as the quality of the water supplied to your ice maker. Avoid connecting the ice maker to a softened water supply. Water softener chemicals (such as salt) can damage parts of the ice maker and lead to poor quality ice. If a softened water supply cannot be avoided, make sure the water softener is operating properly and is well maintained.
■Never use anything sharp to break up the ice in the bin or bucket. This can cause damage to the ice container and the dispenser mechanism.
■Do not store anything on top of or in the ice maker or ice bin or bucket.
Water Dispenser
(on somemodels)
![]() WARNING
WARNING
Cut Hazard
Use a sturdy glass when dispensing ice or water.
Failure to do so can result in cuts.
IMPORTANT:
■If you did not flush the water system when the refrigerator was first installed, dispense water into a container until you draw and discard 2 to 3 gal. (8 to 12 L) or for approximately 6 to 7 minutes after the water begins dispensing. The water you draw and discard rinses the pipes.
■Allow several hours for the refrigerator to cool down and chill water.
Dispensing Water
There are two water dispenser buttons as shown for use with different sizes of containers.
1.Press a glass against the back button or hold a container under the dispenser while pressing the front button.
2.Remove the glass or release the front button to stop dispensing.
REMEMBER:
■Dispense enough water every week to maintain a fresh supply.
■You should change the interior water filter cartridge, located in the upper corner of the fresh food compartment, every 6 to 9 months depending on your usage. If the water flow to the water dispenser or ice maker decreases noticeably before 6 months have passed, replace the water filter cartridge more often.
NOTE: Do not use with water that is microbiologically unsafe or of unknown quality without adequate disinfection before or after the system.
■You can run the dispenser without a water filter cartridge. Your water will not be filtered until you get a replacement water filter cartridge.
Refrigerator Doors: Removing, Reversing
(optional) and Replacing
TOOLS NEEDED: ⁵⁄₁₆ in.
IMPORTANT:
■Before you begin, turn the refrigerator control OFF and unplug refrigerator or disconnect power. Remove food and adjustable door or utility bins from doors.
■If you want only to remove and replace the doors, see the “Door and Hinge Removal” and “Door and Hinge Replacement” sections.
Door and Hinge Removal (all models)
⁵⁄₁₆''
1.Unplug refrigerator or disconnect power.
2.Open refrigerator door and remove base grille from the bottom front of the refrigerator (see Base Grille graphic).
3.Close the refrigerator door and keep both doors closed until you are ready to lift them free from the cabinet.
NOTE: Provide additional support for the doors while the hinges are being moved. Do not depend on the door magnets to hold the doors in place while you are working.
4.Remove the parts for the top hinge as shown in Top Hinge graphic. Lift the freezer door free from the cabinet.
5.Remove the parts for the center hinge as shown in the Center Hinge graphic. Lift the refrigerator door free from the cabinet.
6.Remove the parts for the bottom hinge as shown in the Bottom Hinge graphic.
IMPORTANT: If you want to reverse your doors so that they open in the opposite direction, follow these steps. If you are not reversing the doors, see “Door and Hinge Replacement.”
5