TimedCooking(onsome models)

WARNING

Food Poisoning Hazard

Do not let food sit in oven more than one hour before or after cooking.

Doing so can result in food poisoning or sickness.

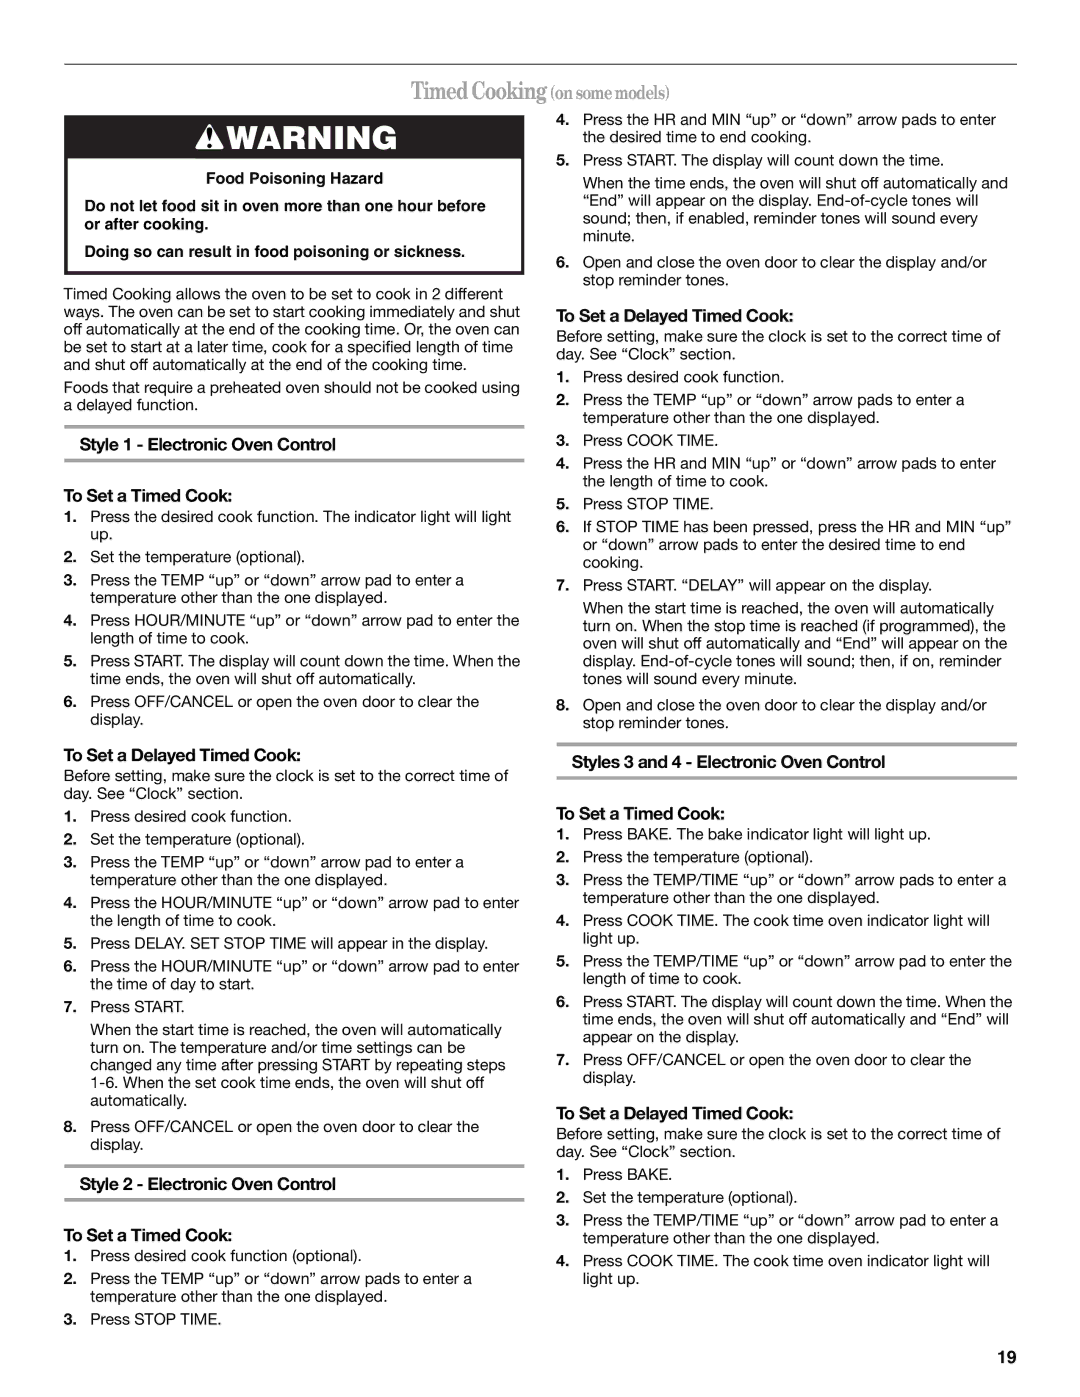
Timed Cooking allows the oven to be set to cook in 2 different ways. The oven can be set to start cooking immediately and shut off automatically at the end of the cooking time. Or, the oven can be set to start at a later time, cook for a specified length of time and shut off automatically at the end of the cooking time.

Foods that require a preheated oven should not be cooked using a delayed function.

4.Press the HR and MIN “up” or “down” arrow pads to enter the desired time to end cooking.

5.Press START. The display will count down the time.

When the time ends, the oven will shut off automatically and “End” will appear on the display. End-of-cycle tones will sound; then, if enabled, reminder tones will sound every minute.

6.Open and close the oven door to clear the display and/or stop reminder tones.

To Set a Delayed Timed Cook:

Before setting, make sure the clock is set to the correct time of day. See “Clock” section.

1.Press desired cook function.

2.Press the TEMP “up” or “down” arrow pads to enter a temperature other than the one displayed.

Style 1 - Electronic Oven Control

To Set a Timed Cook:

1.Press the desired cook function. The indicator light will light up.

2.Set the temperature (optional).

3.Press the TEMP “up” or “down” arrow pad to enter a temperature other than the one displayed.

4.Press HOUR/MINUTE “up” or “down” arrow pad to enter the length of time to cook.

5.Press START. The display will count down the time. When the time ends, the oven will shut off automatically.

6.Press OFF/CANCEL or open the oven door to clear the display.

3.Press COOK TIME.

4.Press the HR and MIN “up” or “down” arrow pads to enter the length of time to cook.

5.Press STOP TIME.

6.If STOP TIME has been pressed, press the HR and MIN “up” or “down” arrow pads to enter the desired time to end cooking.

7.Press START. “DELAY” will appear on the display.

When the start time is reached, the oven will automatically turn on. When the stop time is reached (if programmed), the oven will shut off automatically and “End” will appear on the display. End-of-cycle tones will sound; then, if on, reminder tones will sound every minute.

8.Open and close the oven door to clear the display and/or stop reminder tones.

To Set a Delayed Timed Cook:

Before setting, make sure the clock is set to the correct time of day. See “Clock” section.

1.Press desired cook function.

2.Set the temperature (optional).

3.Press the TEMP “up” or “down” arrow pad to enter a temperature other than the one displayed.

4.Press the HOUR/MINUTE “up” or “down” arrow pad to enter the length of time to cook.

5.Press DELAY. SET STOP TIME will appear in the display.

6.Press the HOUR/MINUTE “up” or “down” arrow pad to enter the time of day to start.

7.Press START.

When the start time is reached, the oven will automatically turn on. The temperature and/or time settings can be changed any time after pressing START by repeating steps 1-6. When the set cook time ends, the oven will shut off automatically.

8.Press OFF/CANCEL or open the oven door to clear the display.

Style 2 - Electronic Oven Control

To Set a Timed Cook:

1.Press desired cook function (optional).

2.Press the TEMP “up” or “down” arrow pads to enter a temperature other than the one displayed.

3.Press STOP TIME.

Styles 3 and 4 - Electronic Oven Control

To Set a Timed Cook:

1.Press BAKE. The bake indicator light will light up.

2.Press the temperature (optional).

3.Press the TEMP/TIME “up” or “down” arrow pads to enter a temperature other than the one displayed.

4.Press COOK TIME. The cook time oven indicator light will light up.

5.Press the TEMP/TIME “up” or “down” arrow pad to enter the length of time to cook.

6.Press START. The display will count down the time. When the time ends, the oven will shut off automatically and “End” will appear on the display.

7.Press OFF/CANCEL or open the oven door to clear the display.

To Set a Delayed Timed Cook:

Before setting, make sure the clock is set to the correct time of day. See “Clock” section.

1.Press BAKE.

2.Set the temperature (optional).

3.Press the TEMP/TIME “up” or “down” arrow pad to enter a temperature other than the one displayed.

4.Press COOK TIME. The cook time oven indicator light will light up.

19

Page 19
Image 19
Whirlpool GR438LXRQ0 manual TimedCookingonsome models, To Set a Delayed Timed Cook

GR438LXRQ0 specifications

The Whirlpool GR438LXRQ0 is a versatile and efficient refrigerator designed to meet modern household needs while providing ample storage space and advanced features. With a capacity of 18.2 cubic feet, this model is ideal for families looking for a reliable appliance to keep their food fresh and well-organized.

One of the standout features of the GR438LXRQ0 is its Energy Star certification, which indicates that it meets strict energy efficiency guidelines set by the U.S. Environmental Protection Agency. This not only helps reduce environmental impact but also saves on electricity bills, making it an economical choice for budget-conscious consumers.

The refrigerator is equipped with a full-width wire shelf, which allows for flexible storage options and makes it easy to accommodate bulkier items. Additionally, adjustable shelves offer added versatility, letting homeowners customize their interior layout to suit their needs. The refrigerator compartment also features crispers with humidity controls, which are designed to keep fruits and vegetables fresher for longer by maintaining optimal humidity levels.

Another highlight of the Whirlpool GR438LXRQ0 is its freezer compartment, which offers a spacious capacity and features a sliding wire shelf for easy organization. The Freezer’s manual defrost system simplifies maintenance, ensuring optimal performance over its lifetime.

In terms of design, the GR438LXRQ0 boasts a classic and clean aesthetic with a textured finish that minimizes fingerprints, keeping the exterior looking sleek and polished. The appliance is offered in a variety of colors, allowing consumers to choose one that best fits their kitchen decor.

Whirlpool also emphasizes convenience with this model. The refrigerator features factory-installed ice makers and easy-access controls that allow users to quickly adjust temperatures without having to open doors. This level of user-friendly design enhances the overall functionality and makes daily use simple and efficient.

Overall, the Whirlpool GR438LXRQ0 stands out for its combination of practicality, energy efficiency, and thoughtful design features, making it a great addition to any home kitchen. Its balanced approach to storage solutions and performance ensures that it can effectively handle a wide range of food storage needs for any family.