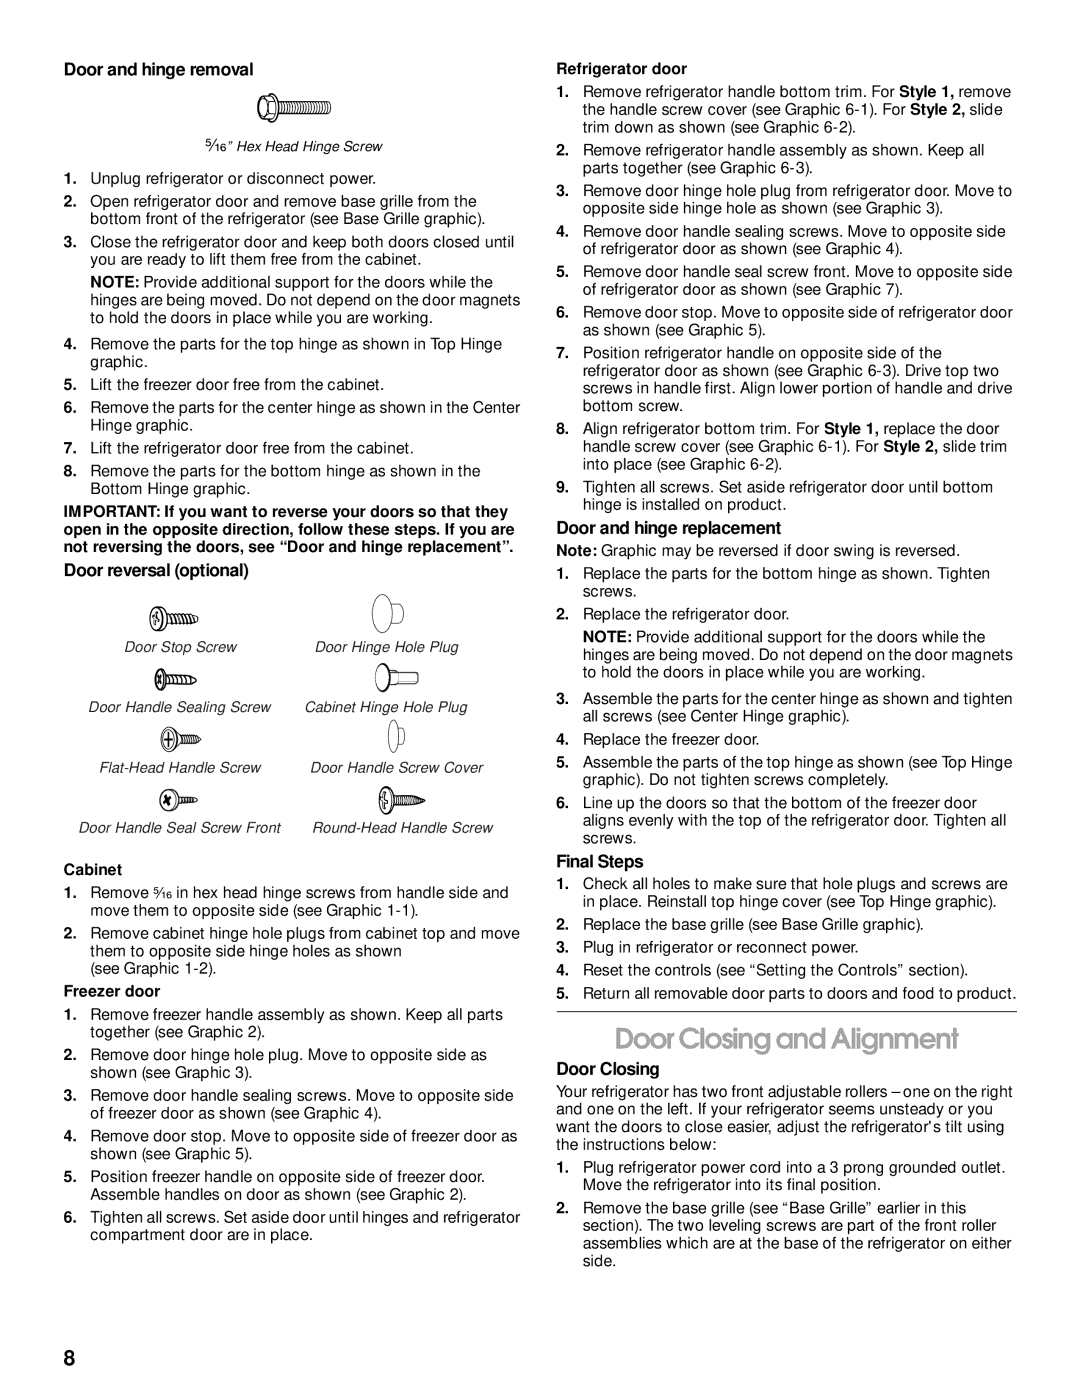
Door and hinge removal

⁵⁄₁₆” Hex Head Hinge Screw

1.Unplug refrigerator or disconnect power.

2.Open refrigerator door and remove base grille from the bottom front of the refrigerator (see Base Grille graphic).

3.Close the refrigerator door and keep both doors closed until you are ready to lift them free from the cabinet.

NOTE: Provide additional support for the doors while the hinges are being moved. Do not depend on the door magnets to hold the doors in place while you are working.

4.Remove the parts for the top hinge as shown in Top Hinge graphic.

5.Lift the freezer door free from the cabinet.

6.Remove the parts for the center hinge as shown in the Center Hinge graphic.

7.Lift the refrigerator door free from the cabinet.

8.Remove the parts for the bottom hinge as shown in the Bottom Hinge graphic.

IMPORTANT: If you want to reverse your doors so that they open in the opposite direction, follow these steps. If you are not reversing the doors, see “Door and hinge replacement”.

Door reversal (optional)

Door Stop Screw

Door Hinge Hole Plug

Door Handle Sealing Screw

Cabinet Hinge Hole Plug

Flat-Head Handle Screw

Door Handle Screw Cover

Door Handle Seal Screw Front

Round-Head Handle Screw

Cabinet

1.Remove ⁵⁄₁₆ in hex head hinge screws from handle side and move them to opposite side (see Graphic 1-1).

2.Remove cabinet hinge hole plugs from cabinet top and move them to opposite side hinge holes as shown

(see Graphic 1-2).

Freezer door

1.Remove freezer handle assembly as shown. Keep all parts together (see Graphic 2).

2.Remove door hinge hole plug. Move to opposite side as shown (see Graphic 3).

3.Remove door handle sealing screws. Move to opposite side of freezer door as shown (see Graphic 4).

4.Remove door stop. Move to opposite side of freezer door as shown (see Graphic 5).

5.Position freezer handle on opposite side of freezer door. Assemble handles on door as shown (see Graphic 2).

6.Tighten all screws. Set aside door until hinges and refrigerator compartment door are in place.

Refrigerator door

1.Remove refrigerator handle bottom trim. For Style 1, remove the handle screw cover (see Graphic 6-1). For Style 2, slide trim down as shown (see Graphic 6-2).

2.Remove refrigerator handle assembly as shown. Keep all parts together (see Graphic 6-3).

3.Remove door hinge hole plug from refrigerator door. Move to opposite side hinge hole as shown (see Graphic 3).

4.Remove door handle sealing screws. Move to opposite side of refrigerator door as shown (see Graphic 4).

5.Remove door handle seal screw front. Move to opposite side of refrigerator door as shown (see Graphic 7).

6.Remove door stop. Move to opposite side of refrigerator door as shown (see Graphic 5).

7.Position refrigerator handle on opposite side of the refrigerator door as shown (see Graphic 6-3). Drive top two screws in handle first. Align lower portion of handle and drive bottom screw.

8.Align refrigerator bottom trim. For Style 1, replace the door handle screw cover (see Graphic 6-1). For Style 2, slide trim into place (see Graphic 6-2).

9.Tighten all screws. Set aside refrigerator door until bottom hinge is installed on product.

Door and hinge replacement

Note: Graphic may be reversed if door swing is reversed.

1.Replace the parts for the bottom hinge as shown. Tighten screws.

2.Replace the refrigerator door.

NOTE: Provide additional support for the doors while the hinges are being moved. Do not depend on the door magnets to hold the doors in place while you are working.

3.Assemble the parts for the center hinge as shown and tighten all screws (see Center Hinge graphic).

4.Replace the freezer door.

5.Assemble the parts of the top hinge as shown (see Top Hinge graphic). Do not tighten screws completely.

6.Line up the doors so that the bottom of the freezer door aligns evenly with the top of the refrigerator door. Tighten all screws.

Final Steps

1.Check all holes to make sure that hole plugs and screws are in place. Reinstall top hinge cover (see Top Hinge graphic).

2.Replace the base grille (see Base Grille graphic).

3.Plug in refrigerator or reconnect power.

4.Reset the controls (see “Setting the Controls” section).

5.Return all removable door parts to doors and food to product.

Door Closing and Alignment

Door Closing

Your refrigerator has two front adjustable rollers – one on the right and one on the left. If your refrigerator seems unsteady or you want the doors to close easier, adjust the refrigerator's tilt using the instructions below:

1.Plug refrigerator power cord into a 3 prong grounded outlet. Move the refrigerator into its final position.

2.Remove the base grille (see “Base Grille” earlier in this section). The two leveling screws are part of the front roller assemblies which are at the base of the refrigerator on either side.

8

Page 8
Image 8
Whirlpool ST21PKXJW00 manual Door Closing and Alignment

ST21PKXJW00 specifications

The Whirlpool ST21PKXJW00 is an advanced top-freezer refrigerator designed to enhance kitchen functionality while ensuring food preservation. With a sleek exterior and spacious interior, it offers a blend of style and practicality, ideal for modern households.

One of the standout features of this model is its Total No Frost technology. Unlike traditional refrigerators that require periodic defrosting, the ST21PKXJW00 uses a fan-assisted cooling system to maintain consistent temperatures throughout the fridge and freezer compartments. This not only prevents frost buildup but also ensures your food stays fresh for longer by minimizing temperature fluctuations.

The refrigerator boasts a generous storage capacity, providing ample space for all your groceries. Adjustable shelves in the refrigerator compartment allow for flexible organization, accommodating larger items with ease. The fridge also includes clear vegetable and fruit crisper drawers that help maintain optimal humidity levels, keeping your produce crisp and fresh.

In addition to its storage capabilities, the ST21PKXJW00 features energy-efficient LED lighting that illuminates the interior without generating excess heat. This not only enhances visibility but also contributes to the unit’s overall energy efficiency, making it an eco-friendly choice for environmentally conscious consumers.

The unit incorporates the Adaptive Intelligence technology, which learns your usage patterns and adjusts the cooling settings accordingly. This smart feature not only maximizes energy savings but also helps maintain ideal storage conditions based on your individual needs.

With regard to overall aesthetics, the Whirlpool ST21PKXJW00 comes in a sleek stainless steel finish that seamlessly fits into any kitchen décor. Its minimalist design and high-quality material make it not only functional but also a stylish addition to your home.

Maintenance is made simple, with easy-to-clean surfaces and removable door seals, ensuring that hygiene and convenience are never compromised. Moreover, the refrigerator operates quietly, enhancing the overall comfort of your kitchen environment.

In conclusion, the Whirlpool ST21PKXJW00 combines innovative technology with practical features, making it a reliable choice for families looking to upgrade their refrigeration needs. With its focus on food preservation and energy efficiency, it stands out as a dependable appliance that meets modern culinary demands.