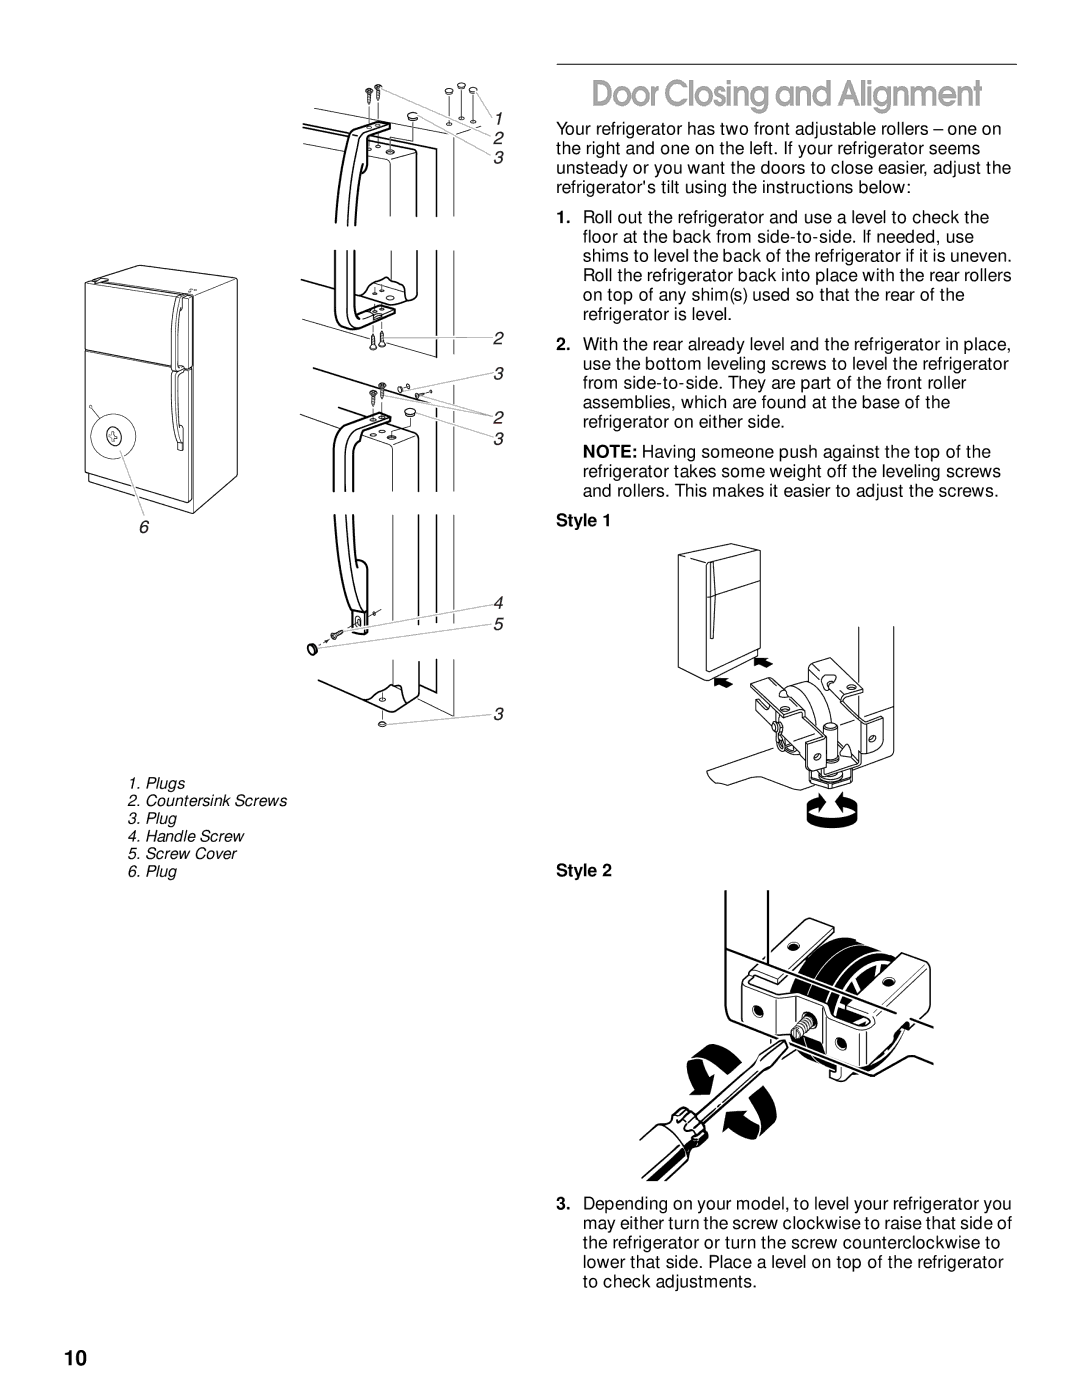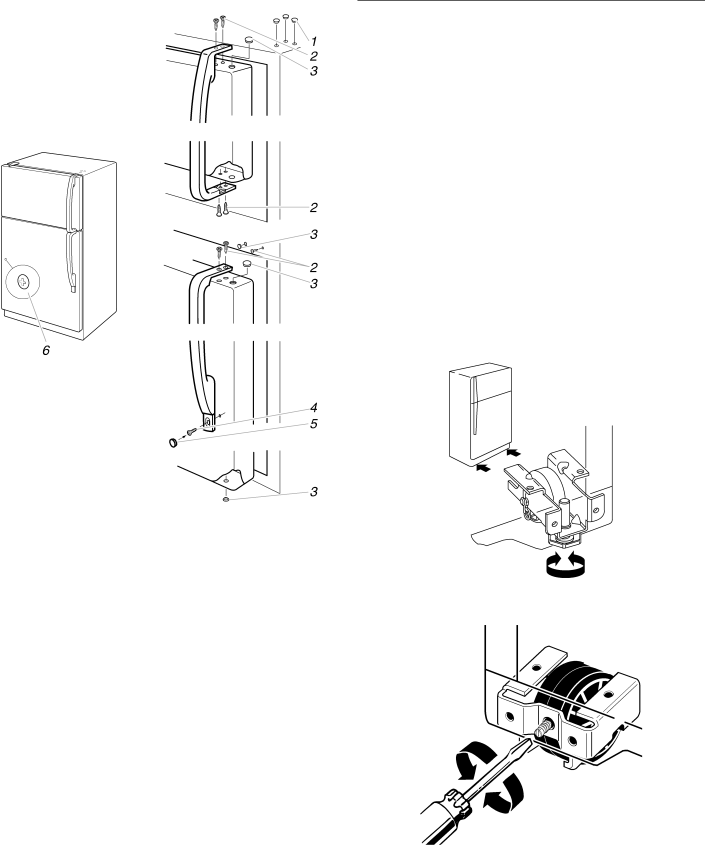
1.Plugs
2.Countersink Screws
3.Plug
4.Handle Screw
5.Screw Cover
6.Plug
Door Closing and Alignment
Your refrigerator has two front adjustable rollers – one on the right and one on the left. If your refrigerator seems unsteady or you want the doors to close easier, adjust the refrigerator's tilt using the instructions below:
1.Roll out the refrigerator and use a level to check the floor at the back from
2.With the rear already level and the refrigerator in place, use the bottom leveling screws to level the refrigerator from
NOTE: Having someone push against the top of the refrigerator takes some weight off the leveling screws and rollers. This makes it easier to adjust the screws.
Style 1
Style 2
3.Depending on your model, to level your refrigerator you may either turn the screw clockwise to raise that side of the refrigerator or turn the screw counterclockwise to lower that side. Place a level on top of the refrigerator to check adjustments.
10