10. Insert retractable downdraft vent into countertop cutout. Two people are recommended to support the weight of the downdraft vent during lifting. Position downdraft vent so it is centered in cutout and parallel to edge of cutout. Check that downdraft vent is vertical. Then attach lower support legs to cabinet floor with screws.
When attaching undercounter bracket to underside of countertop, make sure that the screw length will not go through countertop when tightened.
11. Attach one undercounter mounting bracket on front upper right corner of downdraft vent with slot over vent mounting hole and flange against countertop. Attach other bracket to left side of downdraft vent. Carefully drill starter holes through undercounter mounting brackets into underside of countertop. Insert appropriate length screws into holes and tighten brackets to countertop.
![]() WARNING
WARNING
Electrical Shock Hazard
Disconnect power before making electrical connections.
Connect ground wire to green ground screw in terminal box.
Failure to do so can result in death or electrical shock.
wiring | green | |
ground | ||
box | ||
screw | ||
cover | ||
| ||
|
conduit
12. Remove required knockout and install conduit connector. Feed the power supply cable through the conduit connector and into wiring box. Connect the white wires together with a
Reattach the wiring box cover.
Remove 4 hex nuts that attach vent box to downdraft vent box and remove box.
Remove knockout and install conduit connector.
Feed
Do not wire the
Connect the white wires together with a
Reattach the vent box with 4 hex nuts.
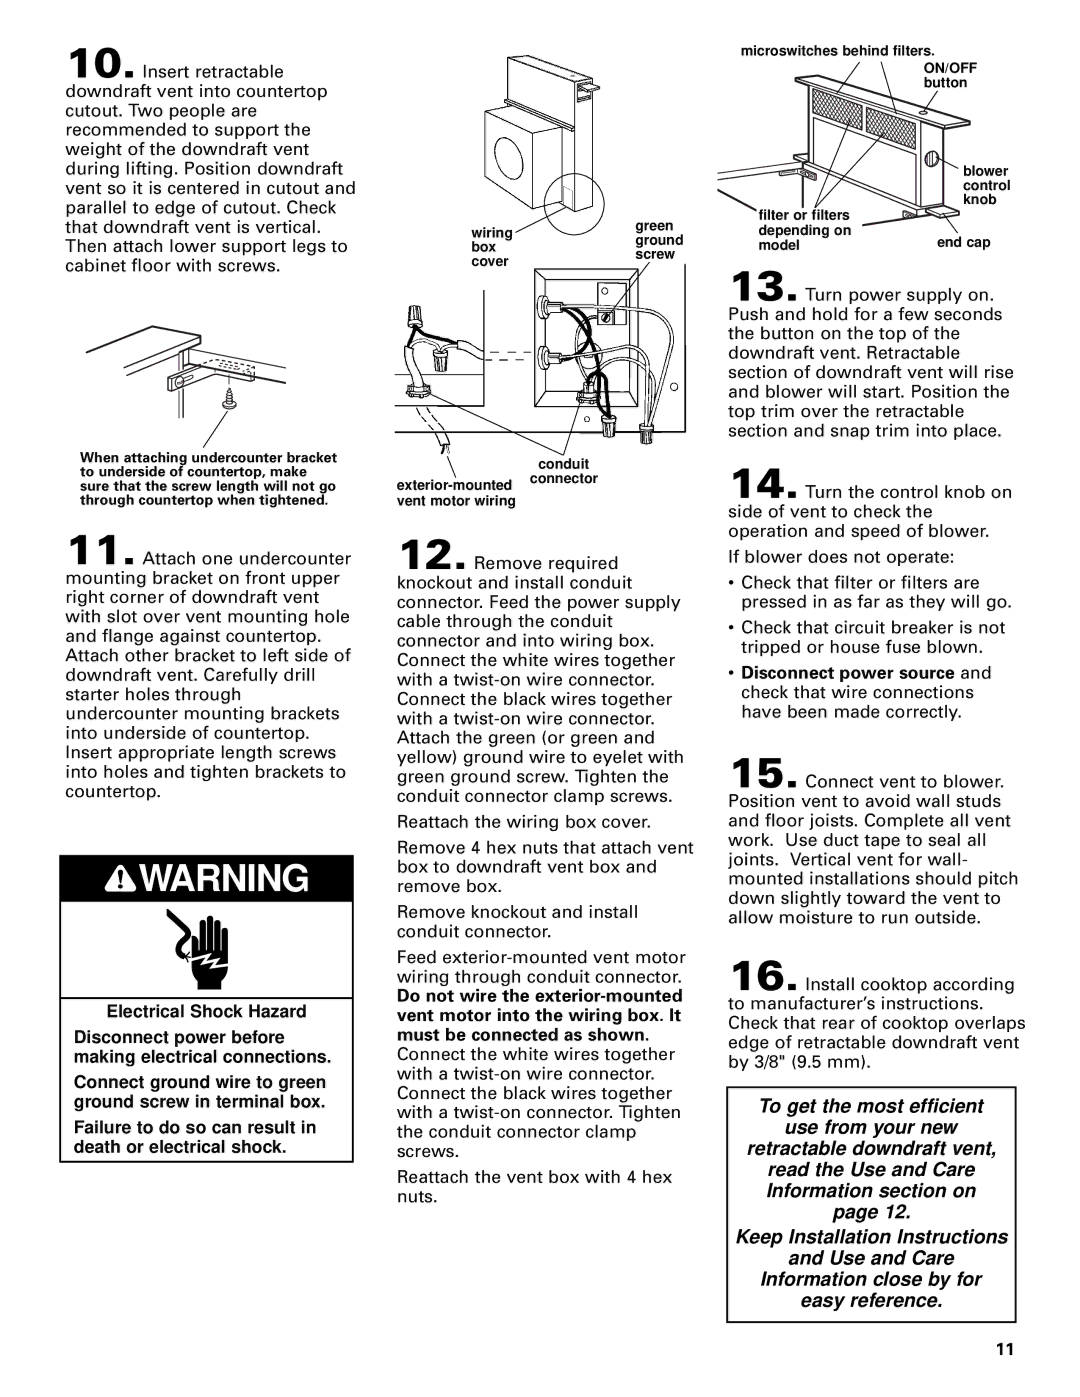
microswitches behind filters.
ON/OFF button
blower control knob
filter or filters |
|
depending on | end cap |
model |
13. Turn power supply on. Push and hold for a few seconds the button on the top of the downdraft vent. Retractable section of downdraft vent will rise and blower will start. Position the top trim over the retractable section and snap trim into place.
14. Turn the control knob on side of vent to check the operation and speed of blower.
If blower does not operate:
•Check that filter or filters are pressed in as far as they will go.
•Check that circuit breaker is not tripped or house fuse blown.
•Disconnect power source and check that wire connections have been made correctly.
15. Connect vent to blower. Position vent to avoid wall studs and floor joists. Complete all vent work. Use duct tape to seal all joints. Vertical vent for wall- mounted installations should pitch down slightly toward the vent to allow moisture to run outside.
16. Install cooktop according to manufacturer’s instructions. Check that rear of cooktop overlaps edge of retractable downdraft vent by 3/8" (9.5 mm).
To get the most efficient
use from your new
retractable downdraft vent,
read the Use and Care Information section on page 12.
Keep Installation Instructions
and Use and Care
Information close by for
easy reference.
11