Troubleshooting Steps
Troubleshooting Steps
We have included troubleshooting steps for the most common issues with each step of the Network Troubleshooting Tree. Please try all the steps listed below before calling for support.
Step #1 – My IP is 127.0.0.1
This means that your system is NOT communicating on the network. Some things to try:
•Power off the system, and disconnect the Ethernet Cable from both the System and Router. Reconnect the Ethernet cable to the System and to the router, and turn the system on.
•Check that DDNS is enabled in the Menu (see page 3, Option #2 on the checklist)
•Make sure that you have a Router, and are not using a similar device (such as a Hub or Wireless Repeater)
•Check that the Router has lights on corresponding to the port that the System is connected into
•Check that the Ethernet cable has not become bent or broken
•Make sure the Router is turned on
•Check to make sure the Router is set to lease a DHCP address to networking devices (refer to your Router Manual for details)
Step #2 – My Internet is
•This means that your internet connection is NOT fast enough to upload my video stream. You will need to speak with your Internet Service Provider for another alternative.
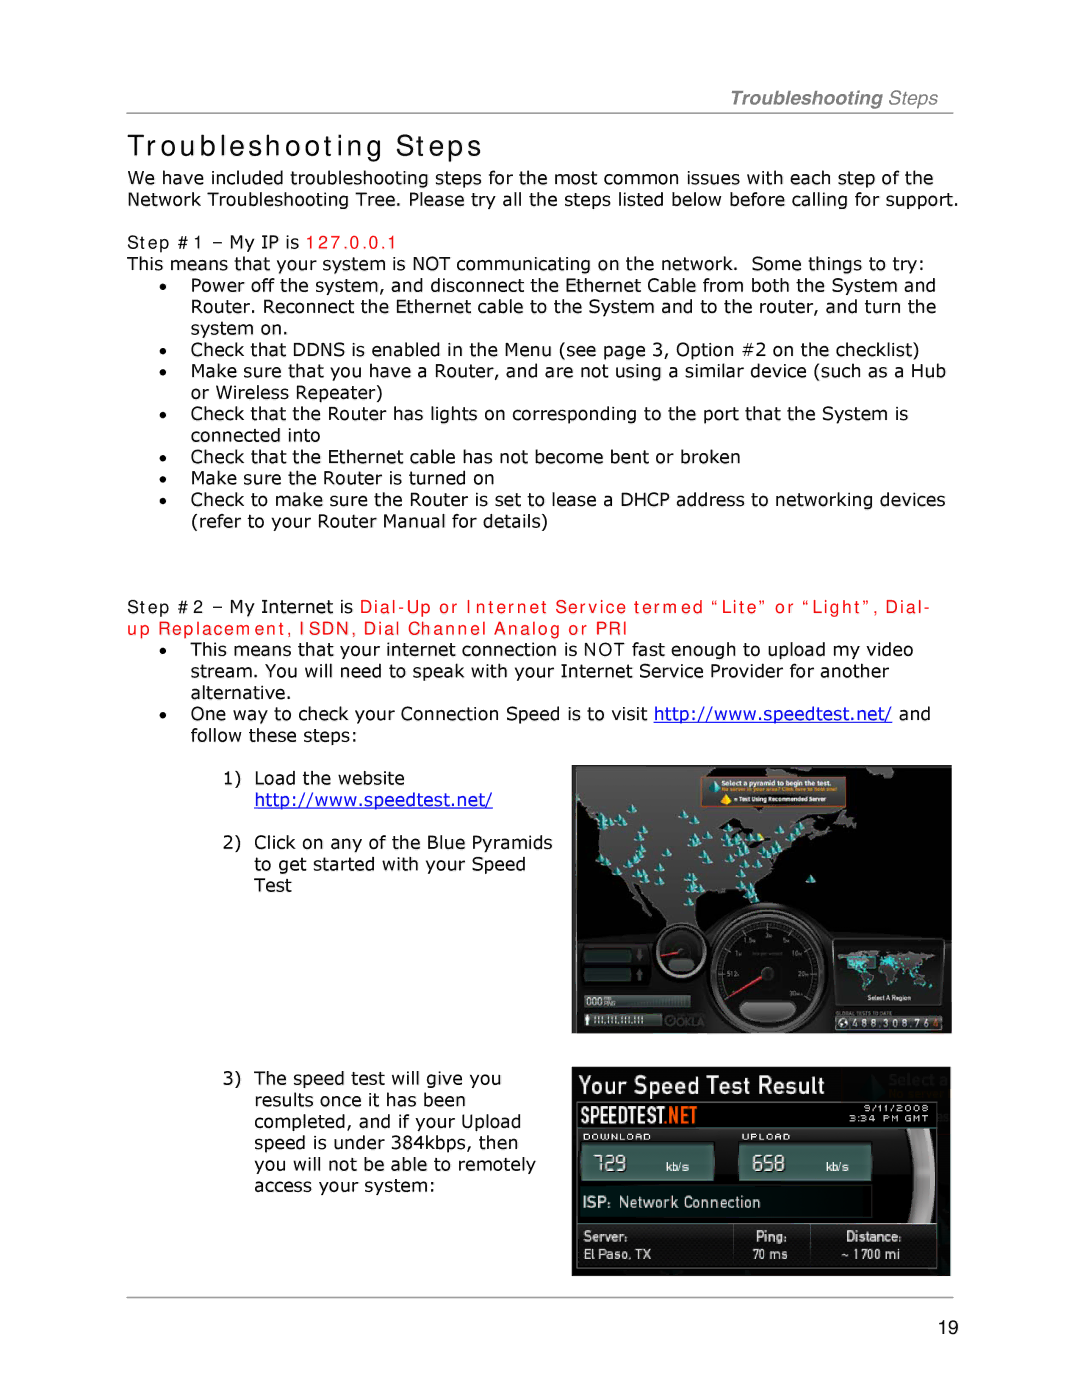
•One way to check your Connection Speed is to visit http://www.speedtest.net/ and follow these steps:
1)Load the website http://www.speedtest.net/
2)Click on any of the Blue Pyramids to get started with your Speed Test
3)The speed test will give you results once it has been completed, and if your Upload speed is under 384kbps, then you will not be able to remotely access your system:
19
