Contents
REFRIGERATOR SAFETY
TableofContents
Your safety and the safety of others are very important
REFRIGERATOR USE & CARE GUIDE
INSTALLATION INSTRUCTIONS
Excessive Weight Hazard
Use two or more people to move and install refrigerator
When Moving Your Refrigerator
LocationRequirements
ElectricalRequirements
WaterSupplyRequirements
Recommended Grounding Method
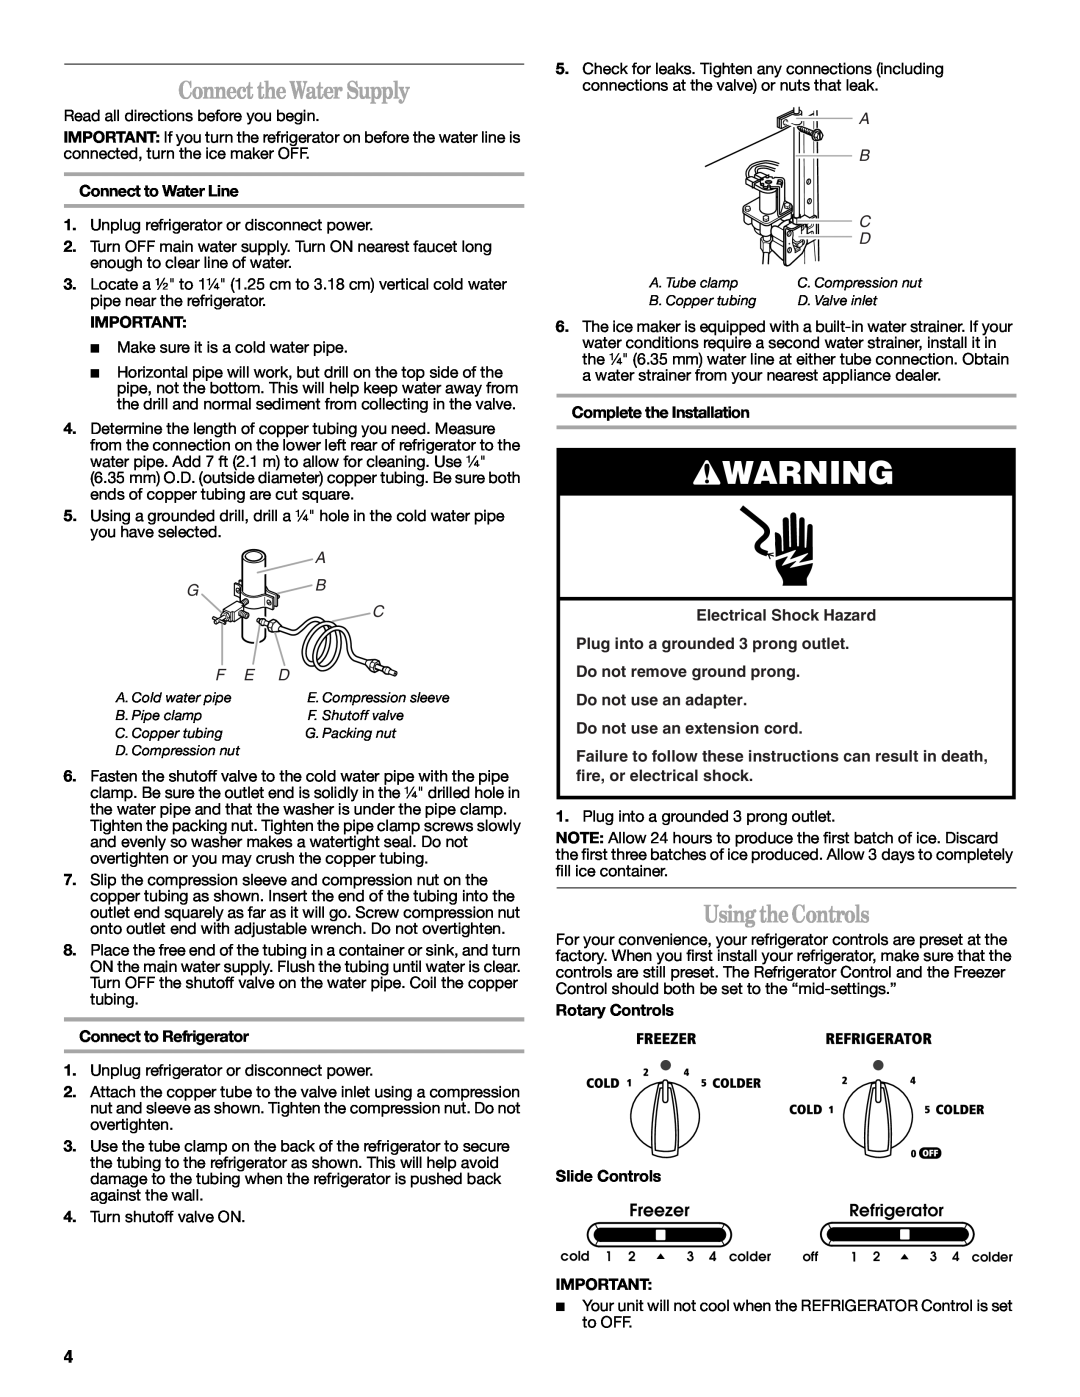
UsingtheControls
Complete the Installation
ConnecttheWaterSupply
Connect to Water Line
Cleaning
To Clean Your Refrigerator
Adjusting Controls
ADJUSTMENT
TROUBLESHOOTING
ChangingtheLightBulbs
RefrigeratorOperation
The refrigerator will not operate
If you need replacement parts
TemperatureandMoisture
IceandWater
The doors are difficult to open
LIMITED WARRANTY
ITEMS EXCLUDED FROM WARRANTY This limited warranty does not cover
DISCLAIMER OF IMPLIED WARRANTIES LIMITATION OF REMEDIES
call