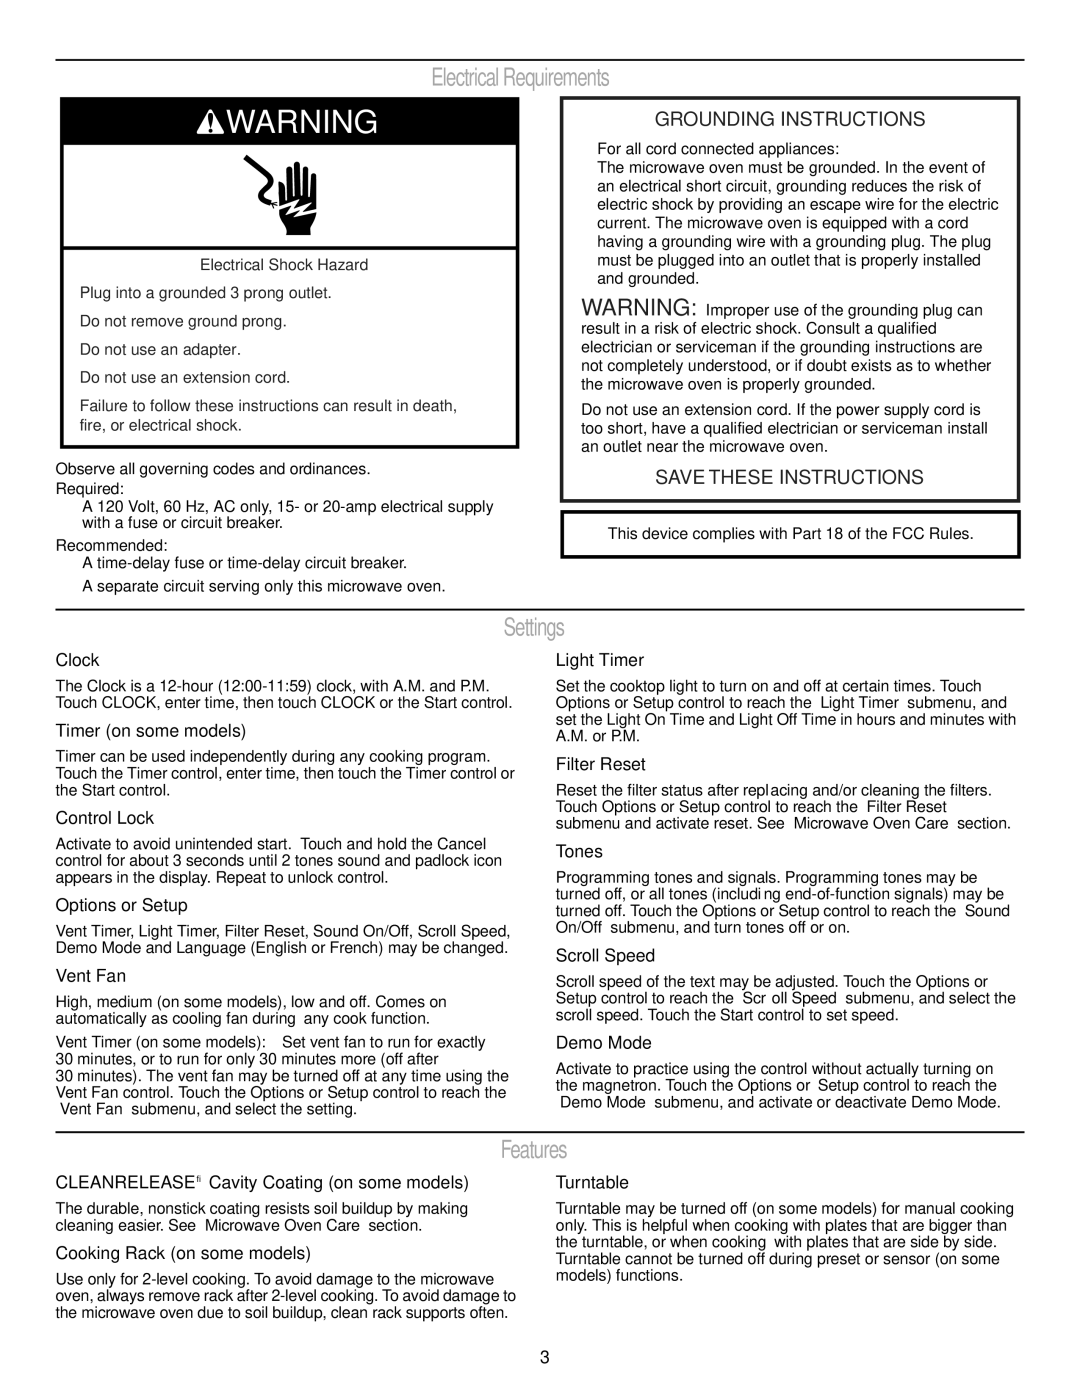
Electrical Requirements

WARNING

Electrical Shock Hazard

Plug into a grounded 3 prong outlet.

Do not remove ground prong.

Do not use an adapter.

Do not use an extension cord.

Failure to follow these instructions can result in death, fire, or electrical shock.

Observe all governing codes and ordinances.

Required:

A 120 Volt, 60 Hz, AC only, 15- or 20-amp electrical supply with a fuse or circuit breaker.

Recommended:

A time-delay fuse or time-delay circuit breaker.

A separate circuit serving only this microwave oven.

GROUNDING INSTRUCTIONS

For all cord connected appliances:

The microwave oven must be grounded. In the event of an electrical short circuit, grounding reduces the risk of electric shock by providing an escape wire for the electric current. The microwave oven is equipped with a cord having a grounding wire with a grounding plug. The plug must be plugged into an outlet that is properly installed and grounded.

WARNING: Improper use of the grounding plug can result in a risk of electric shock. Consult a qualified electrician or serviceman if the grounding instructions are not completely understood, or if doubt exists as to whether the microwave oven is properly grounded.

Do not use an extension cord. If the power supply cord is too short, have a qualified electrician or serviceman install an outlet near the microwave oven.

SAVE THESE INSTRUCTIONS

This device complies with Part 18 of the FCC Rules.

Settings

Clock

The Clock is a 12-hour (12:00-11:59) clock, with A.M. and P.M. Touch CLOCK, enter time, then touch CLOCK or the Start control.

Timer (on some models)

Timer can be used independently during any cooking program. Touch the Timer control, enter time, then touch the Timer control or the Start control.

Control Lock

Activate to avoid unintended start. Touch and hold the Cancel control for about 3 seconds until 2 tones sound and padlock icon appears in the display. Repeat to unlock control.

Options or Setup

Vent Timer, Light Timer, Filter Reset, Sound On/Off, Scroll Speed, Demo Mode and Language (English or French) may be changed.

Vent Fan

High, medium (on some models), low and off. Comes on automatically as cooling fan during any cook function.

Vent Timer (on some models): Set vent fan to run for exactly 30 minutes, or to run for only 30 minutes more (off after

30 minutes). The vent fan may be turned off at any time using the Vent Fan control. Touch the Options or Setup control to reach the “Vent Fan” submenu, and select the setting.

Light Timer

Set the cooktop light to turn on and off at certain times. Touch Options or Setup control to reach the “Light Timer” submenu, and set the Light On Time and Light Off Time in hours and minutes with A.M. or P.M.

Filter Reset

Reset the filter status after replacing and/or cleaning the filters. Touch Options or Setup control to reach the “Filter Reset” submenu and activate reset. See “Microwave Oven Care” section.

Tones

Programming tones and signals. Programming tones may be turned off, or all tones (including end-of-function signals) may be turned off. Touch the Options or Setup control to reach the “Sound On/Off” submenu, and turn tones off or on.

Scroll Speed

Scroll speed of the text may be adjusted. Touch the Options or Setup control to reach the “Scroll Speed” submenu, and select the scroll speed. Touch the Start control to set speed.

Demo Mode

Activate to practice using the control without actually turning on the magnetron. Touch the Options or Setup control to reach the “Demo Mode” submenu, and activate or deactivate Demo Mode.

Features

CLEANRELEASE® Cavity Coating (on some models)

The durable, nonstick coating resists soil buildup by making cleaning easier. See “Microwave Oven Care” section.

Cooking Rack (on some models)

Use only for 2-level cooking. To avoid damage to the microwave oven, always remove rack after 2-level cooking. To avoid damage to the microwave oven due to soil buildup, clean rack supports often.

Turntable

Turntable may be turned off (on some models) for manual cooking only. This is helpful when cooking with plates that are bigger than the turntable, or when cooking with plates that are side by side.

Turntable cannot be turned off during preset or sensor (on some models) functions.

3

Page 4
Image 4
Whirlpool W10182518A manual Electrical Requirements, Settings, Features

W10182518A specifications

Whirlpool, a leading home appliance manufacturer, has introduced several innovative components including Whirlpool part numbers 461966100611, W10182523A, and W10182518A. These parts are designed for use in various models of Whirlpool refrigerators and are essential for maintaining optimal appliance performance.

The Whirlpool 461966100611 is primarily a water filter, crucial for providing clean and fresh drinking water. This component operates with advanced filtration technology that significantly reduces contaminants such as chlorine taste and odor, lead, and other impurities. One of its most notable features is its ability to improve the overall quality of water while retaining beneficial minerals. This ensures that households can enjoy pure water for drinking and cooking, contributing to healthier lifestyles.

Another important model, W10182523A, serves as an ice maker assembly. This component plays a vital role in producing ice on demand, making it an indispensable feature for refrigerators used frequently for entertaining or in families that enjoy cold drinks. The ice maker utilizes advanced technologies to produce clear, high-quality bullet ice cubes efficiently. The easy installation process is a highlight, allowing homeowners to replace their ice maker with minimal hassle, ensuring a continuous supply of ice without long interruption.

The W10182518A is an essential component that refers to the ice maker's fill cup. This part ensures that water is appropriately directed to the ice mold, optimizing the ice-making process. Its robust design and efficiency enhance the overall functionality of the ice maker. This component's precise engineering guarantees minimal leakage and helps maintain the cleanliness of the refrigerator's interior, reflecting Whirlpool's commitment to quality and user convenience.

All these parts embody Whirlpool's dedication to innovation and reliability. They are designed with durability in mind, ensuring that they can withstand the demands of everyday use. The compatibility of these components with a range of refrigerator models adds to their value, making replacements straightforward for users. Moreover, Whirlpool's focus on customer satisfaction is evident in the ease of installation and the performance of their parts. With these components, users can expect enhanced functionality, reliability, and the efficiency that has made Whirlpool a trusted name in home appliances.