3.Press COOK TIME. The cook time oven indicator light will light up.

4.Press TEMP/TIME “+” or “-” arrow pads to enter the length of time to cook.

5.Press START TIME. The start time/delay oven indicator light will light up.

6.Press TEMP/TIME “+” or “-” arrow pads to enter the time of day to start.

7.Press START.

When the start time is reached, the oven will automatically turn on. The temperature and/or time settings can be changed anytime after pressing Start by repeating steps 1-7. When the set cook time ends, the oven will shut off automatically and “End” will appear on the display.

8.Press OFF/CANCEL to clear the display.

RANGE CARE

Self-Cleaning Cycle(on some models)

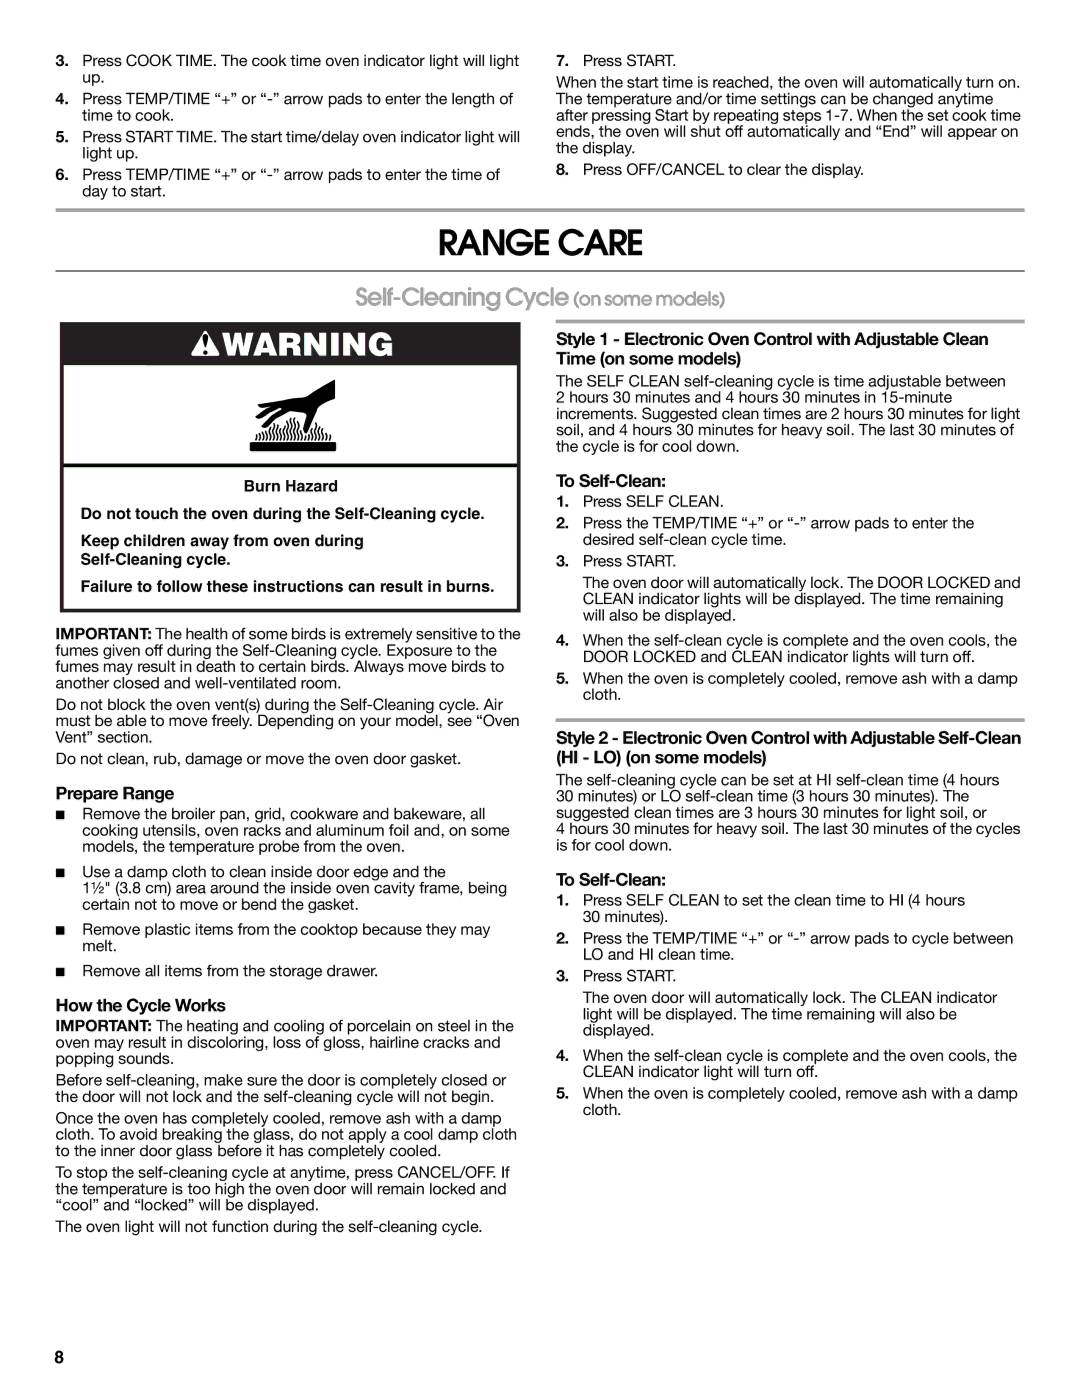
WARNING

Burn Hazard

Do not touch the oven during the Self-Cleaning cycle.

Keep children away from oven during

Self-Cleaning cycle.

Failure to follow these instructions can result in burns.

Style 1 - Electronic Oven Control with Adjustable Clean Time (on some models)

The SELF CLEAN self-cleaning cycle is time adjustable between 2 hours 30 minutes and 4 hours 30 minutes in 15-minute increments. Suggested clean times are 2 hours 30 minutes for light soil, and 4 hours 30 minutes for heavy soil. The last 30 minutes of the cycle is for cool down.

To Self-Clean:

1.Press SELF CLEAN.

2.Press the TEMP/TIME “+” or “-” arrow pads to enter the desired self-clean cycle time.

3.Press START.

The oven door will automatically lock. The DOOR LOCKED and CLEAN indicator lights will be displayed. The time remaining will also be displayed.

IMPORTANT: The health of some birds is extremely sensitive to the fumes given off during the Self-Cleaning cycle. Exposure to the fumes may result in death to certain birds. Always move birds to another closed and well-ventilated room.

Do not block the oven vent(s) during the Self-Cleaning cycle. Air must be able to move freely. Depending on your model, see “Oven Vent” section.

Do not clean, rub, damage or move the oven door gasket.

Prepare Range

Remove the broiler pan, grid, cookware and bakeware, all cooking utensils, oven racks and aluminum foil and, on some models, the temperature probe from the oven.

Use a damp cloth to clean inside door edge and the

1½" (3.8 cm) area around the inside oven cavity frame, being certain not to move or bend the gasket.

Remove plastic items from the cooktop because they may melt.

Remove all items from the storage drawer.

How the Cycle Works

IMPORTANT: The heating and cooling of porcelain on steel in the oven may result in discoloring, loss of gloss, hairline cracks and popping sounds.

Before self-cleaning, make sure the door is completely closed or the door will not lock and the self-cleaning cycle will not begin.

Once the oven has completely cooled, remove ash with a damp cloth. To avoid breaking the glass, do not apply a cool damp cloth to the inner door glass before it has completely cooled.

To stop the self-cleaning cycle at anytime, press CANCEL/OFF. If the temperature is too high the oven door will remain locked and “cool” and “locked” will be displayed.

The oven light will not function during the self-cleaning cycle.

4.When the self-clean cycle is complete and the oven cools, the DOOR LOCKED and CLEAN indicator lights will turn off.

5.When the oven is completely cooled, remove ash with a damp cloth.

Style 2 - Electronic Oven Control with Adjustable Self-Clean (HI - LO) (on some models)

The self-cleaning cycle can be set at HI self-clean time (4 hours 30 minutes) or LO self-clean time (3 hours 30 minutes). The suggested clean times are 3 hours 30 minutes for light soil, or

4 hours 30 minutes for heavy soil. The last 30 minutes of the cycles is for cool down.

To Self-Clean:

1.Press SELF CLEAN to set the clean time to HI (4 hours 30 minutes).

2.Press the TEMP/TIME “+” or “-” arrow pads to cycle between LO and HI clean time.

3.Press START.

The oven door will automatically lock. The CLEAN indicator light will be displayed. The time remaining will also be displayed.

4.When the self-clean cycle is complete and the oven cools, the CLEAN indicator light will turn off.

5.When the oven is completely cooled, remove ash with a damp cloth.

8

Page 8
Image 8
Whirlpool W10204510A Range Care, Self-Cleaning Cycleon some models, To Self-Clean, Prepare Range, How the Cycle Works

W10204316B, W10204510A specifications

The Whirlpool W10204510A and W10204316B are two innovative kitchen appliance components that exemplify modern technology and efficiency. Designed primarily for use in Whirlpool refrigerators and freezers, these components enhance user experience through their advanced features and reliability.

The Whirlpool W10204510A is primarily a refrigerator water filter. This filter is engineered to reduce contaminants found in water, including chlorine, lead, and other potentially harmful substances. The design of the filter emphasizes convenience, with an easy-to-install system that requires no specialized tools. Its efficient filtration process not only provides cleaner drinking water but also improves the taste and odor of the water dispensed from the refrigerator. The filter has a lifespan of approximately six months or 200 gallons, ensuring longevity and cost-effectiveness for users.

On the other hand, the Whirlpool W10204316B is known as a water filter bypass plug. This component serves a specific function for those who may choose not to use a water filter in their refrigerator. The bypass plug allows water to flow through the system without filtration, making it a necessary part for optimal operation when a filter is not being used. Its construction is durable, ensuring that it can withstand the rigors of regular use while maintaining a tight seal to prevent any leaks.

Both components are designed with user convenience in mind. The filters often come with easily recognizable indicators that notify users when it is time for a replacement. This feature saves users from the hassle of keeping track of filter changes manually. Moreover, the components are made from high-quality materials that are compliant with industry standards, ensuring that they do not leak harmful substances back into the water supply while maintaining effective performance.

Together, the W10204510A and W10204316B represent Whirlpool's commitment to providing practical, efficient, and advanced appliance solutions for households. These components highlight the brand's focus on health and safety, quality, and user-friendly design, making them essential parts of modern kitchen environments. Users can enjoy peace of mind knowing they have access to cleaner water and streamlined functionality in their refrigerators, enhancing their overall kitchen experience.