Manuals
/
Whirlpool
/
Kitchen Appliance
/
Dishwasher
Whirlpool
W10275146A
manual
Add Rinse Aid, Select Options options vary by model, To turn on Lock
Models:
W10275146A
1
5
7
7
Download
7 pages
50.63 Kb
1
2
3
4
5
6
7
Connecting the Dishwasher
for cleaning and
Safety
Page 5
Image 5
Page 4
Page 6
Page 5
Image 5
Page 4
Page 6
Contents
Page
Table of Contents
Dishwasher Safety
Your safety and the safety of others are very important
DISHWASHER USER INSTRUCTIONS
SAVE THESE INSTRUCTIONS GROUNDING INSTRUCTIONS
IMPORTANT SAFETY INSTRUCTIONS
SAVE THESE INSTRUCTIONS
For a grounded, cord-connected dishwasher
Quick Steps
2 for cleaning and
Dishwasher Use
Prepare and load
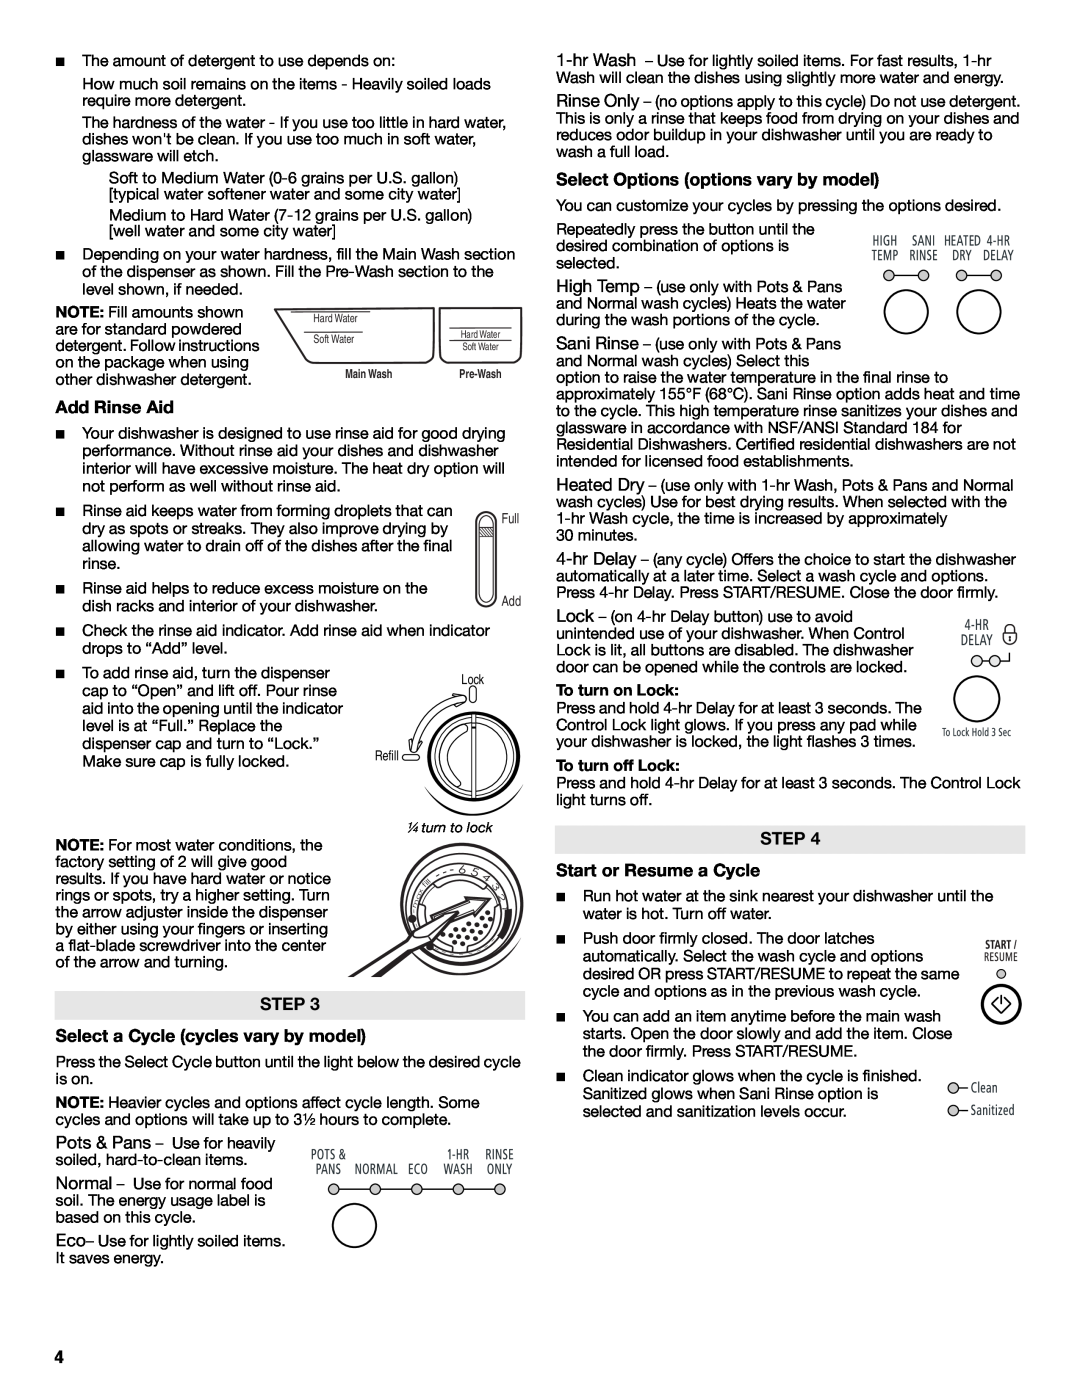
Select Options options vary by model
Add Rinse Aid
STEP Start or Resume a Cycle
STEP Select a Cycle cycles vary by model
Connecting the Faucet Adapter
Connecting the Dishwasher
Connecting the faucet adapter to faucets with external threads
Connecting the faucet adapter to faucets with internal threads
Dishwasher Care
Disconnecting the Dishwasher
Cleaning the Dishwasher
Storing the Dishwasher
Top
Page
Image
Contents