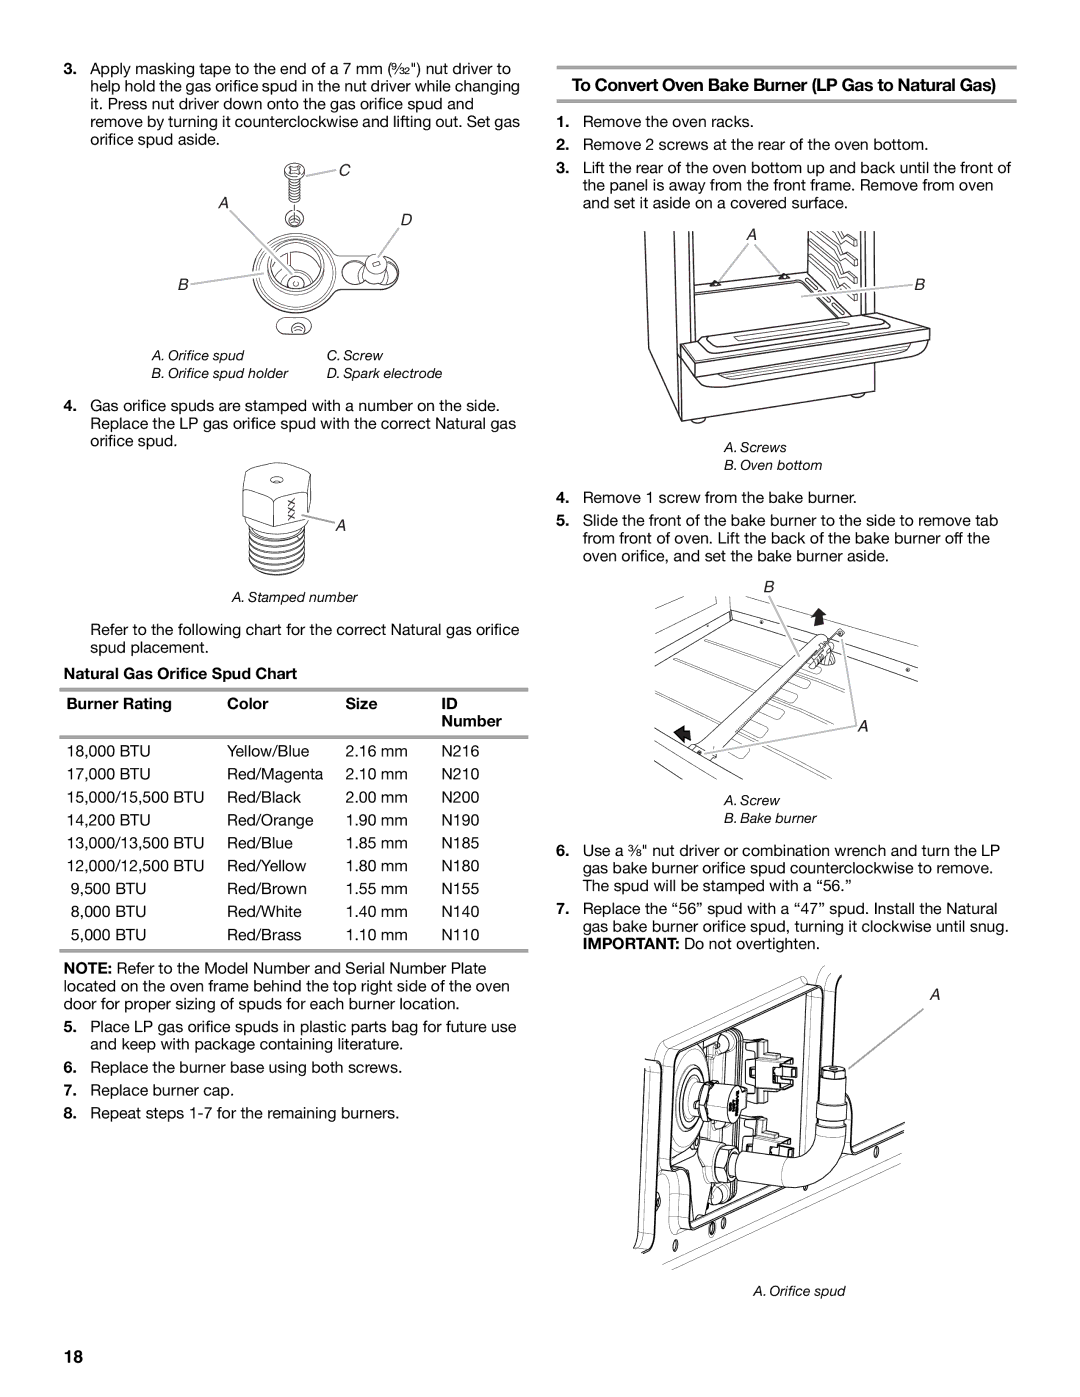
W10553363A specifications
The Whirlpool W10553363A is an innovative and versatile appliance designed to enhance the functionality of modern kitchens. As one of the leading brands in home appliances, Whirlpool has integrated advanced technologies and user-friendly features into this product, making it a reliable choice for a variety of culinary needs.One of the standout features of the W10553363A is its spacious interior, which provides ample room for food storage and organization. With several adjustable shelves, users can customize the storage space to accommodate items of varying sizes, ensuring maximum efficiency when storing groceries or leftovers. The appliance typically includes a variety of compartments, allowing for easy categorization of food items, while maintaining an optimal cold environment.
The W10553363A is also equipped with advanced cooling technologies. This includes a state-of-the-art cooling system that ensures consistent temperature control throughout the interior. This is essential for keeping perishables fresh for longer periods. Additionally, the appliance often features a frost-free design, eliminating the hassle of defrosting while reducing moisture build-up.
Energy efficiency is another critical aspect of the Whirlpool W10553363A. Designed with eco-friendly technologies, this appliance typically operates on lower energy consumption, helping users save on electricity bills while minimizing their environmental footprint. This commitment to sustainability has made it a popular choice among environmentally-conscious consumers.
Convenience is also a key attribute of the W10553363A. Many units come with smart technology options, including Wi-Fi connectivity, enabling users to monitor and control the appliance remotely through a mobile app. This allows users to adjust temperatures, set alarms, and receive notifications about food freshness, making kitchen management more efficient.
Moreover, the Whirlpool W10553363A often features easy-to-use controls and a sleek design, making it a stylish addition to any kitchen decor. With an emphasis on both functionality and aesthetics, it meets the needs of busy households while complementing modern home designs.
In summary, the Whirlpool W10553363A stands out due to its spaciousness, advanced cooling technologies, energy efficiency, and user-friendly features. It truly represents Whirlpool's commitment to delivering high-quality, innovative appliances that cater to the demands of contemporary kitchens, ensuring that users can enjoy a seamless cooking and storage experience.

