Manuals
/
Whirlpool
/
Kitchen Appliance
/
Refrigerator
Whirlpool
WAR349BSL
manual
Electrical Requirements, Reverse the Refrigerator Door, optional
Models:
WAR349BSL
1
4
28
28
Download
28 pages
40.41 Kb
1
2
3
4
5
6
7
8
Troubleshooting
Install
Warranty
Solución De Problemas
Utilisationdelacommande
AdjustableShelfandBins
Exigencesdemplacement
Assistance ou service
Refrigerator Features
Page 4
Image 4
Page 3
Page 5
Page 4
Image 4
Page 3
Page 5
Contents
WAR349BSL
COMPACT REFRIGERATOR
REFRIGERADOR COMPACTO
RÉFRIGÉRATEUR COMPACT
REFRIGERATOR SAFETY
Table of Contents/ Índice/ Table des matières
Assistance or Service
Your safety and the safety of others are very important
INSTALLATION INSTRUCTIONS
Excessive Weight Hazard
Use two or more people to move and install refrigerator
When Moving Your Refrigerator
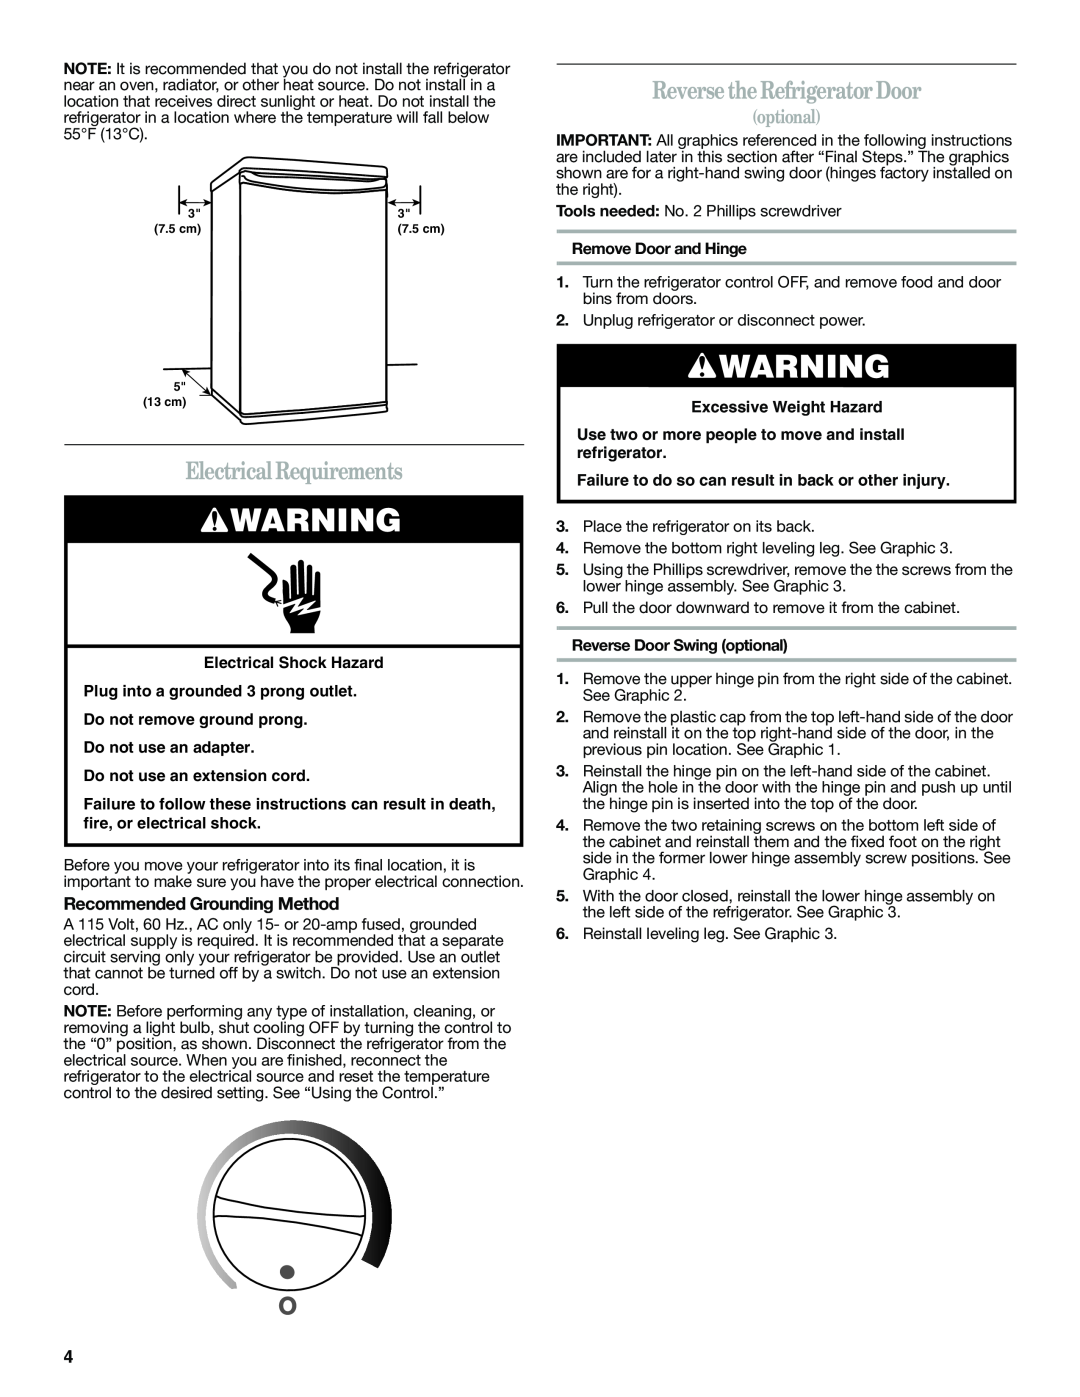
Electrical Requirements
Reverse the Refrigerator Door
optional
Recommended Grounding Method
Bottom Hinge
Top Hinge
Final Steps
REFRIGERATOR FEATURES
Using theControl
Adjust the leg to level the refrigerator
REFRIGERATOR USE
DOOR FEATURES
AdjustableShelfandBins
Cleaning
Explosion Hazard Use nonflammable cleaner
ChangingtheLightBulb
VacationandMovingCare
Manual Defrosting
Defrosting
TROUBLESHOOTING
Refrigerator Operation
Temperature and Moisture
Your refrigerator will not operate
REFRIGERATOR WARRANTY
ONE YEAR LIMITED WARRANTY
There is interior moisture buildup
Door opened often or left open? Allows humid air to enter
SEGURIDAD DEL REFRIGERADOR
Ayuda o servicio técnico
Su seguridad y la seguridad de los demás es muy importante
INSTRUCCIONES IMPORTANTES DE SEGURIDAD
INSTRUCCIONES DE INSTALACIÓN
ADVERTENCIA
Cómodeshacerseadecuadamentedesu refrigeradorviejo
Desempaqueelrefrigerador
Requisitos eléctricos
Cómo invertir la puerta del refrigerador
opcional
Método de conexión a tierra recomendado
Bisagra superior
Bisagra inferior
CARACTERÍSTICAS DEL REFRIGERADOR
Niveleelrefrigerador
Usodelcontrol
Estantesdel refrigerador
PUERTA
CARACTERÍSTICAS DE LA
Estanteyrecipientesajustables
Depósitodebebidas
Cómo cambiar el foco
Cuidado durante las vacaciones y mudanzas
Descongelación manual
Descongelación
SOLUCIÓN DE PROBLEMAS
Funcionamiento del refrigerador
Temperatura y humedad
El refrigerador no funciona
GARANTÍA DEL REFRIGERADOR
Hay acumulación de humedad en el interior
Se ha formado hielo en la pared interna posterior
Hay fugas de agua en el refrigerador
Assistance ou service
SÉCURITÉ DU RÉFRIGÉRATEUR
DANGER AVERTISSEMENT
Votre sécurité et celle des autres est très importante
INSTRUCTIONS D’INSTALLATION
Exigencesdemplacement
Déplacement de votre réfrigérateur
AVERTISSEMENT
Méthode recommandée de mise à la terre
Spécificationsélectriques
Inversion de la porte duréfrigérateur
facultatif
Charnière supérieure
Charnière inférieure
Étapes finales
Risque de choc électrique
Utilisationdelacommande
Dépose et réinstallation dune tablette/dun cadre
UTILISATION DURÉFRIGÉRATEUR
CARACTÉRISTIQUES DURÉFRIGÉRATEUR
Dépose et réinstallation des tablettes ou bacs
CARACTÉRISTIQUES DELAPORTE
ENTRETIEN DU RÉFRIGÉRATEUR
Tablettesetbacsréglables
Remplacement del’ampoule d’éclairage
Précautions à prendrepour les vacances et avant un déménagement
Dégivrage manuel
Dégivrage
DÉPANNAGE
Fonctionnement duréfrigérateur
Température et humidité
Le réfrigérateur ne fonctionne pas
GARANTIE DU RÉFRIGÉRATEUR
Il y a une accumulation dhumidité à lintérieur
La pièce est-elle humide? Ceci contribue à laccumulation de lhumidité
Le joint est-il sale ou collant? Nettoyer le joint et la surface
Top
Page
Image
Contents