3.Close the refrigerator door and keep both doors closed until you are ready to lift them free from the cabinet.

NOTE: Provide additional support for the doors while the hinges are being moved. Do not depend on the door magnets to hold the doors in place while you are working.

4.Remove the parts for the top hinge as shown in Top Hinge graphic. Lift the freezer door free from the cabinet.

5.Remove the parts for the center hinge as shown in the Center Hinge graphic. Lift the refrigerator door free from the cabinet.

6.Remove the parts for the bottom hinge as shown in the Bottom Hinge graphic.

NOTE: On some models, remove both the bottom hinge assembly and the leveling foot.

Style 1 - Replace Doors and Hinges

NOTE: Provide additional support for the doors while the hinges are being moved. Do not depend on the door magnets to hold the doors in place while you are working.

1.Replace the parts for the bottom hinge as shown. Tighten screws. Replace the refrigerator door.

NOTE: On some models, install both the bottom hinge assembly and the leveling foot.

2.Assemble the parts for the center hinge as shown and tighten all screws. See Center Hinge graphic. Replace the freezer door.

3.Assemble the parts for the top hinge as shown in the Top Hinge graphic. Do not tighten the screws completely.

4.Line up the doors so that the bottom of the freezer door aligns evenly with the top of the refrigerator door. Tighten all screws.

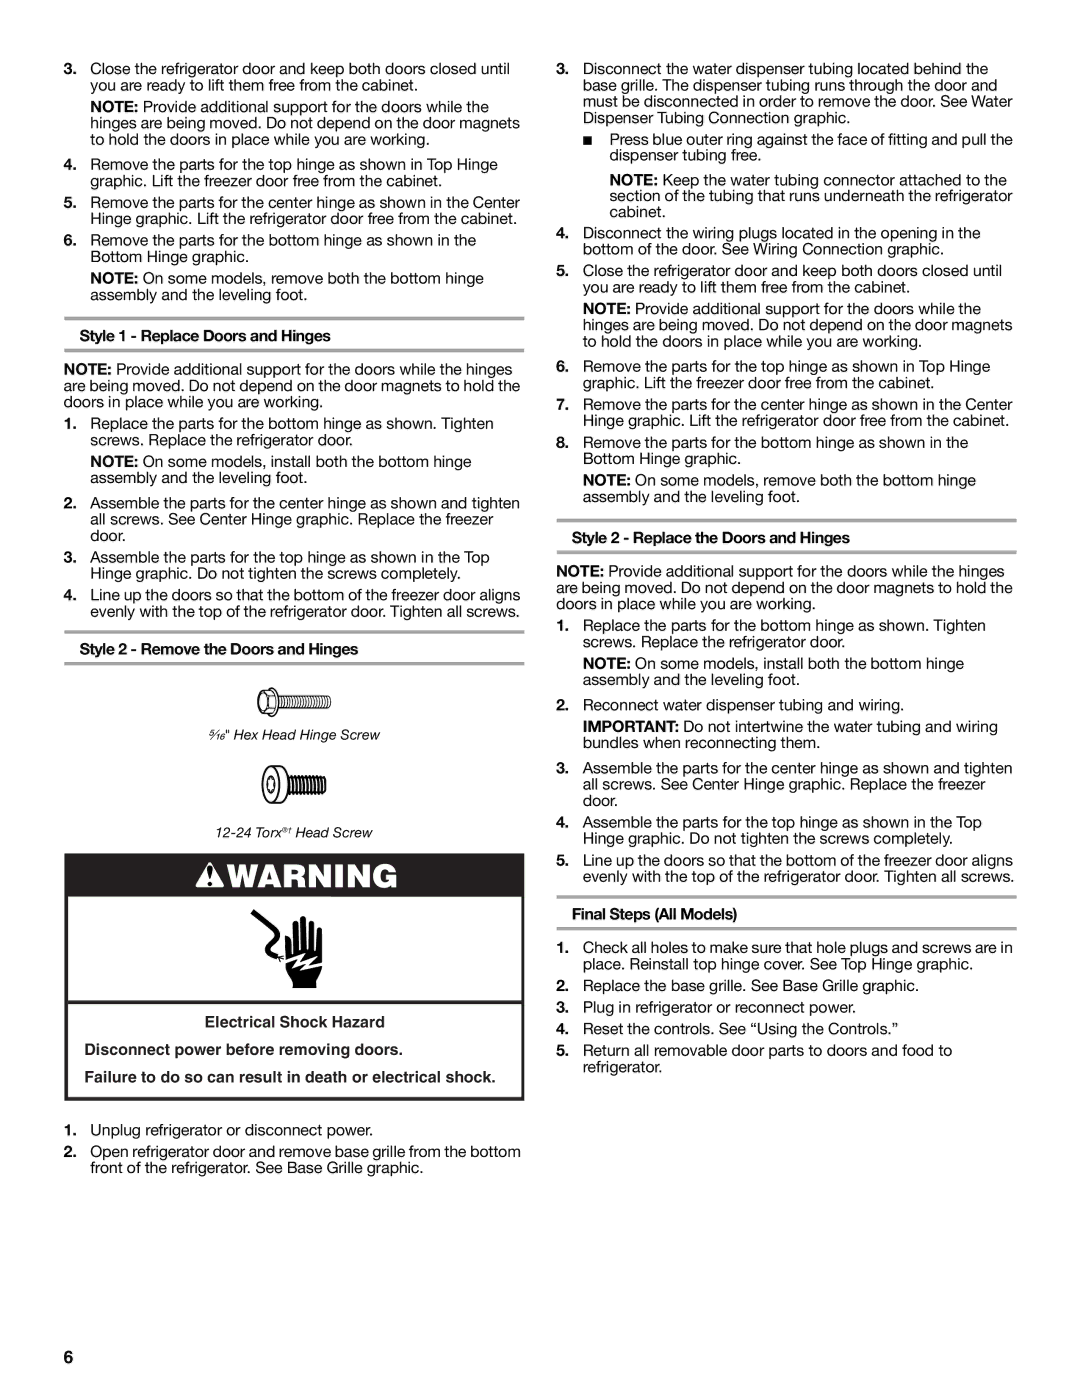
Style 2 - Remove the Doors and Hinges

⁵⁄₁₆" Hex Head Hinge Screw

12-24 Torx®† Head Screw

WARNING

Electrical Shock Hazard

Disconnect power before removing doors.

Failure to do so can result in death or electrical shock.

1.Unplug refrigerator or disconnect power.

2.Open refrigerator door and remove base grille from the bottom front of the refrigerator. See Base Grille graphic.

3.Disconnect the water dispenser tubing located behind the base grille. The dispenser tubing runs through the door and must be disconnected in order to remove the door. See Water Dispenser Tubing Connection graphic.

Press blue outer ring against the face of fitting and pull the dispenser tubing free.

NOTE: Keep the water tubing connector attached to the section of the tubing that runs underneath the refrigerator cabinet.

4.Disconnect the wiring plugs located in the opening in the bottom of the door. See Wiring Connection graphic.

5.Close the refrigerator door and keep both doors closed until you are ready to lift them free from the cabinet.

NOTE: Provide additional support for the doors while the hinges are being moved. Do not depend on the door magnets to hold the doors in place while you are working.

6.Remove the parts for the top hinge as shown in Top Hinge graphic. Lift the freezer door free from the cabinet.

7.Remove the parts for the center hinge as shown in the Center Hinge graphic. Lift the refrigerator door free from the cabinet.

8.Remove the parts for the bottom hinge as shown in the Bottom Hinge graphic.

NOTE: On some models, remove both the bottom hinge assembly and the leveling foot.

Style 2 - Replace the Doors and Hinges

NOTE: Provide additional support for the doors while the hinges are being moved. Do not depend on the door magnets to hold the doors in place while you are working.

1.Replace the parts for the bottom hinge as shown. Tighten screws. Replace the refrigerator door.

NOTE: On some models, install both the bottom hinge assembly and the leveling foot.

2.Reconnect water dispenser tubing and wiring.

IMPORTANT: Do not intertwine the water tubing and wiring bundles when reconnecting them.

3.Assemble the parts for the center hinge as shown and tighten all screws. See Center Hinge graphic. Replace the freezer door.

4.Assemble the parts for the top hinge as shown in the Top Hinge graphic. Do not tighten the screws completely.

5.Line up the doors so that the bottom of the freezer door aligns evenly with the top of the refrigerator door. Tighten all screws.

Final Steps (All Models)

1.Check all holes to make sure that hole plugs and screws are in place. Reinstall top hinge cover. See Top Hinge graphic.

2.Replace the base grille. See Base Grille graphic.

3.Plug in refrigerator or reconnect power.

4.Reset the controls. See “Using the Controls.”

5.Return all removable door parts to doors and food to refrigerator.

6

Page 6
Image 6
Whirlpool WRT771RWYW Style 1 Replace Doors and Hinges, Style 2 Remove the Doors and Hinges, Final Steps All Models

WRT771RWYB, WRT771RWYM, WRT771RWYW specifications

The Whirlpool WRT771RWYW, WRT771RWYM, and WRT771RWYB are modern refrigerators that exemplify the combination of style, functionality, and innovation. Designed to meet the needs of today's households, these models offer a range of features that enhance user convenience and food preservation.

At the core of these refrigerators is their spacious interior. With a total capacity of approximately 19 cubic feet, they provide ample storage space for groceries and other essentials. The adjustable shelving allows users to customize the layout to accommodate items of varying heights, ensuring that no space is wasted. The crispers, designed specifically for fruits and vegetables, help maintain optimal humidity levels, keeping produce fresh for longer periods.

Energy efficiency is a key feature of the WRT771 series. These models are ENERGY STAR certified, which means they consume less electricity compared to traditional refrigerators, helping users save on energy bills while contributing to environmental sustainability. The efficient cooling system not only maintains ideal temperatures but also minimizes noise, ensuring a quiet kitchen environment.

One of the standout technologies in these models is the SpillGuard glass shelves. Designed to contain spills and prevent them from spreading, these shelves simplify cleaning and promote hygiene. Additionally, the easy-to-use temperature controls allow users to set their desired cooling levels effortlessly.

The exterior design of the WRT771 series is equally impressive. Available in a variety of finishes, including white and black, these refrigerators enhance kitchen aesthetics while providing modern appeal. The ergonomic door handles and sleek lines add to the overall contemporary look.

Another notable characteristic is the top freezer configuration, which provides convenient access to frozen foods while keeping fresh items at eye level. The freezer compartment is spacious enough to store bulk items, with ample shelving and bins for organization.

For families and individuals with varied lifestyles, the Whirlpool WRT771RWYW, WRT771RWYM, and WRT771RWYB models deliver reliability, versatility, and efficiency. With their innovative features and thoughtful design, they stand out as excellent choices for anyone looking to upgrade their kitchen appliances and enhance their food storage solutions.