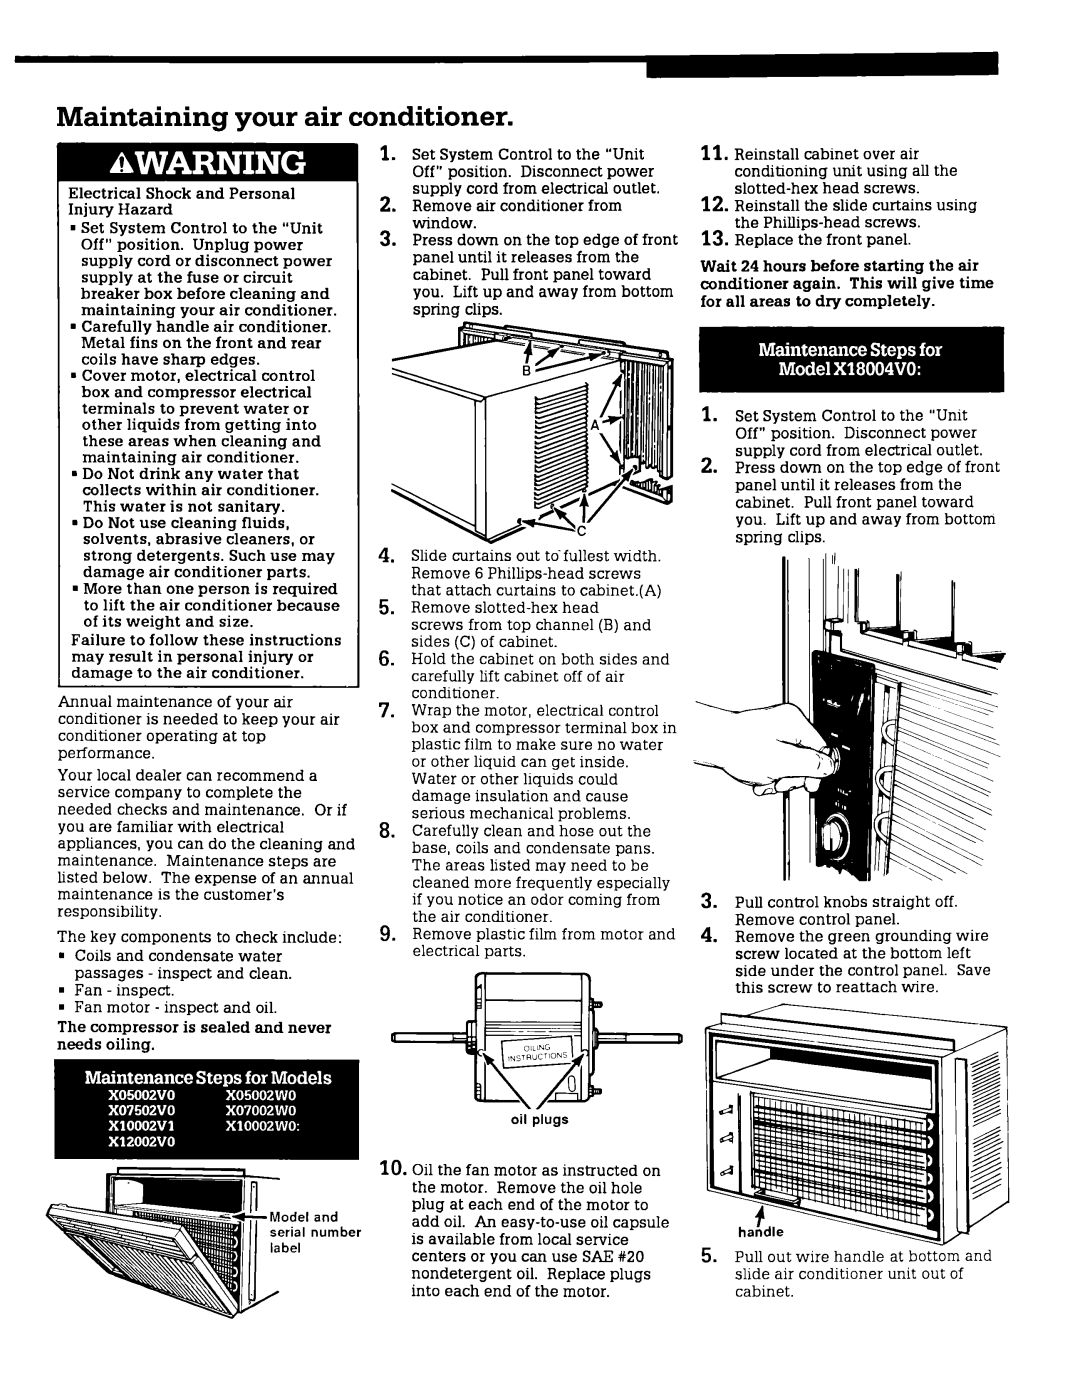
X05002V0, X10002V1, X05002W0, X18004VO, X12002V0 specifications
Whirlpool is a brand synonymous with innovation and reliability in household appliances, and their latest offerings, including the Whirlpool X10002W0, X12002V0, X18004VO, X10002V1, and XO7502VO, exemplify this commitment to quality. These models enhance kitchen experiences through advanced technologies and thoughtful design, making cooking and food storage efficient and convenient.The Whirlpool X10002W0 stands out with its sleek design and intuitive controls, offering user-friendly operation. This model incorporates a powerful cooling system that ensures optimal food preservation, while its adjustable shelves provide flexibility, accommodating various food items with ease. The unit is also energy efficient, helping consumers save on utility bills while contributing to a sustainable environment.
Next in line is the Whirlpool X12002V0, featuring advanced smart technology. This model allows users to control settings remotely via a smartphone app, bringing convenience to those with busy lifestyles. The interior includes a humidity-controlled crisper drawer and spill-proof glass shelves, which are designed to keep spills contained and make cleanup effortless. Its elegant finish makes it a stylish addition to any kitchen.
The Whirlpool X18004VO boasts a larger capacity, ideal for families or avid entertainers. With its innovative multi-air flow system, this model promotes even cooling throughout the refrigerator, ensuring temperature consistency. The frost-free freezer eliminates the hassle of manual defrosting, while LED lighting provides excellent visibility, showcasing your food items without excess energy consumption.
For those seeking enhanced functionality, the Whirlpool X10002V1 is equipped with specialized compartments for quick access to frequently used items. This model features a built-in ice maker, which is perfect for homes that regularly entertain guests. Its quiet operation ensures a peaceful kitchen environment while providing all the necessary cooling features.
Finally, the Whirlpool XO7502VO is designed for those who desire a commercial-grade appearance in their home kitchen. With heavy-duty shelving and a robust cooling system, this model is perfect for both home chefs and professionals. It includes a stainless-steel finish, which not only enhances durability but also adds a touch of elegance.
Overall, the Whirlpool X series combines cutting-edge technology with user-centric design, ensuring each model caters to the needs of modern kitchens. Whether it’s smart connectivity, spacious interiors, or energy-saving features, these refrigerators reflect Whirlpool’s dedication to enhancing the culinary experience while providing reliable performance.

