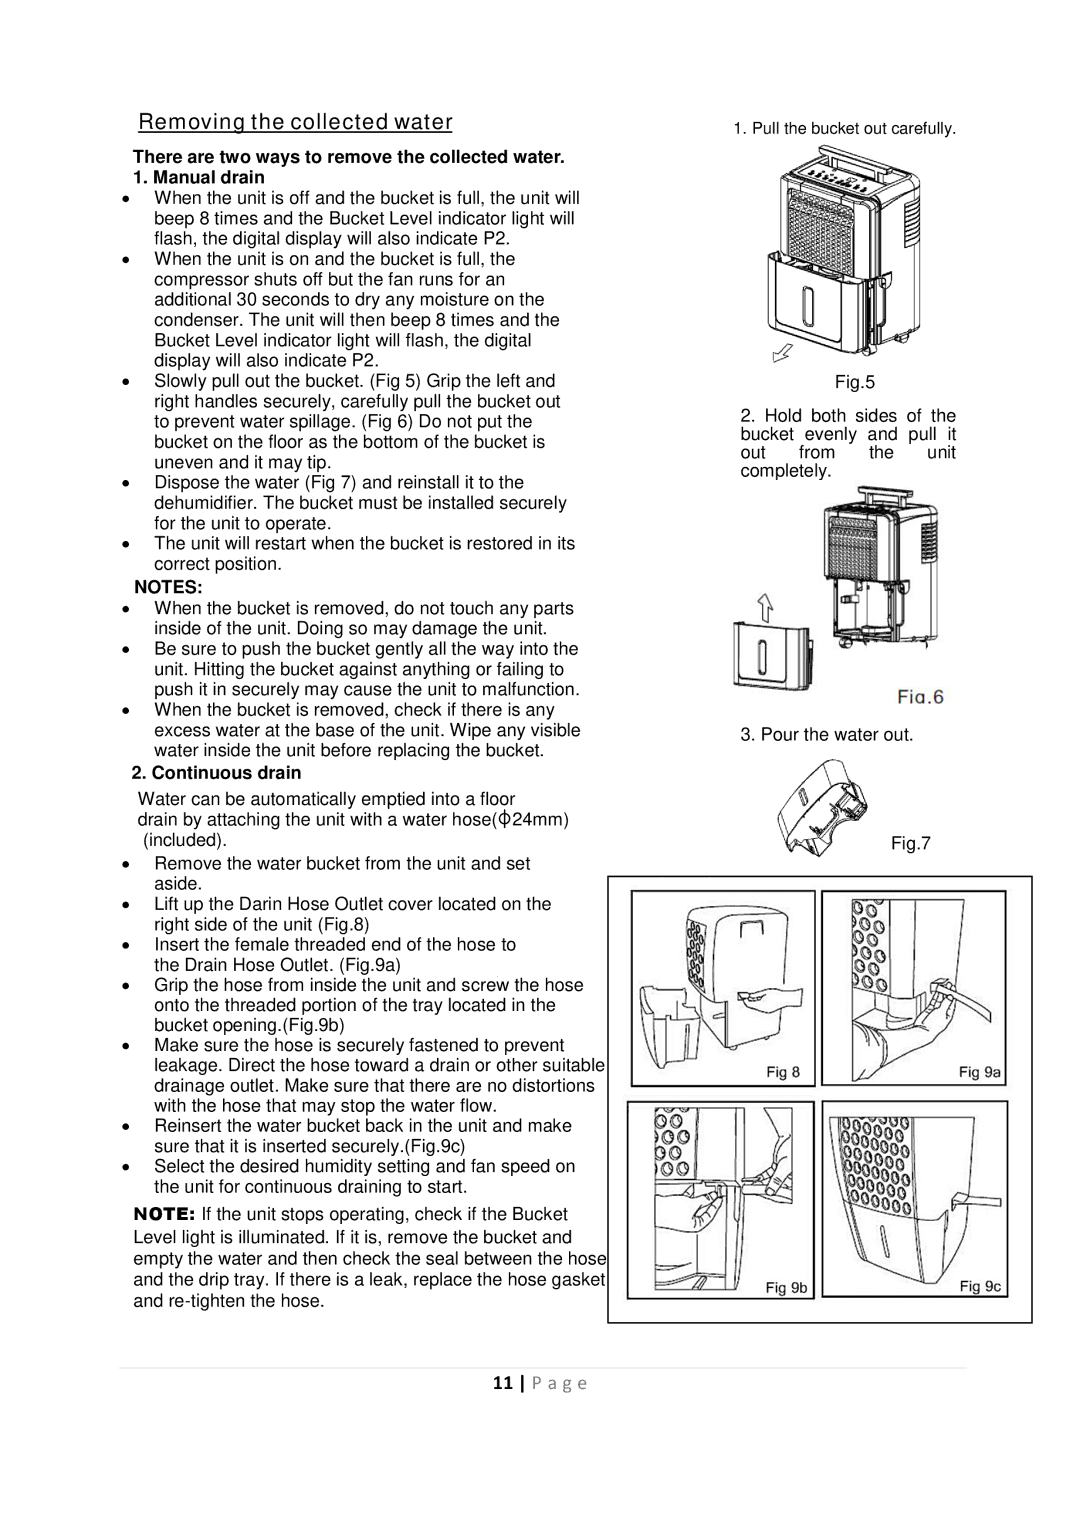
RPD-410W specifications
The Whynter RPD-410W is an advanced portable dual zone refrigerator and freezer, designed to meet the needs of both outdoor enthusiasts and everyday users who require efficient food storage solutions. This innovative refrigerator/freezer combo is particularly ideal for camping trips, tailgating, or even for use at home when additional refrigeration is needed.One of the main features of the RPD-410W is its dual zone capability. It is designed with two compartments that can be independently set to different temperatures, providing the versatility of having one section operate as a refrigerator and the other as a freezer. This allows users the flexibility to store frozen goods alongside fresh produce and dairy products without compromising storage needs.
The unit operates efficiently using advanced compressor technology, which ensures that it can maintain consistent temperatures even in harsh conditions. The RPD-410W has a temperature range that can be adjusted between -8°F (-22°C) up to 50°F (10°C), giving users the ability to freeze items solid or keep beverages perfectly chilled.
Another significant characteristic of the Whynter RPD-410W is its energy efficiency. The appliance is designed to consume minimal power, making it an eco-friendly option for long trips or continuous use. With a low power consumption, it is well-suited for operation with solar panels or car batteries, making it an excellent choice for off-grid adventures.
Portability is also a key feature of the RPD-410W, with its lightweight construction and built-in handles designed for easy transportation. The unit is also equipped with wheels for added mobility, ensuring that it can be moved with ease, whether you are setting up camp or rearranging your space at home.
Additionally, the RPD-410W features an easy-to-use digital control panel, giving users intuitive access to temperature settings and configurations. Its robust design ensures durability while maintaining an attractive aesthetic appeal.
In conclusion, the Whynter RPD-410W stands out for its dual zone capability, energy efficiency, portability, and user-friendly design. This versatile appliance is perfect for those who appreciate the convenience of having both refrigeration and freezing capabilities in a single unit, making it a fantastic addition for anyone's outdoor or home needs.

