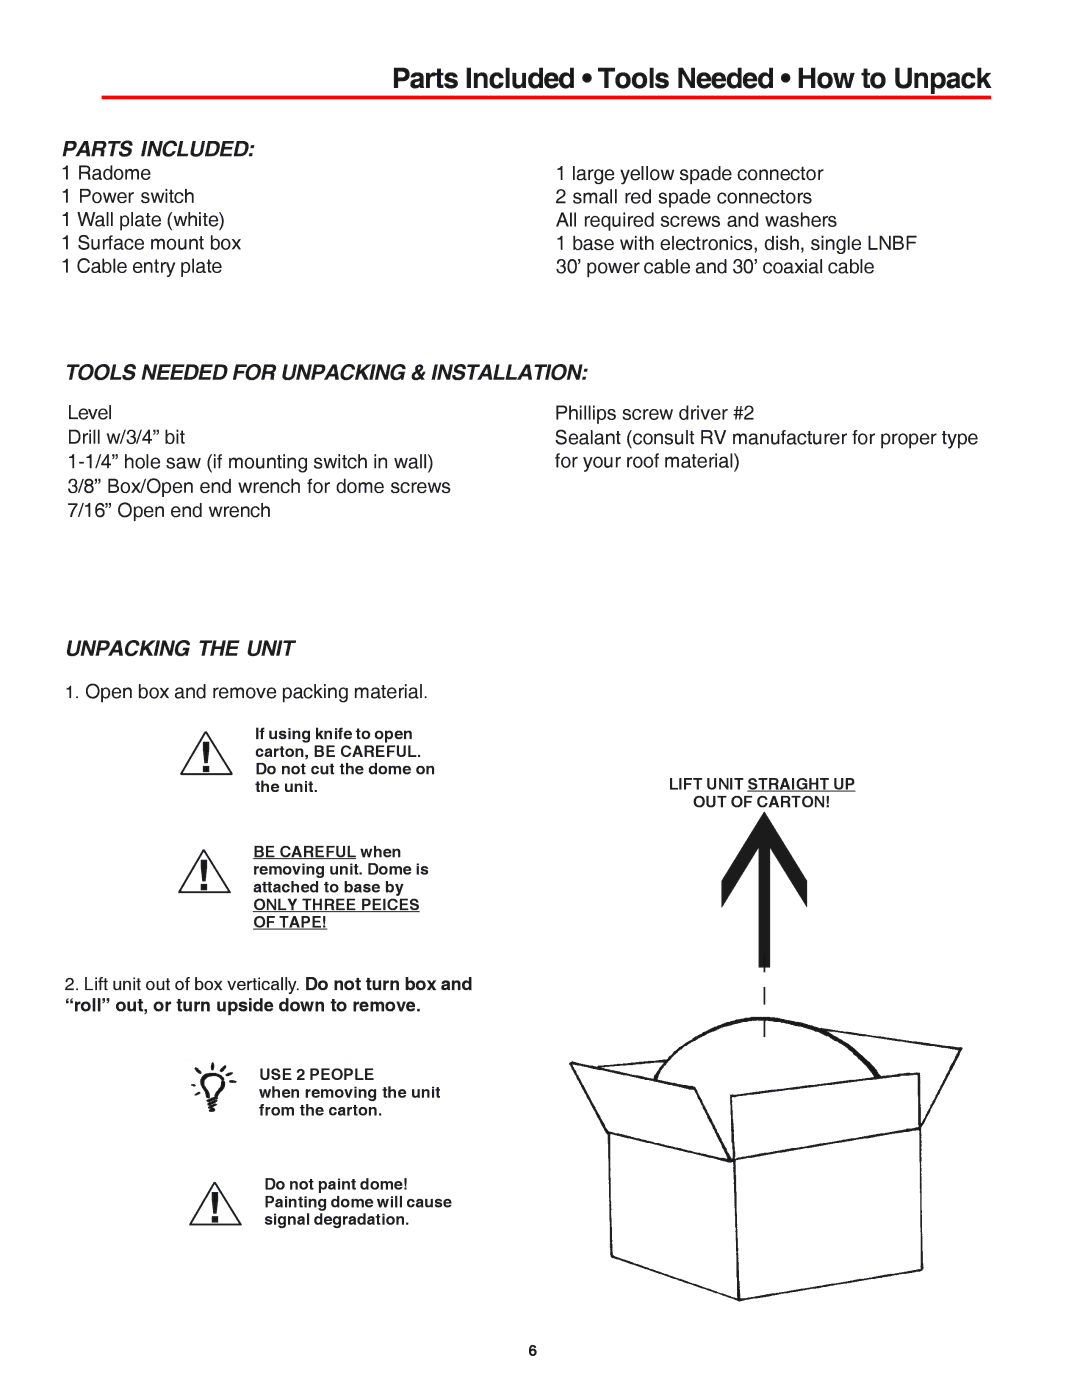
MV-4002 specifications
The Winegard MV-4002 is a versatile and highly efficient over-the-air antenna specifically designed for RVs, boats, and other mobile applications. This antenna stands out due to its compact design and high-performance capabilities, making it a popular choice among travelers seeking reliable television reception wherever they go.One of the main features of the Winegard MV-4002 is its ability to receive both VHF and UHF signals seamlessly. This dual-band capability ensures that users can access a wide range of channels, providing a broader selection of programming without needing multiple antennas. The MV-4002 is engineered to be omnidirectional, meaning it can pick up signals from all directions. This is particularly advantageous for users on the move, as it eliminates the need to constantly adjust the antenna to find the best signal.
The MV-4002 also incorporates advanced technology to enhance signal quality and reception. With its built-in low noise amplifier (LNA), it boosts weak signals, allowing users to enjoy clearer audio and video quality. This feature is especially important in rural areas or locations with challenging terrain, where signals can be difficult to acquire. The antenna is designed to operate over a wide frequency range, ensuring compatibility with various broadcasting standards.
In terms of design, the Winegard MV-4002 is both lightweight and compact, making it ideal for space-constrained environments such as RVs and boats. Its sturdy construction ensures durability against harsh weather conditions, providing peace of mind for outdoor enthusiasts. The antenna is also easy to install, often requiring minimal tools and effort, which enhances its appeal to users who prefer a hassle-free setup.
Another significant characteristic of the MV-4002 is its portability. Weighing just a few pounds, this antenna can be easily mounted and dismounted as needed. Its sleek finish and low profile minimize wind resistance, further enhancing its suitability for mobile applications.
In summary, the Winegard MV-4002 is a high-performing mobile antenna that combines efficient signal reception with ease of use and portability. Its capability to receive VHF and UHF signals, advanced amplification technology, and robust design make it an excellent choice for anyone seeking reliable television access away from home. Whether you're parked at a campsite or cruising along the coast, the MV-4002 ensures that entertainment is always within reach.