SECTION II: INSTALLATION

A. ORDER OF INSTALLATION

Installation of the Shop Fox® Fence is quick and easy. Installation involves mounting the front and back rails to your table saw and then attaching the fence to the rails. On some saws, the mount- ing holes for the rails will match the existing rail mounting holes. On other saws where the mount- ing holes do not line up, it will be necessary to drill and tap new mounting holes in your table top edge. We’ve supplied you with a drill and tap for this purpose. If you are uncomfortable with the tapping process, through-bolting may be used as an alternative. If through-bolting, make sure you have access to the backside of the hole and that the table webbing will not interfere with the nut and bolt before attempting this method.

Before beginning installation, measure your table saw top from front to back. The Shop Fox® Fence comes preset to fit on tables measuring between 2658'' and 2714''. If your table top is not within this range, refer to the Troubleshooting Guide for further instruction.

B. TOOLS REQUIRED

Only a few common tools are required to assemble your Shop Fox® Fence. Specifically, these are:

14mm open end wrench 5mm Allen wrench 3mm Allen wrench Regular screwdriver 6" adjustable wrench Needle nose pliers

716'' socket and ratchet

Optional Tools:

38''-16 tap

516'' drill bit

18'' drill bit

38'' or 12'' Electric drill Center punch Hammer

Tap handle

Shop Fox® Fence

C. MOUNTING THE RAILS

Step 1.

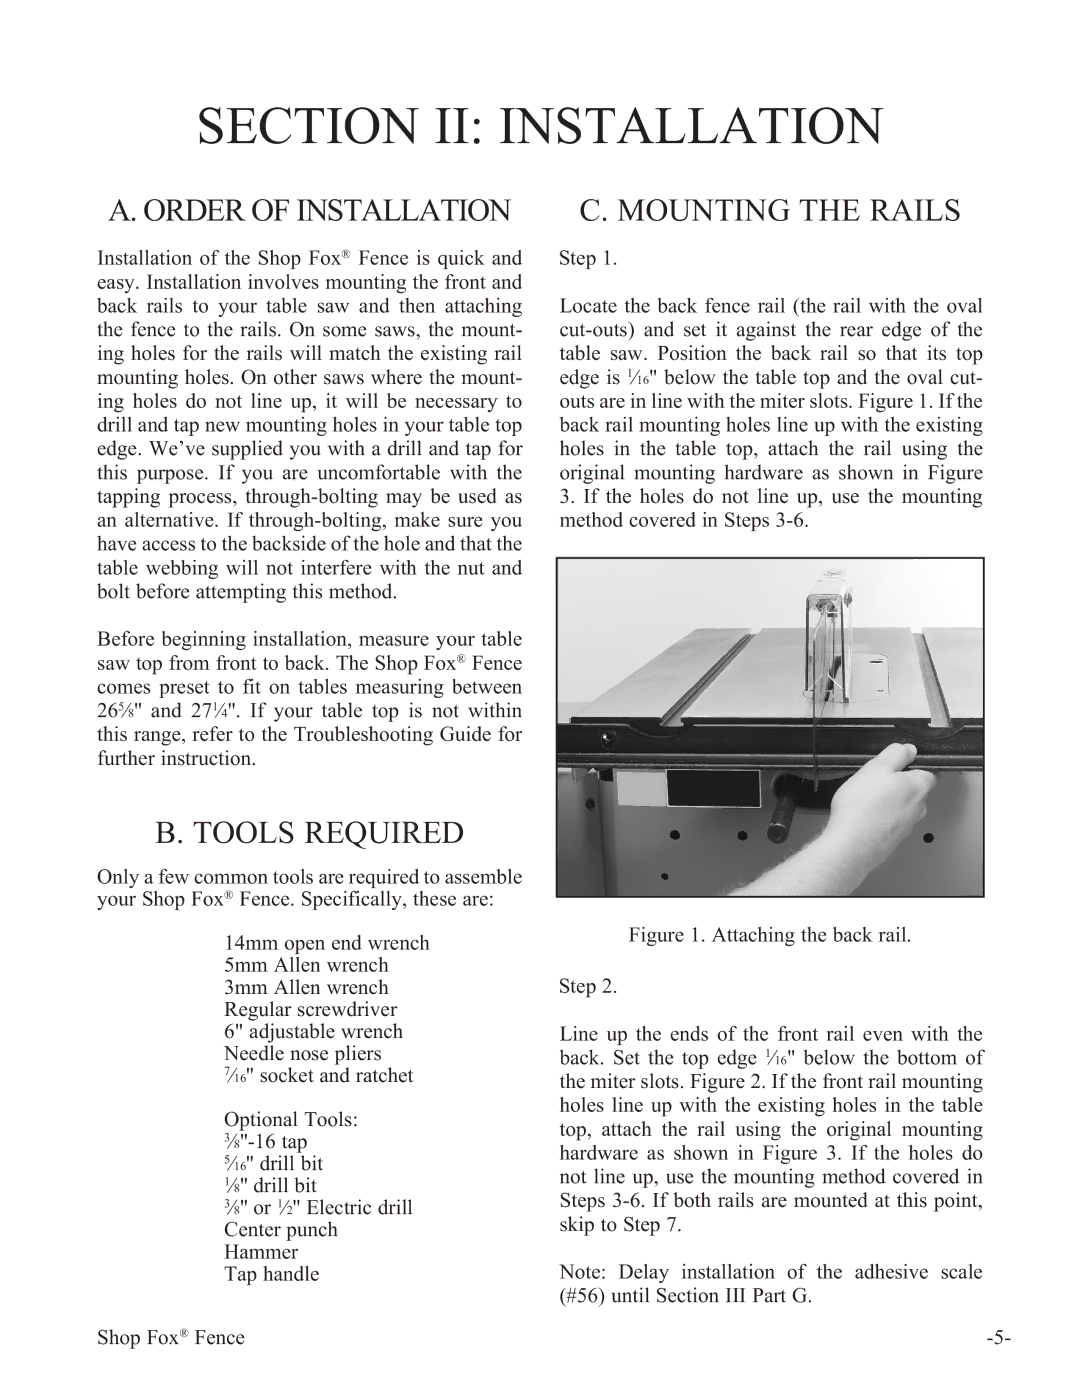
Locate the back fence rail (the rail with the oval cut-outs) and set it against the rear edge of the table saw. Position the back rail so that its top edge is 116" below the table top and the oval cut- outs are in line with the miter slots. Figure 1. If the back rail mounting holes line up with the existing holes in the table top, attach the rail using the original mounting hardware as shown in Figure

3.If the holes do not line up, use the mounting method covered in Steps 3-6.

Figure 1. Attaching the back rail.

Step 2.

Line up the ends of the front rail even with the back. Set the top edge 116" below the bottom of the miter slots. Figure 2. If the front rail mounting holes line up with the existing holes in the table top, attach the rail using the original mounting hardware as shown in Figure 3. If the holes do not line up, use the mounting method covered in Steps 3-6. If both rails are mounted at this point, skip to Step 7.

Note: Delay installation of the adhesive scale (#56) until Section III Part G.

-5-

Page 6
Image 6
Woodstock W1410 manual Section II Installation, Order of Installation, Tools Required, Mounting the Rails

W1410 specifications

Woodstock W1410 is an innovative and versatile digital weather station that has quickly garnered recognition for its reliability and advanced features. Designed for both amateur meteorologists and serious weather enthusiasts, it offers an array of functionalities that make weather tracking easier and more precise.

One of the standout features of the Woodstock W1410 is its large, easy-to-read LCD display. The screen provides a comprehensive overview of real-time weather conditions, including temperature, humidity, wind speed, and direction. Users can easily set their preferences to display the information in either metric or imperial units, which adds to the station's user-friendly nature.

The station utilizes cutting-edge technology to ensure accurate measurements. It incorporates an advanced sensor array that collects data from multiple environmental variables. This includes barometric pressure readings, rain gauge measurements, and UV index monitoring, allowing users to obtain a holistic view of their immediate weather conditions.

Wireless connectivity is another key characteristic of the W1410. The station can transmit data directly to a smartphone or tablet via a dedicated app, making it convenient for users to check weather updates remotely. This feature ensures that users can stay informed about changing weather conditions even when they are not near the station itself. Additionally, the app provides historical data storage, giving users the ability to analyze trends and patterns over time.

Moreover, the Woodstock W1410 is designed with durability in mind. Its weather-resistant casing means it can withstand various environmental conditions, making it suitable for use outdoors. This robustness ensures longevity and reliability, providing accurate data rain or shine.

Power efficiency is a noteworthy characteristic as well. The W1410 operates on batteries, with the option for solar power integration, thus reducing the overall energy consumption and making it an environmentally friendly choice.

In summary, the Woodstock W1410 digital weather station stands out due to its advanced monitoring capabilities, user-friendly interface, wireless technology, durability, and energy efficiency. Whether for personal use or educational purposes, it serves as a valuable tool for understanding and predicting weather phenomena, enriching the experience for its users.