
W1713 specifications
Woodstock W1713 is an innovative step in the evolution of woodworking machines, designed to meet the demanding needs of modern woodworking projects. This advanced machine boasts a combination of technology, versatility, and precision that makes it an essential tool for both hobbyists and professionals alike.One of the standout features of the W1713 is its powerful motor, which provides sufficient torque to handle a variety of woodworking tasks with ease. This ensures that whether you are ripping, cross-cutting, or shaping materials, the machine works efficiently without any compromise on quality. The robust construction of the machine also contributes to its durability, allowing it to withstand heavy usage in both home workshops and professional environments.
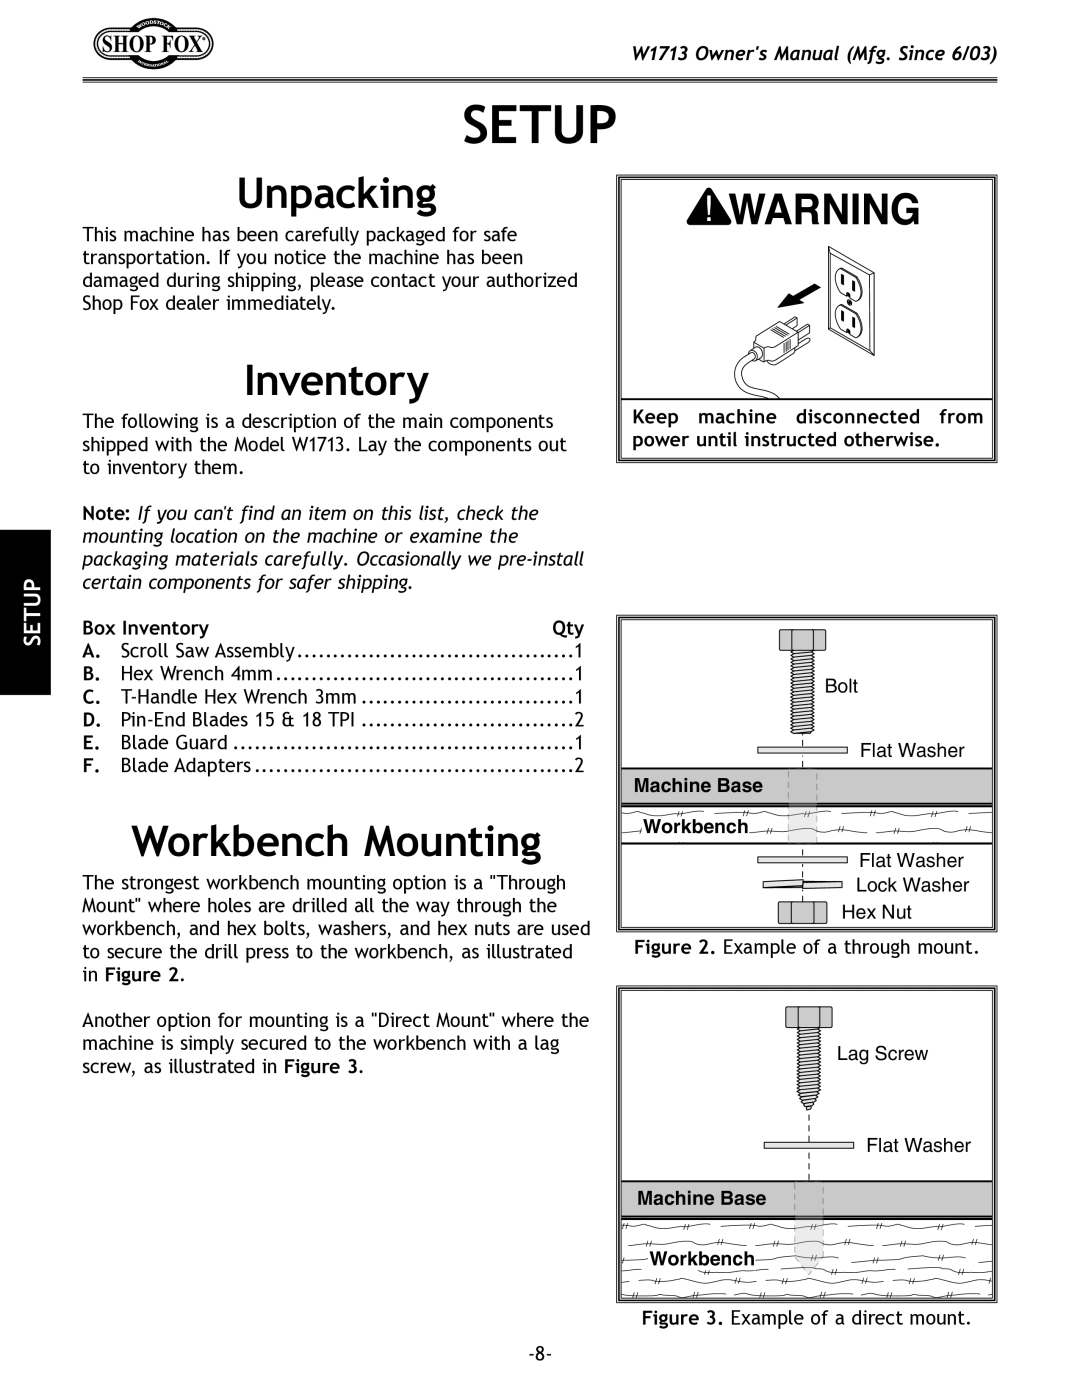
The machine is equipped with a user-friendly interface that simplifies operation, making it accessible to users of all skill levels. Intuitive controls allow for quick adjustments to be made while working, ensuring that users can focus on their creative endeavors without being bogged down by complicated setups. Furthermore, the W1713 includes a range of safety features designed to protect the user during operation, enhancing overall workflow confidence.
The versatility of the Woodstock W1713 is another highlight. It is compatible with a wide array of tooling, allowing woodworkers to execute a variety of cuts and finishes. This adaptability makes it an excellent choice for those who require a machine that can evolve with their individual needs and project complexity. Whether you’re working on intricate designs or straightforward cuts, the W1713 has got you covered.
In terms of technological advancements, the W1713 employs precision-engineered components that guarantee accuracy in every cut. Its advanced alignment systems ensure that every piece meets stringent specifications, minimizing the need for rework and maximizing productivity. Additionally, the machine's dust collection system is exceptionally efficient, helping to maintain a clean working environment and improving air quality.
In summary, the Woodstock W1713 represents a perfect synthesis of power, safety, and adaptability. With its impressive motor capabilities, user-friendly interface, and advanced technology, this woodworking machine empowers woodworkers to achieve high-quality results consistently. Whether for personal projects or professional use, the W1713 stands as a reliable cornerstone in any woodworking setup, embodying the essence of innovation in the craft.