Model W1779 18 Gauge Stapler Kit
OPERATIONS
Loading
When replacing staples in your Model W1779, follow these guidelines:
Gauge: | 18 |
Length: | |
Capacity: | 100 |
Crown: | 1⁄4" |
To load your stapler, do these steps:
1.DISCONNECT STAPLER FROM THE AIR SUPPLY!
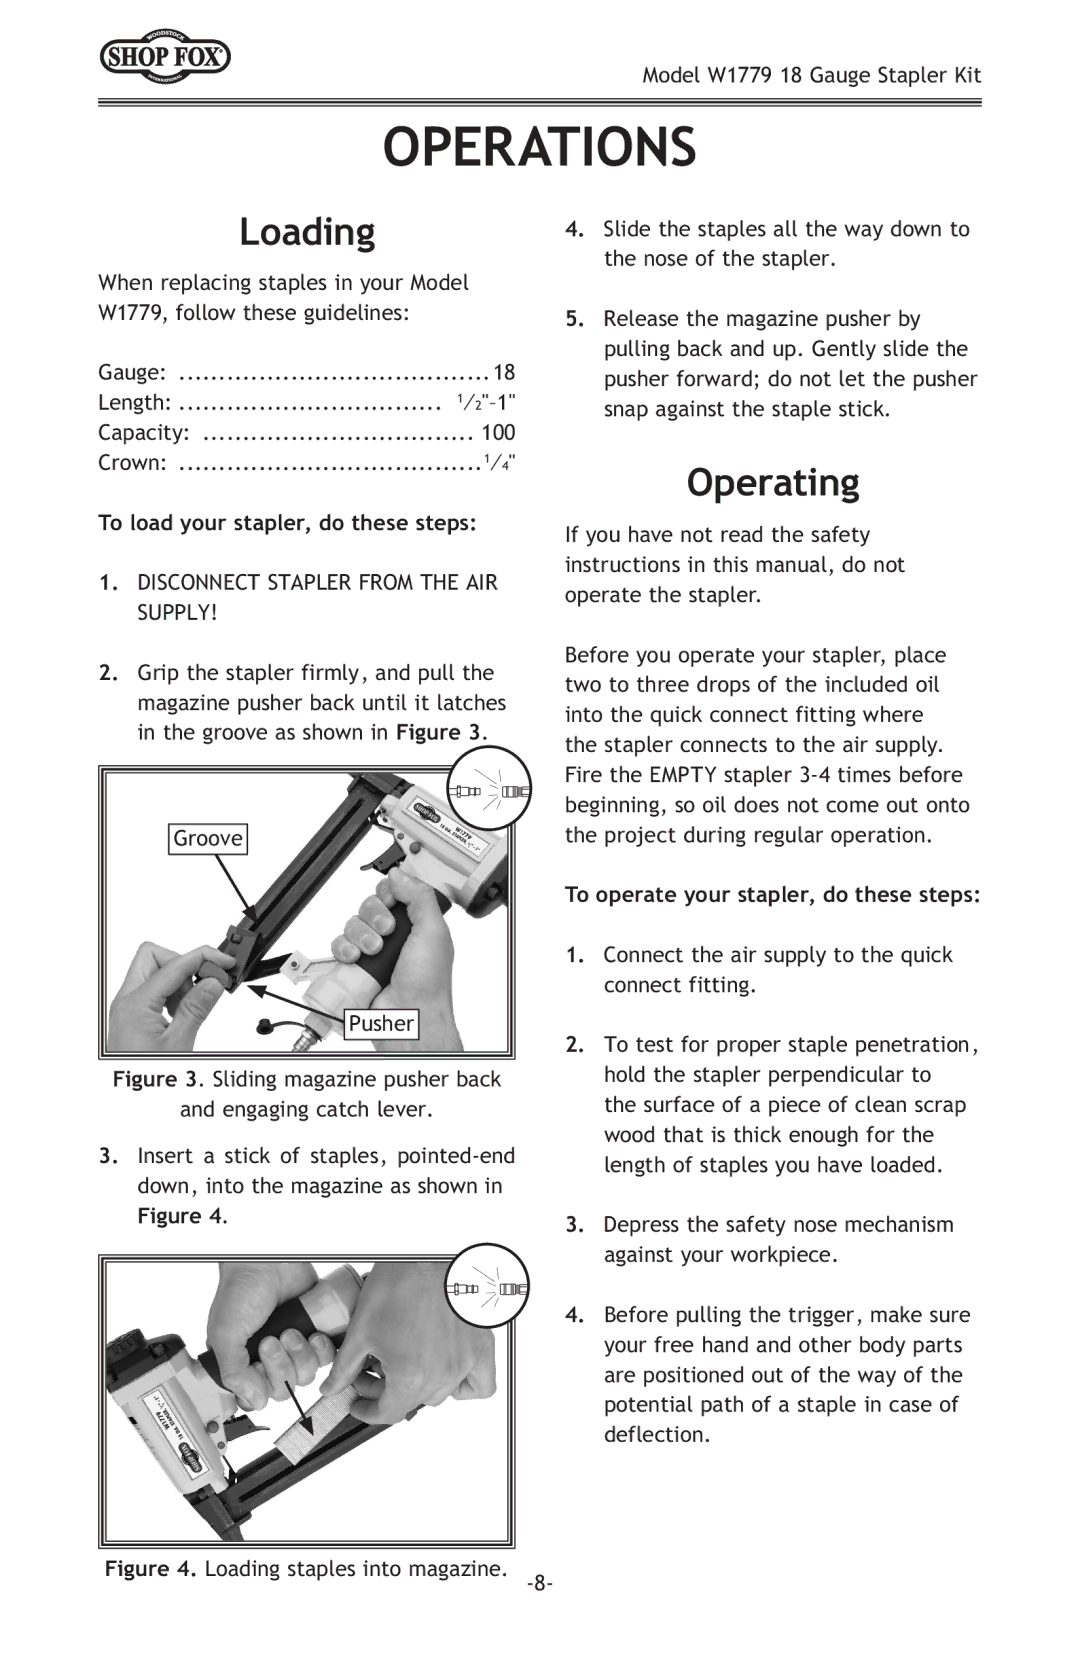
2.Grip the stapler firmly, and pull the magazine pusher back until it latches in the groove as shown in Figure 3.
Groove
Pusher
Figure 3. Sliding magazine pusher back
and engaging catch lever.
3.Insert a stick of staples, pointed-end down, into the magazine as shown in
Figure 4.
4.Slide the staples all the way down to the nose of the stapler.
5.Release the magazine pusher by pulling back and up. Gently slide the pusher forward; do not let the pusher snap against the staple stick.
Operating
If you have not read the safety instructions in this manual, do not operate the stapler.
Before you operate your stapler, place two to three drops of the included oil into the quick connect fitting where the stapler connects to the air supply. Fire the EMPTY stapler
To operate your stapler, do these steps:
1.Connect the air supply to the quick connect fitting.
2.To test for proper staple penetration, hold the stapler perpendicular to the surface of a piece of clean scrap wood that is thick enough for the length of staples you have loaded.
3.Depress the safety nose mechanism against your workpiece.
4.Before pulling the trigger, make sure your free hand and other body parts are positioned out of the way of the potential path of a staple in case of deflection.