Model W1783 (Mfg. Since 2/07)
OPERATIONS
Loading
When replacing nails in your Model W1783, follow these guidelines:
Nails | |
Length: | |
Capacity: | 100 |
Note: Use 11⁄2" nails to install 1⁄2" flooring, and 2" nails to install 3⁄4" flooring.
To load your nailer, do these steps:
1.DISCONNECT NAILER FROM THE AIR SUPPLY!
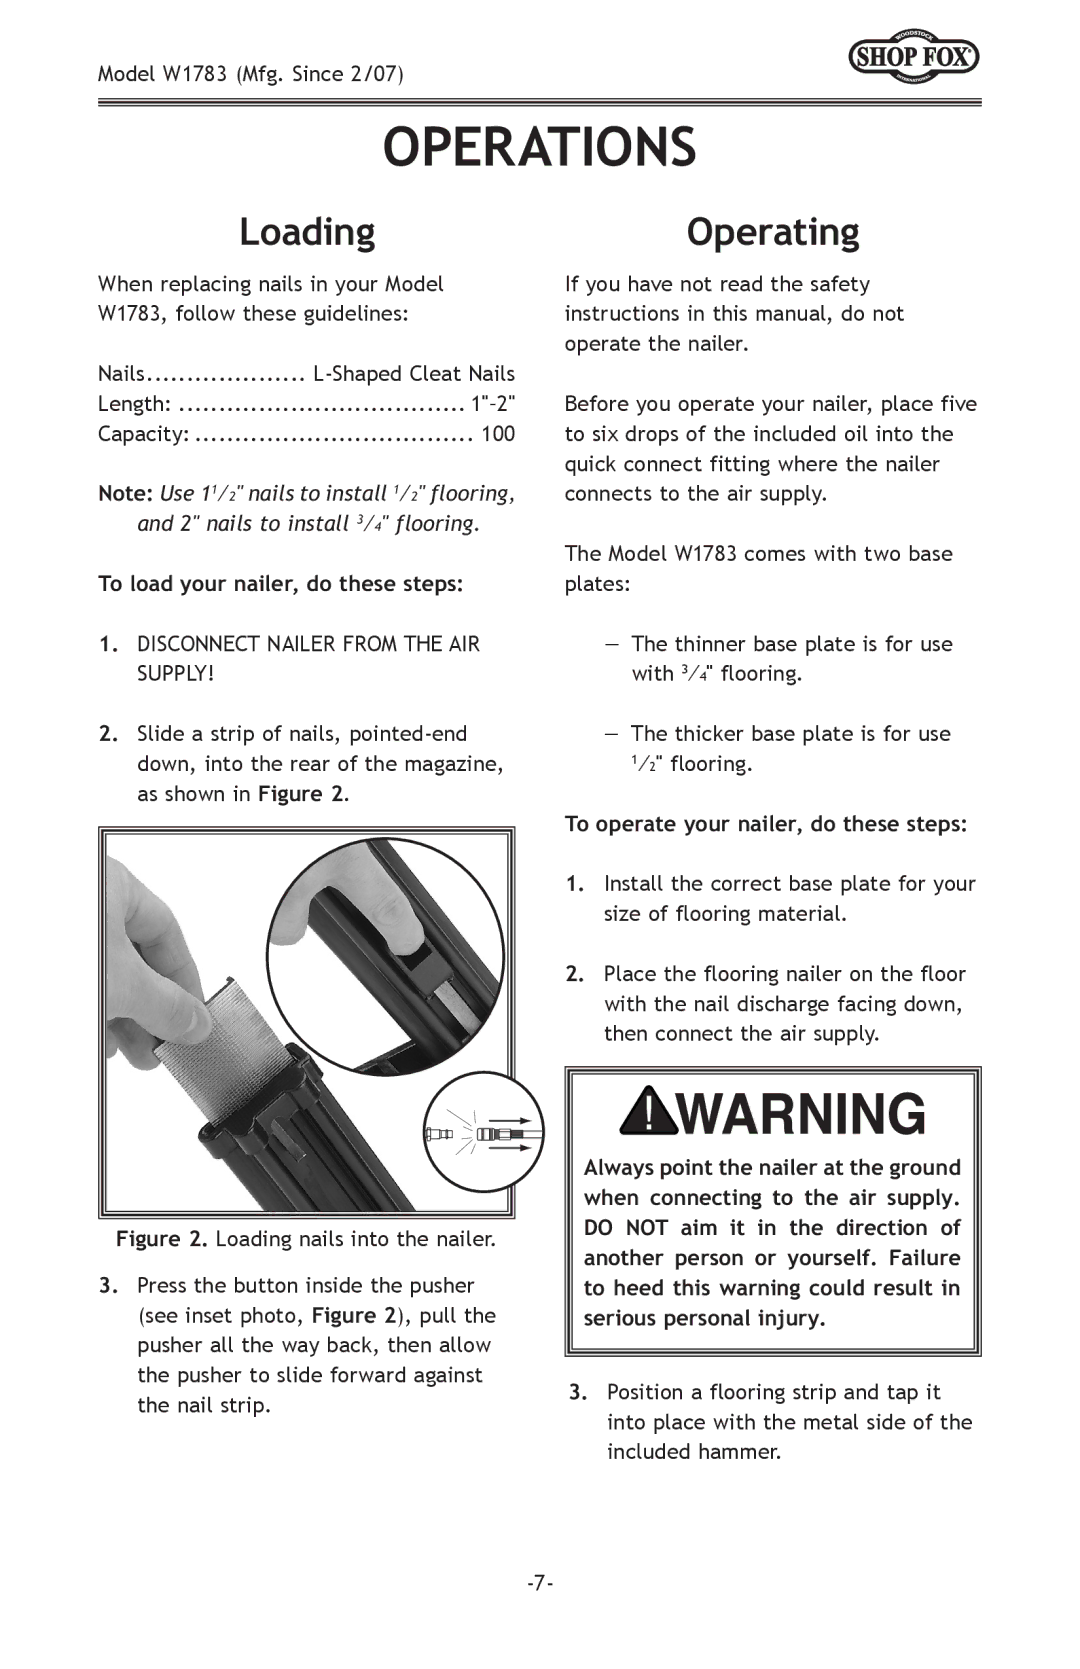
2.Slide a strip of nails,
Figure 2. Loading nails into the nailer.
3.Press the button inside the pusher (see inset photo, Figure 2), pull the pusher all the way back, then allow the pusher to slide forward against the nail strip.
Operating
If you have not read the safety instructions in this manual, do not operate the nailer.
Before you operate your nailer, place five to six drops of the included oil into the quick connect fitting where the nailer connects to the air supply.
The Model W1783 comes with two base plates:
—The thinner base plate is for use with 3⁄4" flooring.
—The thicker base plate is for use 1⁄2" flooring.
To operate your nailer, do these steps:
1.Install the correct base plate for your size of flooring material.
2.Place the flooring nailer on the floor with the nail discharge facing down, then connect the air supply.
Always point the nailer at the ground when connecting to the air supply. DO NOT aim it in the direction of another person or yourself. Failure to heed this warning could result in serious personal injury.
3.Position a flooring strip and tap it into place with the metal side of the included hammer.