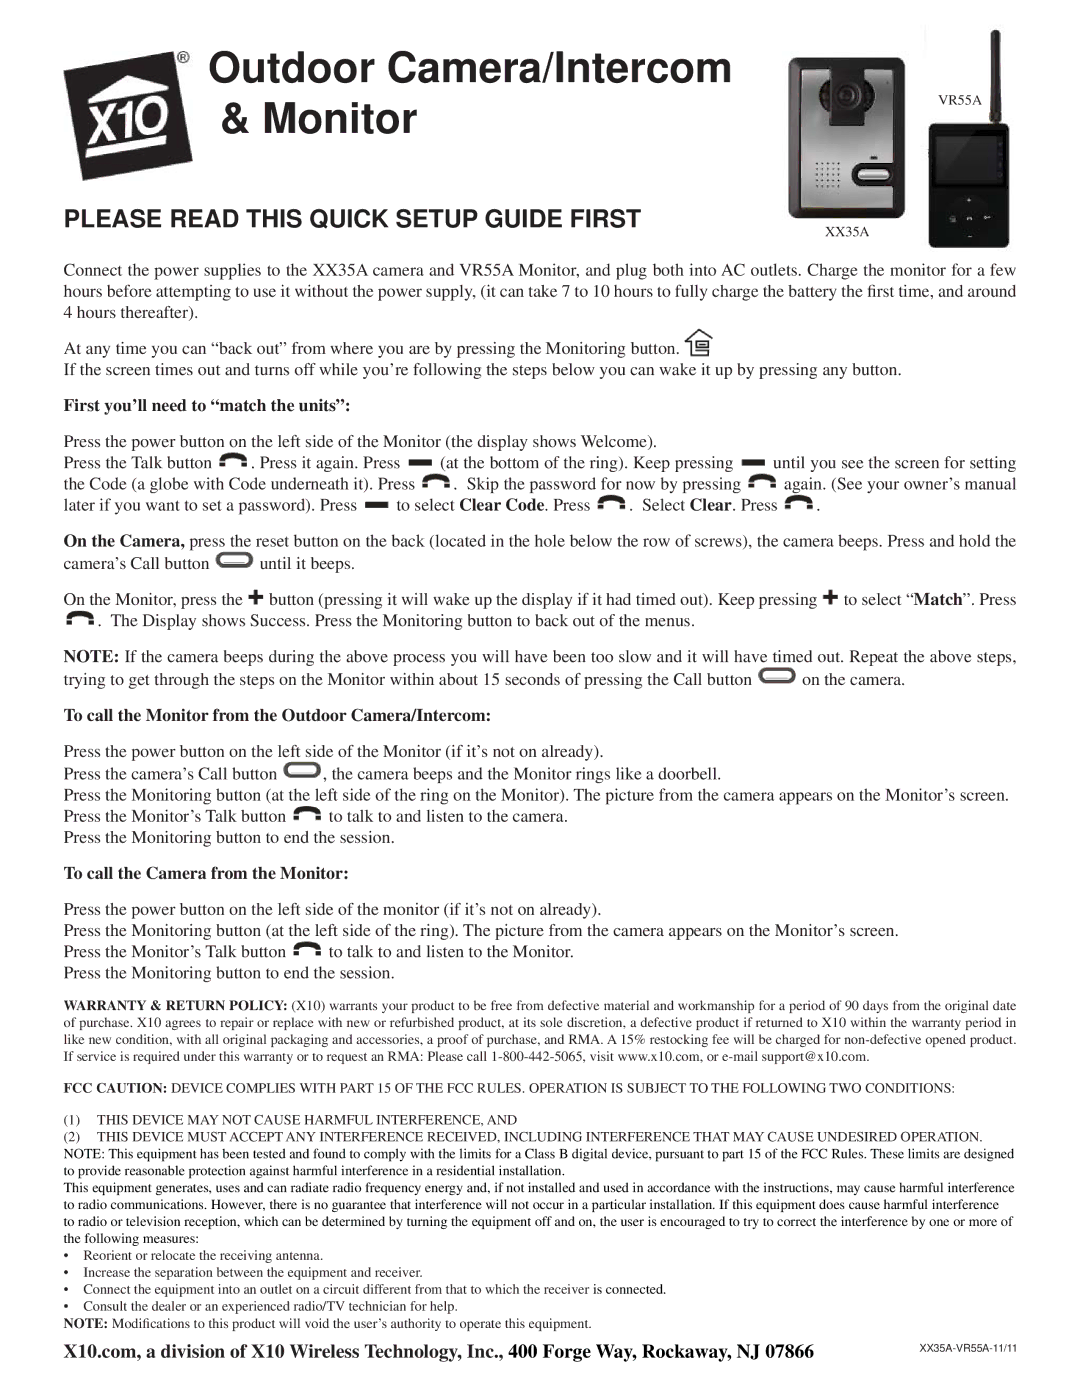
Outdoor Camera/Intercom
& Monitor | VR55A |
|
PLEASE READ THIS QUICK SETUP GUIDE FIRST | XX35A |
Connect the power supplies to the XX35A camera and VR55A Monitor, and plug both into AC outlets. Charge the monitor for a few hours before attempting to use it without the power supply, (it can take 7 to 10 hours to fully charge the battery the first time, and around 4 hours thereafter).
At any time you can “back out” from where you are by pressing the Monitoring button.![]()
If the screen times out and turns off while you’re following the steps below you can wake it up by pressing any button.
First you’ll need to “match the units”:
Press the power button on the left side of the Monitor (the display shows Welcome).
Press the Talk button ![]() . Press it again. Press
. Press it again. Press ![]() (at the bottom of the ring). Keep pressing
(at the bottom of the ring). Keep pressing ![]() until you see the screen for setting
until you see the screen for setting
the Code (a globe with Code underneath it). Press ![]() . Skip the password for now by pressing
. Skip the password for now by pressing ![]() again. (See your owner’s manual
again. (See your owner’s manual
later if you want to set a password). Press ![]() to select Clear Code. Press
to select Clear Code. Press ![]() . Select Clear. Press
. Select Clear. Press ![]() .
.
On the Camera, press the reset button on the back (located in the hole below the row of screws), the camera beeps. Press and hold the
camera’s Call button ![]() until it beeps.
until it beeps.
On the Monitor, press the ![]() button (pressing it will wake up the display if it had timed out). Keep pressing
button (pressing it will wake up the display if it had timed out). Keep pressing ![]() to select “Match”. Press
to select “Match”. Press ![]() . The Display shows Success. Press the Monitoring button to back out of the menus.
. The Display shows Success. Press the Monitoring button to back out of the menus.
NOTE: If the camera beeps during the above process you will have been too slow and it will have timed out. Repeat the above steps,
trying to get through the steps on the Monitor within about 15 seconds of pressing the Call button ![]() on the camera.
on the camera.
To call the Monitor from the Outdoor Camera/Intercom:
Press the power button on the left side of the Monitor (if it’s not on already).
Press the camera’s Call button ![]() , the camera beeps and the Monitor rings like a doorbell.
, the camera beeps and the Monitor rings like a doorbell.
Press the Monitoring button (at the left side of the ring on the Monitor). The picture from the camera appears on the Monitor’s screen.
Press the Monitor’s Talk button ![]() to talk to and listen to the camera. Press the Monitoring button to end the session.
to talk to and listen to the camera. Press the Monitoring button to end the session.
To call the Camera from the Monitor:
Press the power button on the left side of the monitor (if it’s not on already).
Press the Monitoring button (at the left side of the ring). The picture from the camera appears on the Monitor’s screen.
Press the Monitor’s Talk button ![]() to talk to and listen to the Monitor. Press the Monitoring button to end the session.
to talk to and listen to the Monitor. Press the Monitoring button to end the session.
WARRANTY & RETURN POLICY: (X10) warrants your product to be free from defective material and workmanship for a period of 90 days from the original date of purchase. X10 agrees to repair or replace with new or refurbished product, at its sole discretion, a defective product if returned to X10 within the warranty period in like new condition, with all original packaging and accessories, a proof of purchase, and RMA. A 15% restocking fee will be charged for
FCC CAUTION: DEVICE COMPLIES WITH PART 15 OF THE FCC RULES. OPERATION IS SUBJECT TO THE FOLLOWING TWO CONDITIONS:
(1)THIS DEVICE MAY NOT CAUSE HARMFUL INTERFERENCE, AND
(2)THIS DEVICE MUST ACCEPT ANY INTERFERENCE RECEIVED, INCLUDING INTERFERENCE THAT MAY CAUSE UNDESIRED OPERATION. NOTE: This equipment has been tested and found to comply with the limits for a Class B digital device, pursuant to part 15 of the FCC Rules. These limits are designed to provide reasonable protection against harmful interference in a residential installation.
This equipment generates, uses and can radiate radio frequency energy and, if not installed and used in accordance with the instructions, may cause harmful interference to radio communications. However, there is no guarantee that interference will not occur in a particular installation. If this equipment does cause harmful interference to radio or television reception, which can be determined by turning the equipment off and on, the user is encouraged to try to correct the interference by one or more of the following measures:
• Reorient or relocate the receiving antenna.
• Increase the separation between the equipment and receiver.
• Connect the equipment into an outlet on a circuit different from that to which the receiver is connected.
• Consult the dealer or an experienced radio/TV technician for help.
NOTE: Modifications to this product will void the user’s authority to operate this equipment.
X10.com, a division of X10 Wireless Technology, Inc., 400 Forge Way, Rockaway, NJ 07866 | |
|