PA1235X specifications
The Xantech PA1235X is a powerful, professional-grade amplifier that caters to the needs of both commercial and residential sound applications. With a robust design and advanced features, it is well-suited for use in various environments, including retail spaces, restaurants, and home theater systems.One of the standout features of the PA1235X is its high power output. It delivers 35 watts per channel at 8 ohms, allowing it to drive speakers effectively in larger rooms while ensuring clear and dynamic sound reproduction. The amplifier also offers a total output of 70 watts when bridged, providing users with the versatility to adjust their setup according to the spatial requirements of the listening area.
The PA1235X employs Class D amplification technology, which is known for its energy efficiency and lightweight design. This feature not only reduces electricity consumption but also minimizes heat generation, making the amplifier suitable for prolonged use without the risk of overheating.
In addition to its power and efficiency, the PA1235X boasts a range of input options, including balanced and unbalanced connections. This flexibility allows users to connect a variety of audio sources, whether it be a microphone, mixer, or existing audio systems. The amplifier is equipped with RCA and XLR inputs, ensuring compatibility with professional and consumer-grade audio equipment alike.
Another notable characteristic of the Xantech PA1235X is its built-in protection circuitry. This safeguards the device against overheating, short circuits, and overloading, thereby extending its lifespan and maintaining reliable performance.
For added convenience, the amplifier features a front-panel volume control, allowing users to easily manage audio levels without needing to access a remote or external control unit.
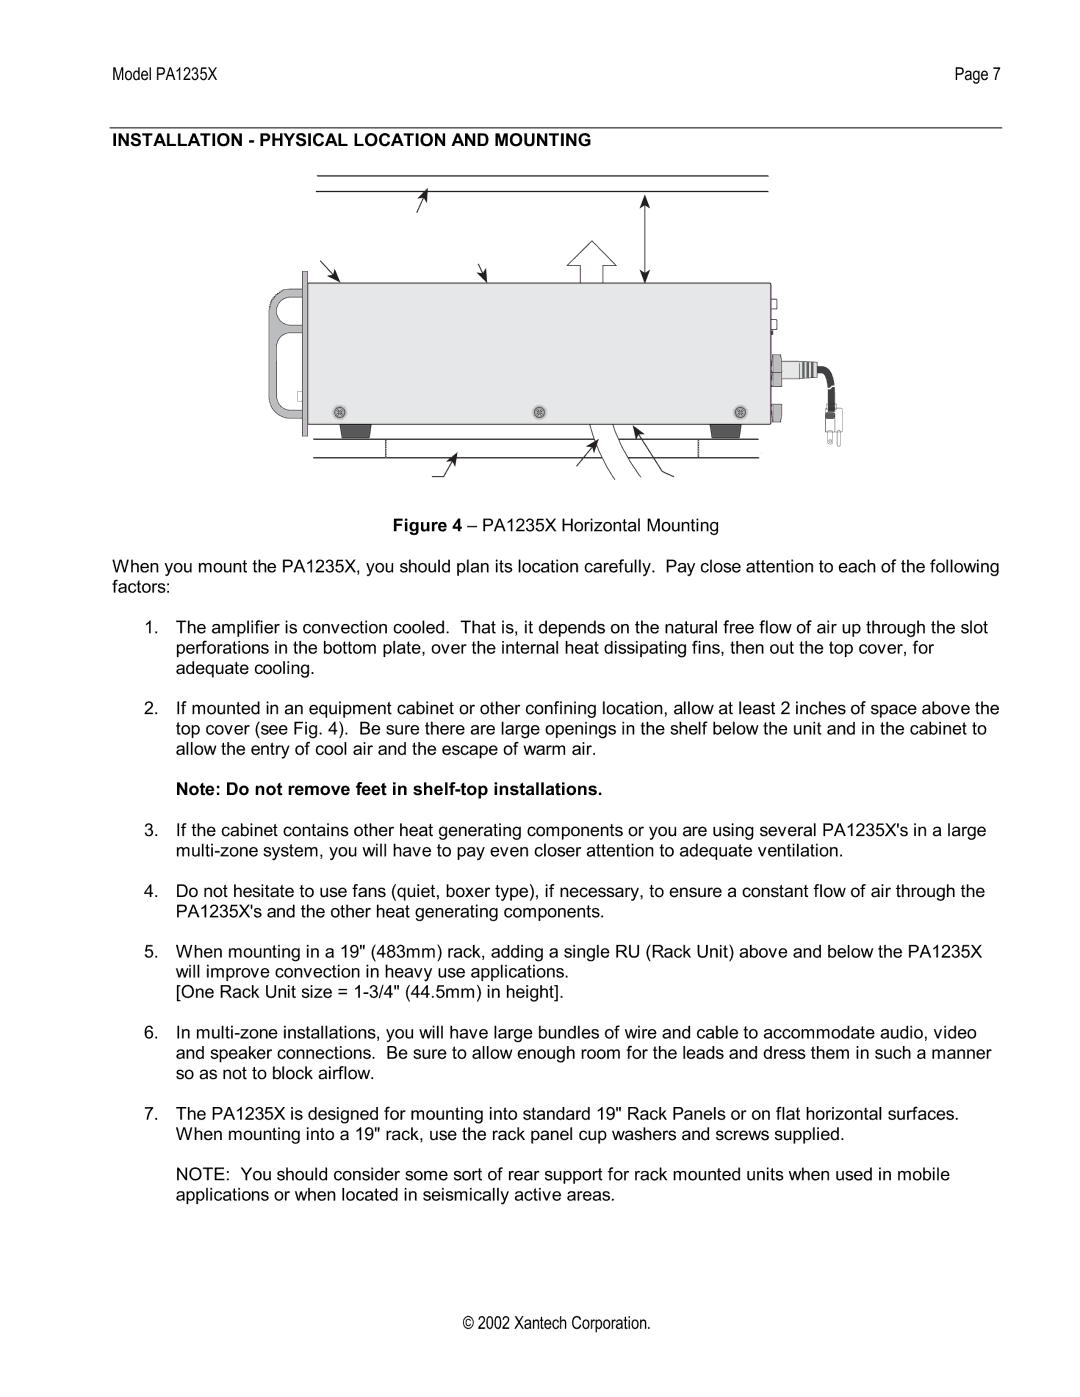
The Xantech PA1235X is not only designed with performance in mind but also emphasizes user-friendliness. Its compact form factor and rack-mountable design make it ideal for integration into AV setups without taking up excessive space.
Overall, the Xantech PA1235X stands out for its combination of power, flexibility, and reliability. Whether for use in a professional setting or a personal audio setup, it delivers excellent sound quality and adaptability to meet diverse audio demands.

