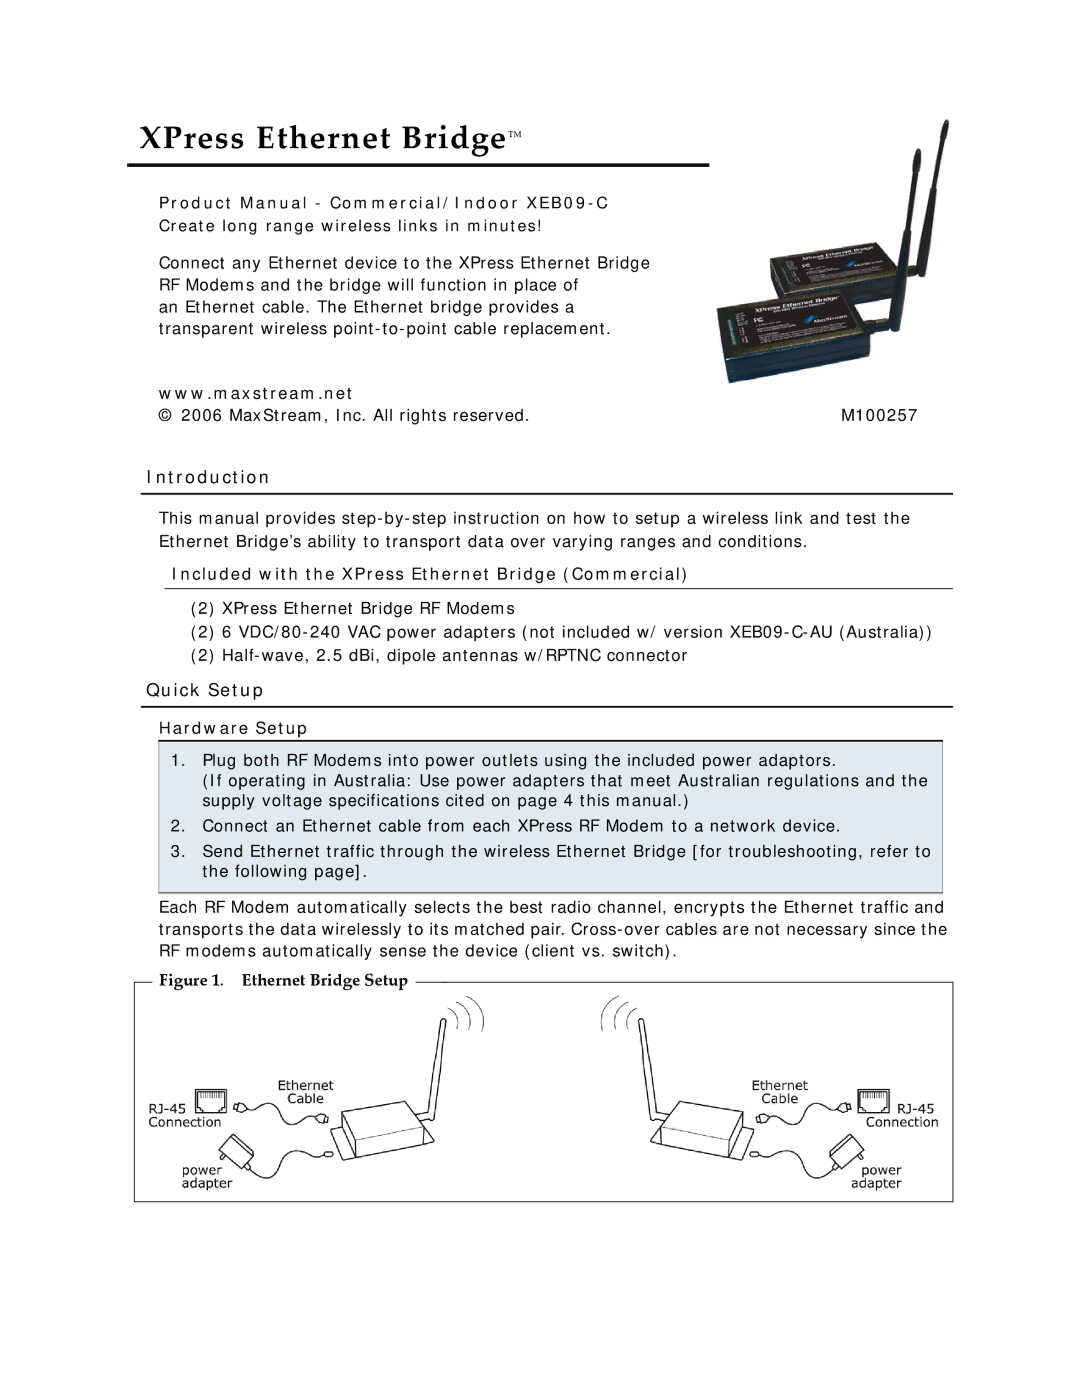
XEB09-C specifications
The Xpress XEB09-C is an innovative electronic device that has captured attention in the world of consumer technology. Designed primarily for efficiency and user-friendliness, this product combines advanced features with practical applications, making it a valuable addition to any home or office setup.One of the standout features of the Xpress XEB09-C is its remarkable speed. Equipped with cutting-edge processing technology, the device operates seamlessly, allowing users to complete tasks quickly and efficiently. This is particularly beneficial for multitaskers who frequently switch between applications or manage numerous files at once.
Another notable characteristic of the XEB09-C is its state-of-the-art connectivity options. The device supports various wireless protocols, including Wi-Fi and Bluetooth, enabling users to synchronize and share files effortlessly across multiple devices. This feature is essential for professionals who rely on quick access to data, ensuring that work can continue uninterrupted, regardless of location.
The Xpress XEB09-C also boasts an impressive display, offering high resolution and vibrant colors that enhance the viewing experience whether for professional presentations or leisure activities such as gaming or streaming. The screen's responsiveness further enhances usability, allowing for smooth navigation and interaction.
In addition to its performance capabilities, the XEB09-C prioritizes user experience. The device is equipped with an intuitive interface, designed to be accessible for users of all skill levels. This simplicity encourages productivity, making it an optimal choice for both tech-savvy individuals and those new to technology.
Security is another vital aspect of the Xpress XEB09-C. The device comes preloaded with advanced security features that protect user data from unauthorized access. This is crucial in today’s digital age, where information security is a top priority for both individuals and businesses.
Moreover, the XEB09-C is designed with sustainability in mind. Its energy-efficient components ensure that it consumes less power without compromising performance, aligning with the growing trend towards environmentally responsible technology.
In summary, the Xpress XEB09-C presents a compelling option for users seeking a versatile, high-performance device. With its rapid processing capabilities, extensive connectivity features, user-friendly interface, robust security measures, and eco-friendliness, the XEB09-C stands out as a leading choice in the modern technology landscape. Whether for personal or professional use, this device is built to meet and exceed the expectations of its users.

