Assembly and Tuning
Before assembling the instrument, please observe the following:
When holding and assembling the instrument, take care not to apply excessive force to the keys. Applying excessive force may bend the keys, resulting in unbalanced pads.
When you assemble the instrument for the first time, you may have difficulty connecting the joints due to tightness. In this case, apply a thin coat of the included cork grease to the joint cork, and try again to connect the joints. If the joints still do not fit together smoothly, apply a thin coat of cork grease to the receiver side as well. When applying cork grease, be careful not to apply too much.
■Assembling the Oboe
1.Apply cork grease.
Before assembling the oboe, apply a thin coat of cork grease to the joint cork and the entire circumference of the lower part of the reed tube.
2.Attach the bell to the lower joint.
Hold the bell in your right hand and check the position of the bridge key for the lower tube and the bell. Slide the bell onto the lower joint while rotating the bell.
Caution: Disassembling the Oboe
If you plan to disassemble the oboe into its upper and lower joints and bell, do not hold the instrument close to your face or near other people. If a part detaches unex- pectedly, it may cause injury or damage.
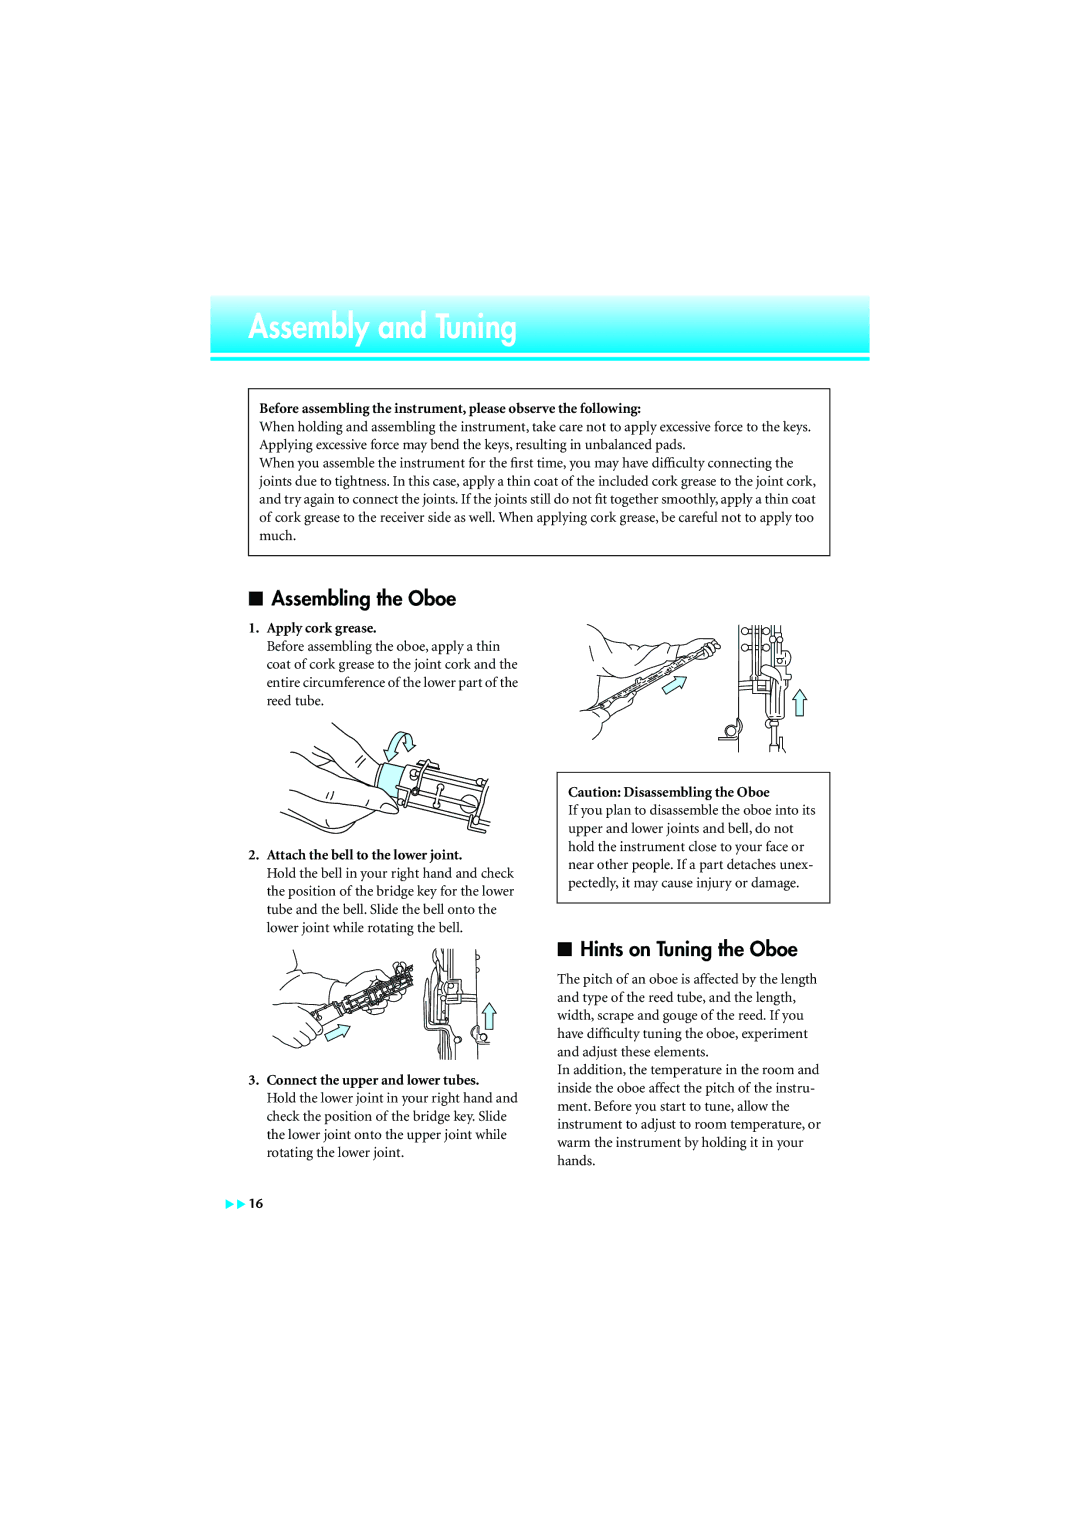
3.Connect the upper and lower tubes.
Hold the lower joint in your right hand and check the position of the bridge key. Slide the lower joint onto the upper joint while rotating the lower joint.
■Hints on Tuning the Oboe
The pitch of an oboe is affected by the length and type of the reed tube, and the length, width, scrape and gouge of the reed. If you have difficulty tuning the oboe, experiment and adjust these elements.
In addition, the temperature in the room and inside the oboe affect the pitch of the instru- ment. Before you start to tune, allow the instrument to adjust to room temperature, or warm the instrument by holding it in your hands.
![]()
![]() 16
16
