
RX-V440RDS specifications
The Yamaha RX-V440RDS is a versatile AV receiver that captures the essence of home theater performance with remarkable audio and video quality. Launched in the early 2000s, it has earned praise for its robust features and user-friendly design, making it a popular choice among audiophiles and home theater enthusiasts alike.At the heart of the RX-V440RDS is a powerful 5-channel amplifier that delivers a substantial output of 80 watts per channel, ensuring that users can enjoy dynamic soundscapes whether watching movies, playing video games, or listening to music. The receiver supports a wide range of surround sound formats, including Dolby Digital, Dolby Pro Logic II, DTS, and enhanced stereo modes, providing an immersive audio experience that draws users deeper into their entertainment.
One of the hallmark features of the RX-V440RDS is its built-in Radio Data System (RDS), which offers enhanced FM radio capabilities. Listeners can enjoy display information that includes station identification and song titles, making tuning into their favorite broadcasts easier and more enjoyable. The receiver also comes with a total of 40 preset FM/AM stations, allowing for quick access to preferred channels.
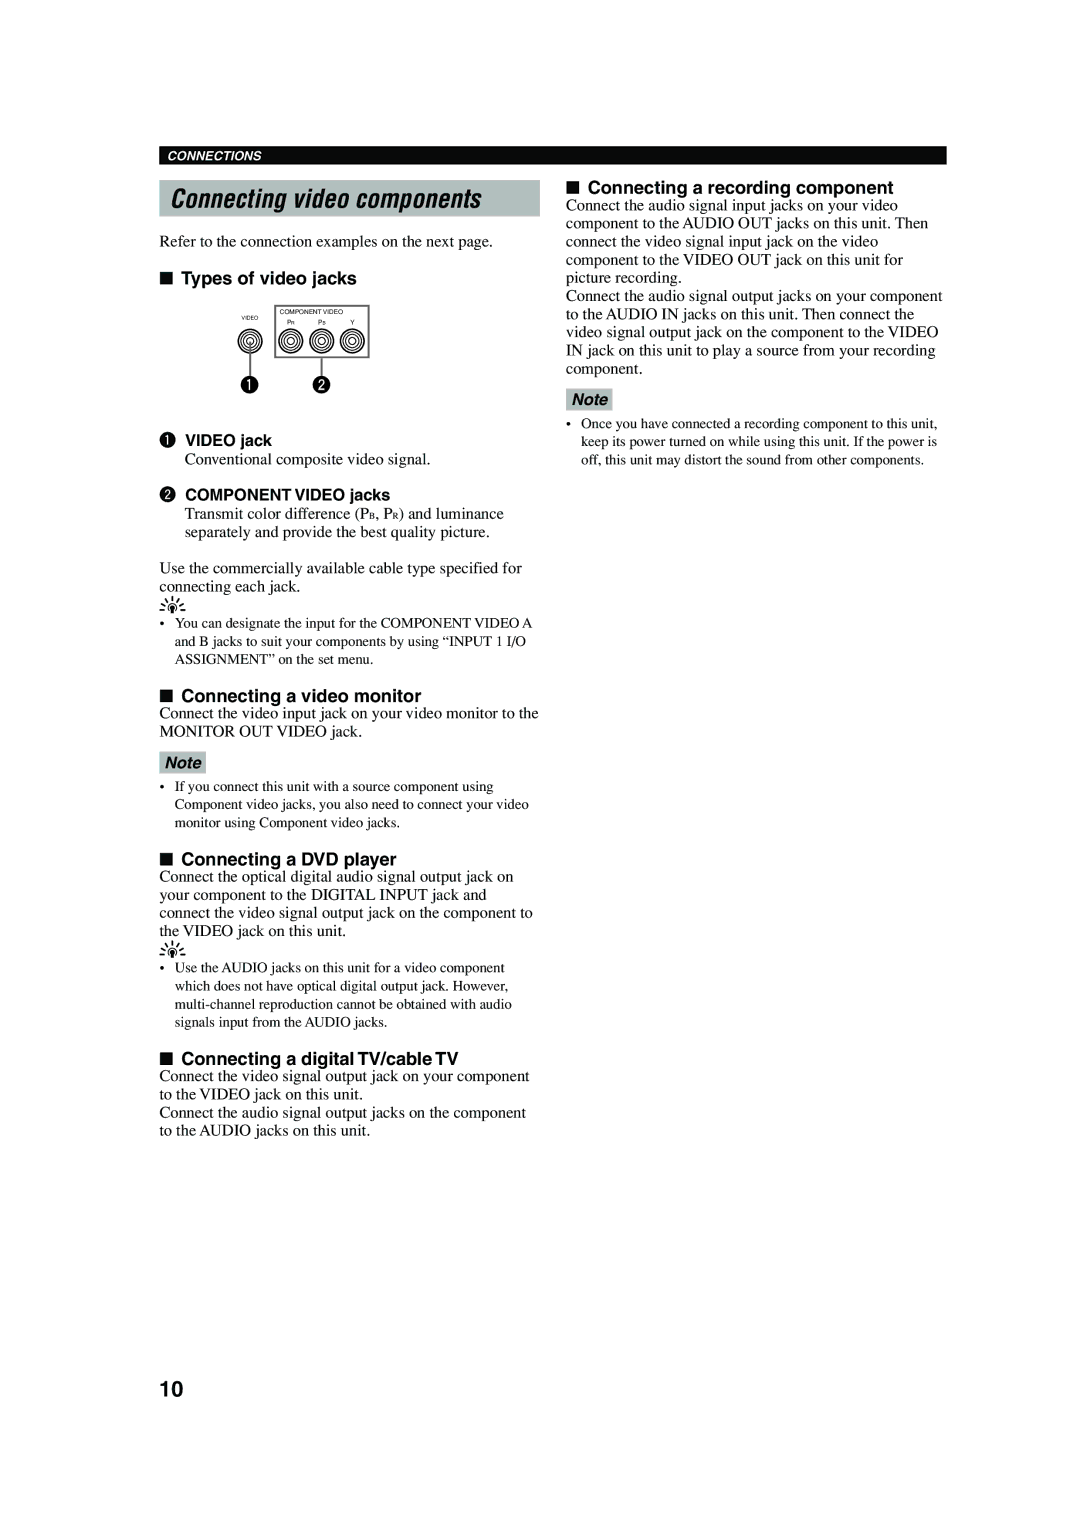
Connectivity is a key consideration for any AV receiver, and the RX-V440RDS does not disappoint. It is equipped with multiple inputs, including five composite video inputs, four audio inputs, and even a dedicated audio input for connecting a CD player or other sources. This variety allows users to connect multiple devices simultaneously, facilitating seamless switching between different media sources.
The receiver features Yamaha's proprietary YPAO (Yamaha Parametric room Acoustic Optimizer) technology, which automatically measures the acoustic environment of the room and adjusts the audio settings for optimal sound quality. This smart feature ensures that the system adapts to various room sizes and layouts, delivering a customized listening experience.
Additionally, the Yamaha RX-V440RDS boasts an intuitive on-screen display and a straightforward remote control, making it easy for users to navigate settings and configurations without complicated setups. This user-centric approach extends to its elegant design, which fits seamlessly into any home entertainment setup.
Overall, the Yamaha RX-V440RDS stands out as a reliable AV receiver that continues to be valued for its audio performance and robust feature set. With technologies that prioritize sound quality and ease of use, it is an excellent investment for anyone looking to enhance their home theater experience.