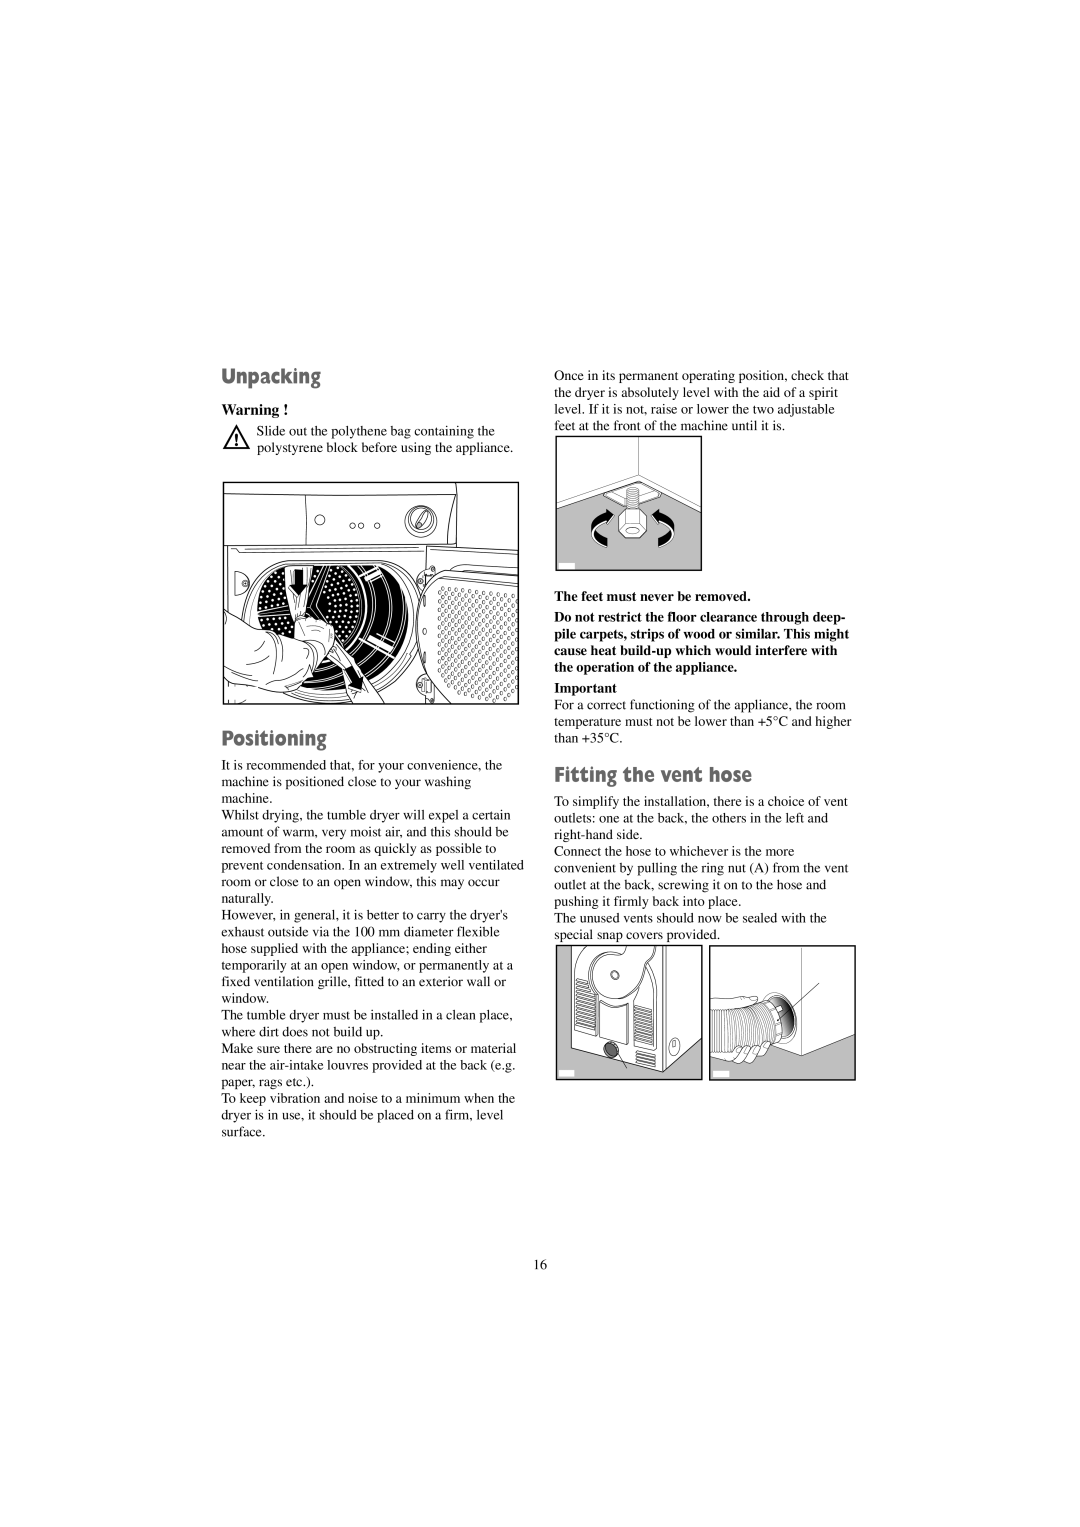
Unpacking
Warning !
Slide out the polythene bag containing the polystyrene block before using the appliance.
P1106 |
Positioning |
It is recommended that, for your convenience, the machine is positioned close to your washing machine.
Whilst drying, the tumble dryer will expel a certain amount of warm, very moist air, and this should be removed from the room as quickly as possible to prevent condensation. In an extremely well ventilated room or close to an open window, this may occur naturally.
However, in general, it is better to carry the dryer's exhaust outside via the 100 mm diameter flexible
Once in its permanent operating position, check that the dryer is absolutely level with the aid of a spirit level. If it is not, raise or lower the two adjustable feet at the front of the machine until it is.
P0046 |
The feet must never be removed.
Do not restrict the floor clearance through deep- pile carpets, strips of wood or similar. This might cause heat
Important
For a correct functioning of the appliance, the room temperature must not be lower than +5°C and higher than +35°C.
Fitting the vent hose
To simplify the installation, there is a choice of vent outlets: one at the back, the others in the left and
Connect the hose to whichever is the more convenient by pulling the ring nut (A) from the vent outlet at the back, screwing it on to the hose and pushing it firmly back into place.
The unused vents should now be sealed with the special snap covers provided.
hose supplied with the appliance; ending either temporarily at an open window, or permanently at a fixed ventilation grille, fitted to an exterior wall or window.
The tumble dryer must be installed in a clean place, where dirt does not build up.
Make sure there are no obstructing items or material near the
To keep vibration and noise to a minimum when the dryer is in use, it should be placed on a firm, level surface.
P1028 | A |
A |
P1027 |
16
