ZCV663 specifications
The Zanussi ZCV663 is a versatile and stylish freestanding cooker designed to meet the demands of modern cooking while providing an elegant addition to any kitchen. This model combines practicality with efficiency, boasting a host of advanced features and technologies that cater to both novice cooks and culinary enthusiasts alike.One of the standout features of the Zanussi ZCV663 is its efficient electric oven, which offers a generous capacity, allowing you to prepare multiple dishes simultaneously. With a fan-assisted heating system, the oven ensures an even distribution of heat for consistent cooking results, whether you're baking, roasting, or grilling. The model also includes multiple cooking functions, providing versatile options to suit various culinary tasks.
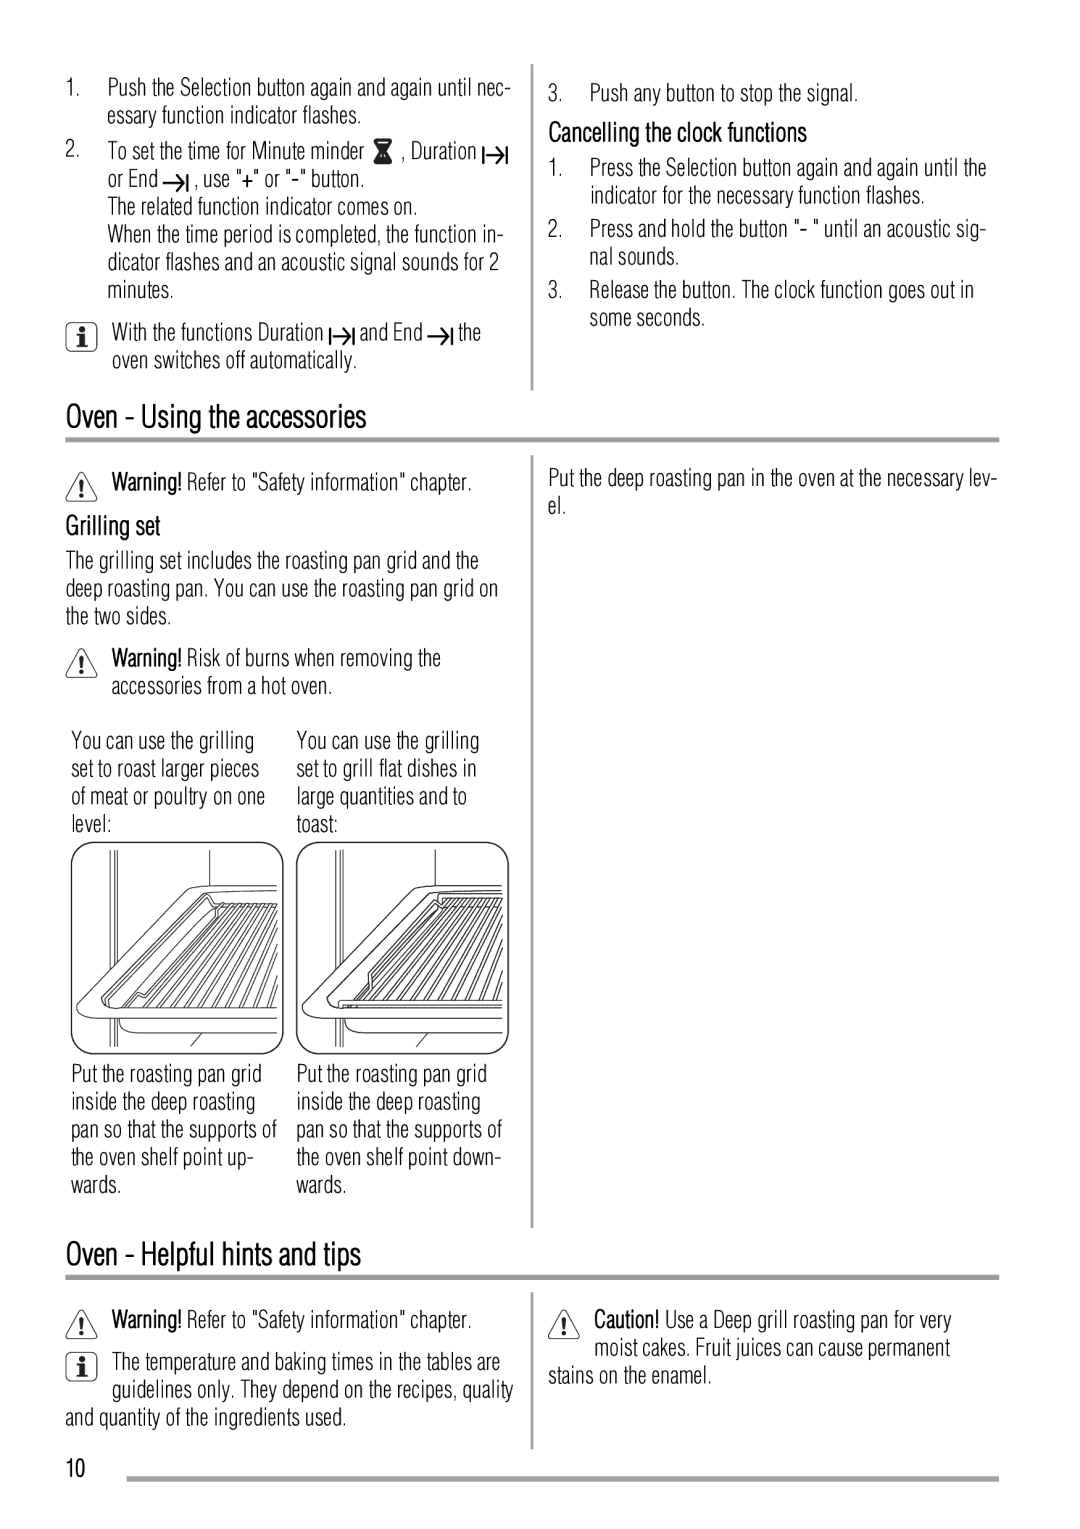
Another notable aspect of the ZCV663 is its user-friendly design. The intuitive control panel features easy-to-read knobs and a digital display, making it simple to set the desired temperature and cooking time. The oven also comes equipped with a programmable timer, allowing you to plan your cooking with precision and ensuring that your meals are cooked to perfection.
In terms of safety, the Zanussi ZCV663 is equipped with features designed to provide peace of mind. The oven door is designed to remain cool to the touch, minimizing the risk of burns during cooking. Additionally, the model includes a child lock function, ensuring that little hands cannot accidentally open the oven while in use.
Cleaning the ZCV663 is made easy with its enamel interior, which resists staining and is simple to wipe down after use. The removable oven shelves further enhance the cleaning process, allowing you to access all areas of the oven without hassle.
The Zanussi ZCV663 also includes a four-burner ceramic hob, providing ample cooking space for pots and pans of various sizes. The ceramic surface not only heats quickly, reducing cooking times but is also easy to clean, ensuring that your kitchen remains tidy.
Overall, the Zanussi ZCV663 is an impressive cooker that combines excellent performance with user-friendly features. Its blend of technology, safety, and practicality makes it an outstanding choice for anyone looking to elevate their cooking experience while adding a touch of sophistication to their kitchen.

