Focusing the Telescope
With the 25mm eyepiece securely inserted into the correct- image diagonal, aim the optical tube so the front (open) end is pointing in the general direction of an object at least 1/4 mile away. With your fingers, slowly rotate the focus wheel until the object comes into sharp focus. Go a little bit beyond sharp focus until the image starts to blur again, then reverse the rotation of the knob, just to make sure you’ve hit the exact focus point.
Aligning the Finder Scope
The finder scope is used to aid in aiming the telescope. It is a small,
The finder scope (Figure 6) must be aligned accurately with the telescope for proper use. To align it, first aim the main tele- scope in the general direction of an object at least 1/4 mile
Now, look in the finder scope. Is the object visible? Ideally, it should be somewhere in the field of view. If it is not, some coarse adjustments of the six finder scope alignment thumb- screws will be needed to get the finder scope roughly parallel to the main tube.
With the image in the finder scope’s field of view, you will now use the six alignment thumbscrews to center the object on the intersection of the crosshairs.
By loosening one alignment thumbscrew and tightening another, you change the
Check the alignment by moving the telescope to another object and fixing the finder scope’s crosshairs on the exact point you want to view. Then look through the telescope’s eye- piece to see if that point is centered in the field of view. If it is, the job is done. If not, make necessary adjustments until the two images match.
Once aligned, the finder scope should not need realignment unless the telescope is roughly handled or jostled.
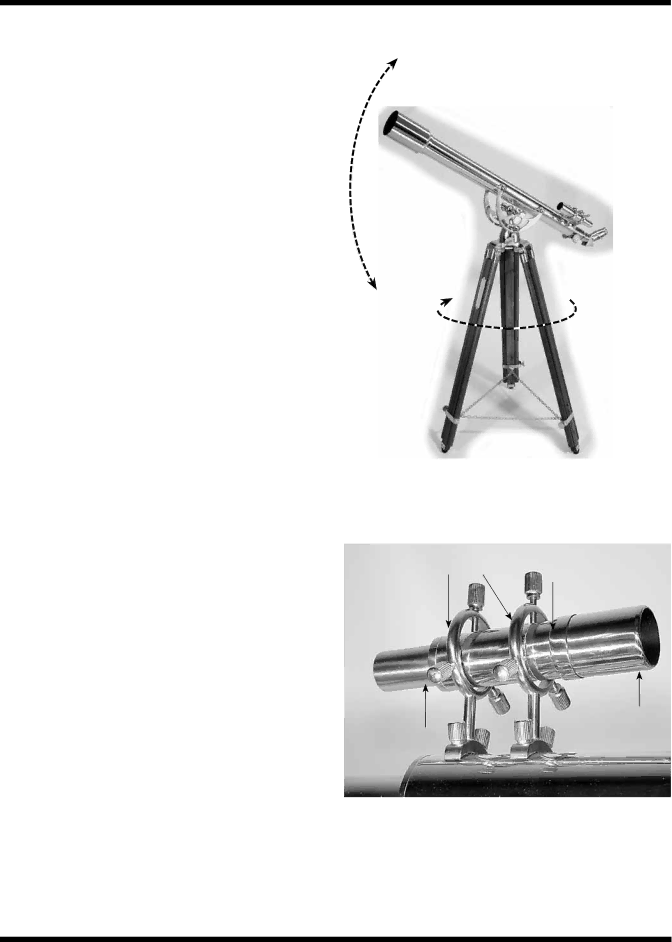
Altitude
Azimuth
Figure 5.
Eyepieces and Magnification
The Aristocrat has two axes of motion: Altitude (up/down) and
Azimuth (left/right).
Finder scope bracket | Focus lock ring |
|
Focusing the Finder Scope
If, when looking through the finder scope, the images appear somewhat out of focus, you will need to refocus the finder scope for your own eyes. Loosen the lock ring located behind the objective lens cell on the body of the finder scope (Figure 6). Back the lock ring off a few turns, for now. Refocus the finder scope on a distant object by threading the objective lens cell in or out on the finder scope body. Once the image appears
Alignment thumbscrews (6)
Objective lens
sharp, lock the ring behind the objective lens cell. The finder scope’s focus should not need to be adjusted again.
Figure 6. The 6x30 correct-image finder scope.
5 | 5 |