Graco 1423, 1424, 1428, 1434, 1435, 1464, 1468 Reclining Back- Four Positions, Starting the Swing

Page 6

Reclining Back— Four Positions

Pull adjustment wire upward and pull seat backward to recline seat. Extra pressure is required to go from the third position to full recline.

For upright position, simply lift back of seat forward.

Installing the Batteries

Step 1.

With baby out of swing, open the battery compartment lid by inserting a coin (penny, nickel or dime) into the coin slot. After the lid pops open, swing it down and remove it.

Step 2.

Insert four “D” cells. CHECK that the batteries are put in correctly. Your swing will not run if the batteries are put in backwards.

Coin slot

Step 2.

Place crotch strap between child’s legs and snap both side buckles to the center buckle. Adjust belt as needed to get a snug fit around your child.

Step 3.

Close the tray. CHECK that the tray is latched by pulling up on the tray.

Do not depend on the tray or seat belt alone to hold your baby. Always secure your baby with both the seat belt and tray when your baby is in the swing.

Step 4.

To start swing, slide the speed button to the desired speed and give the swing a gentle push.

Observe the swinging motion for a minute. It takes time for the swing to adjust to a setting. Change setting if needed.

A small, quiet baby will swing higher on each setting than a larger, more active baby.

Step 5.

To turn swing off, slide switch to the center OFF position.

Step 3.

To replace lid, put the two tabs of the lid into the two slots in the bottom of the motor housing. Swing lid up, and press it into place until you hear the latch click.

Starting the Swing

CHECK that all parts are securely fastened together before using the swing.

Step 1.

Open tray and seat belt. Place baby in the seat. (If your child is very small, you may want to use rolled-up blankets as a prop.)

Indicator Light- Red light comes on when swing is turned on.

Your seat may be stopped at any time the motor is running without damaging the motor. Push swing to restart.

If your swing motor stops operating by itself, a protective device may have been activated. Turn off motor, wait three minutes, then restart swing.

11

12

Image 6
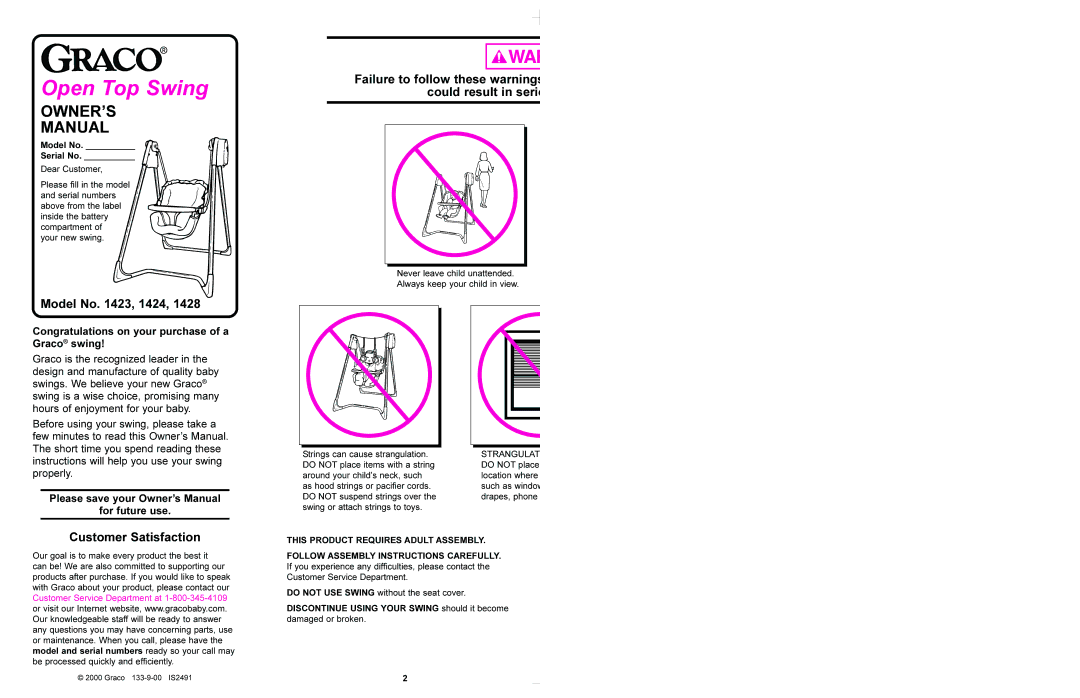
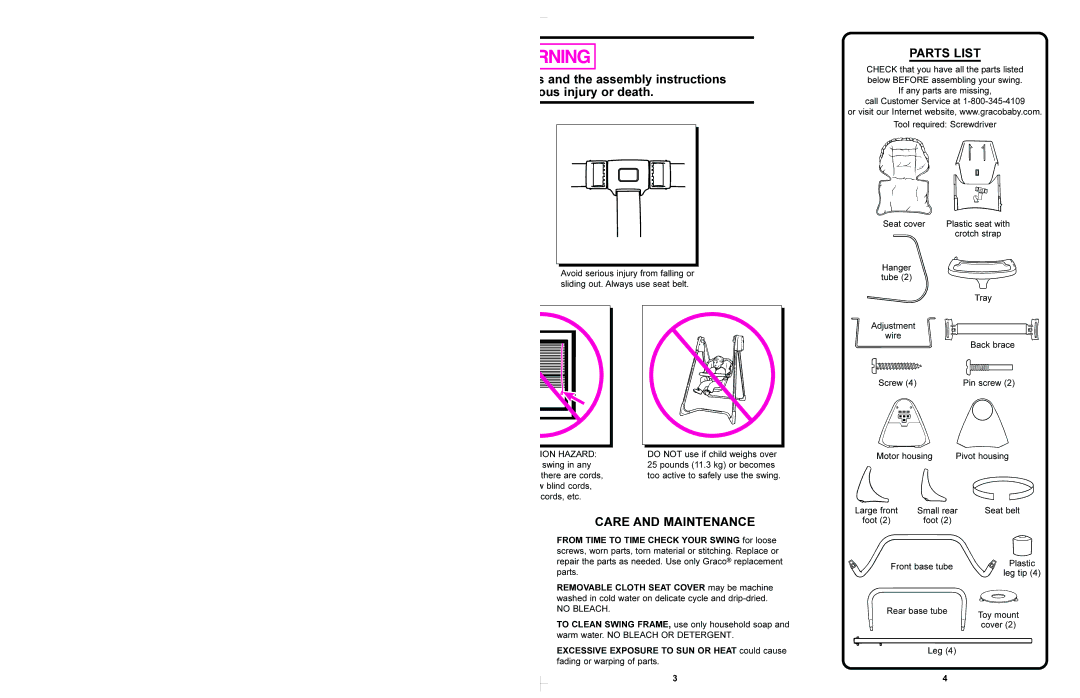
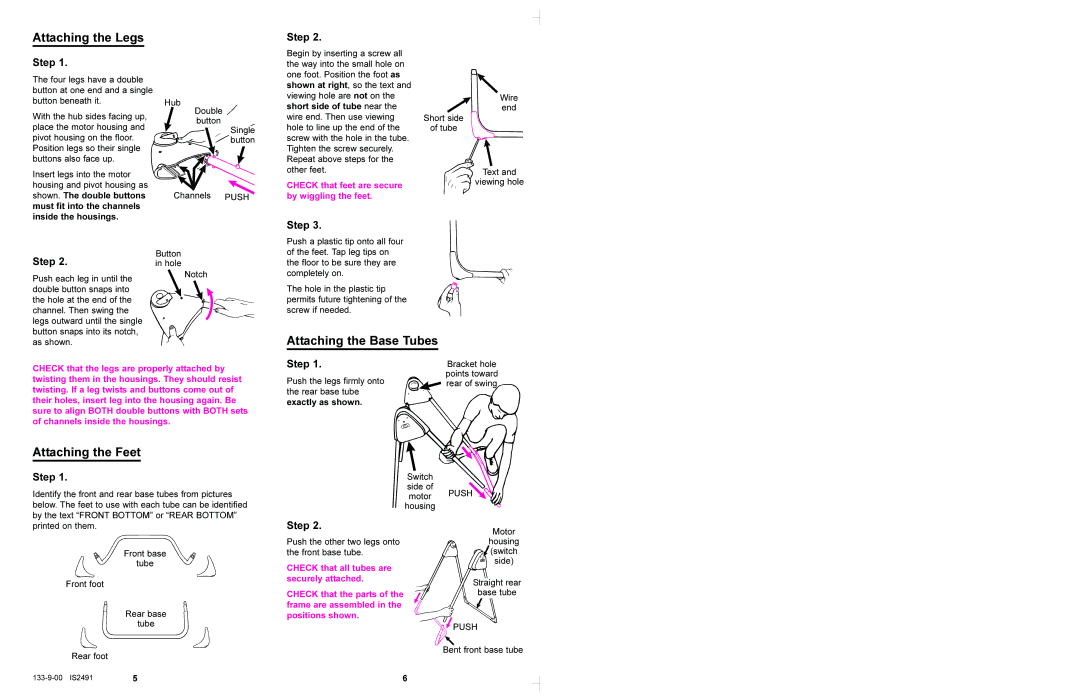
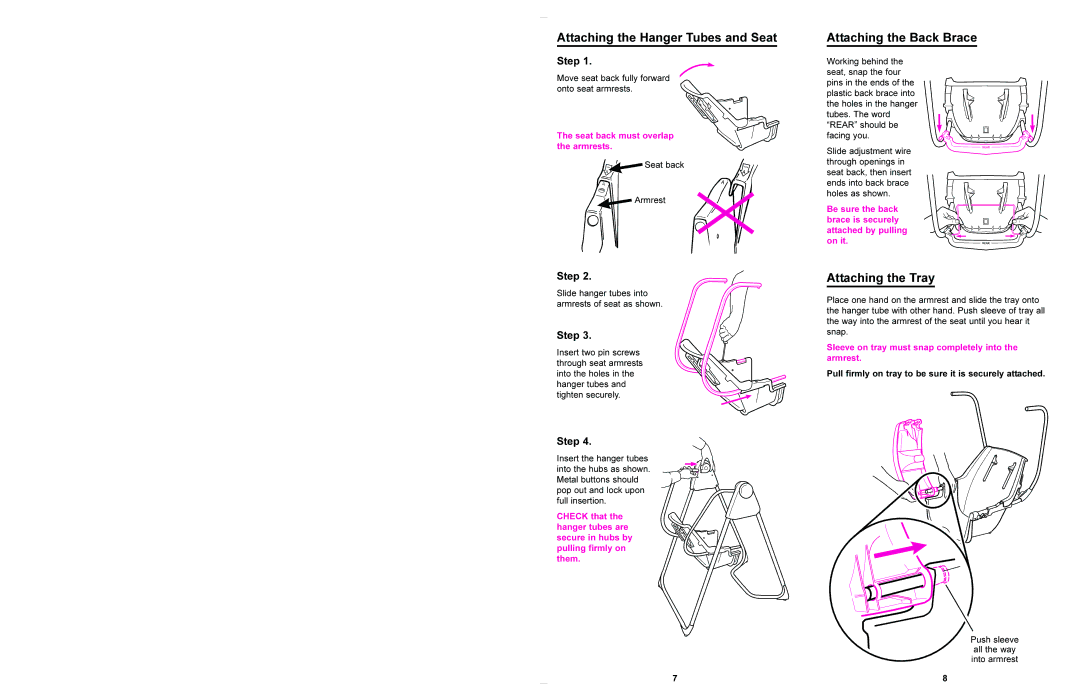
Contents Congratulations on your purchase of a Graco swing Model No , 1424Customer Satisfaction For future useCare and Maintenance Attaching the Feet Attaching the LegsAttaching the Base Tubes StepAttaching the Hanger Tubes and Seat Attaching the Back BraceAttaching the Tray Toy Mounting System To Install CoversUsing the Tray Attaching the Seat CoverInstalling the Batteries Reclining Back- Four PositionsStarting the Swing Caring for Your Battery Powered Swing To Fold Swing FrameReplacement Parts Parts List PriceMix’N Move Toys Step

1423, 1424, 1428, 1434, 1435, 1464, 1468 specifications

Graco, a well-known manufacturer of fluid management products, offers a range of airless paint sprayers that stand out for their high performance and reliability. Among these, the Graco 1423, 1424, 1428, 1434, 1435, 1464, and 1468 models are particularly popular among both professional contractors and DIY enthusiasts due to their innovative technologies and user-friendly features.

The Graco 1423 model is designed for smaller jobs, making it ideal for homeowners looking to complete projects such as fences or furniture. It boasts a lightweight design and is easy to maneuver, making it perfect for detailed work. Its PowerFlush adapter simplifies cleanup, allowing users to quickly switch between paint colors.

The Graco 1424 model builds on its predecessor by including extended spray control features. It is suitable for larger projects, offering adjustable pressure that gives users the flexibility to work with various paint materials. This model is known for its durable construction, ensuring longevity even with frequent use.

The Graco 1428 is equipped with advanced technology that enhances spraying efficiency. It features the RAC IV SwitchTip, allowing users to reverse the tip to clear clogs without stopping the job. This capability makes it particularly beneficial for professionals who need to maintain workflow.

The Graco 1434 and 1435 models provide higher output, catering to medium to large-scale projects. They feature the ProConnect system, which allows for easy pump replacement without the need for tools. Additionally, they come with a heavy-duty frame that withstands the rigors of job site conditions, ensuring reliability on demanding tasks.

The Graco 1464 and 1468 models are designed for extensive professional applications. They incorporate Graco's patented SmartControl technology, which provides consistent spray patterns and pressure control regardless of the speed of operation. This feature is essential for achieving a professional finish and ensures that users can tackle large jobs with confidence.

In summary, the Graco 1423, 1424, 1428, 1434, 1435, 1464, and 1468 models are distinguished by their unique features and specialized technologies, making them suitable for a wide range of applications. Their durability, ease of use, and efficiency make them top choices for both homeowners and professionals, enhancing the overall painting experience. Whether it’s a small job or a large project, Graco has options that meet various needs and skill levels.