Dukane 28A8049B user manual Multifunctional Settings, Main Menu

Page 33

MULTIFUNCTIONAL SETTINGS

This device has 6 separate menus: MAIN, PICTURE 1, PICTURE 2, INPUT, SCREEN, OPTION. Each of these menus is operated using the same methods. The basic operations of these menus are as follows.

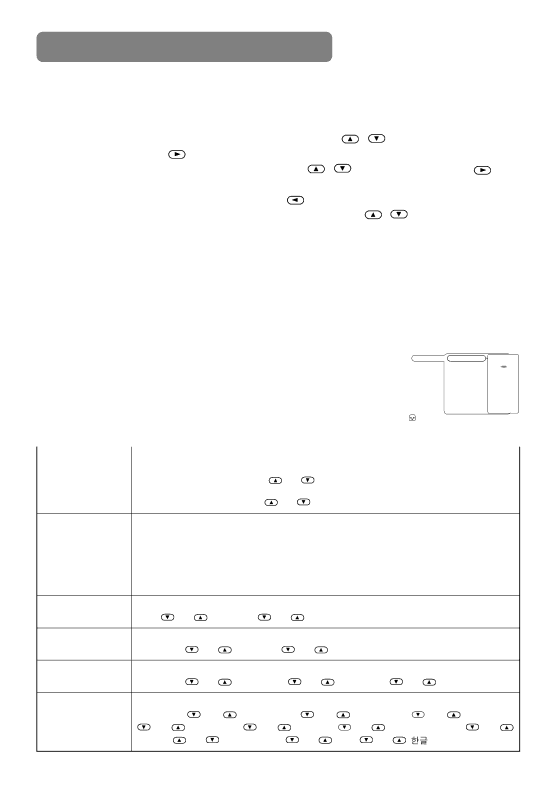
Menu screen display : Press the "MENU" button.


Menu selection

: Choose a menu name using the

/


button, and press the


button or the ENTER button.


Item selection

: Choose an item using the

/

button, and press the


button or the ENTER button.


Return menu to last previous screen: Press the

button or the ESC button.

Execution of settings and/or adjustments: Operate by using the

/

button. (For further

details, read the explanation for each separate menu.)

Initialization of settings and/or adjustments: During operation, press the RESET button.

(Note that items whose functions are performed simultaneously with the operation of clock phase, language selection, automatic adjustment, etc., cannot be initialized.)

End menu operations: Press the MENU button, or do not perform any operation for several seconds.

MAIN Menu


MENU


PICTURE-1

CONTRAST


MAIN

BRIGHT


PICTURE-2

ASPECT


With the MAIN menu, the seven items shown in the Table below can be

INPUT

PICT. POSIT.


SCREEN

GAMMA


performed.


OPTION

MIRROR


LANGUAGE


Perform each operation in accordance with the instructions in the Table.


12


: SELECT


MAIN Menu


Example : MAIN Menu


(BRIGHT)

Item


Description


BRIGHT

Adjust Brightness: Light

Dark


CONTRAST

Adjust Contrast: Strong

Weak


ASPECT

Select Aspect Ratio:

At RGB Input:

4:3 16:9

At VIDEO Input, S-VIDEO Input:

4:3 16:9 SMALL

• The SMALL picture may not be displayed correctly with certain input signals.

PICT.POSIT.

Select Picture Position (for 16:9/SMALL Picture):


TOP

CENTER

BOTTOM


GAMMA

Select Gamma Mode:


NORMAL

CINEMA

DYNAMIC


MIRROR

Select Mirror Status:


NORMAL

H:INVERT

V:INVERT

H&V:INVERT


Select Menu Language:


LANGUAGE

ENGLISH

FRANÇAIS

DEUTSCH

ESPAÑOL


ITALIANO

NORSK

NEDERLANDS


日本語


POTUGUÊS

中文


2

Image 33
Contents Model 28A8049B Page Contents Safety Instructions Projector FeaturesRemote control Two AA batteries Vol.1/Vol.2Only use the power cord that came with the projector Devices you will be using to the projectorPower cord Reference Part NamesRGB button Search button STANDBY/ON button Auto button Blank button Volume button Mute buttonVideo button 15 Aspect button Magnify buttons Freeze button Keyboard buttonsAdjusting the Projectors Elevator Feet Setting UP the ProjectorAdjusting the Screen Size and Projection Distance ScreenTop view Side view Connecting Your Devices Function Projector Port Connection Cables Ports and CablesConnecting to a Computer Connecting Your DevicesConnecting to a VCR Connecting to a DVD PlayerConnecting to a Display Monitor Using the Remote Control Putting batteries into the remote control unitOperating the remote control Turning on the Power Selecting an Input Signal Turning OFF the Power Press the Volume button Adjusting the VolumePress Buttons to adjust Volume Temporarily Muting the SoundAdjusting the Position Use Buttons to adjust PositionPress the Position button Automatic Adjustment for RGB Input Using the Automatic Adjustment FeatureAutomatic Adjustment for Video Input Press the Auto buttonPress the Keystone button Correcting Keystone DistortionsAs illustrated on the right, a dialog will appear On the screen to aid you in correcting the distortionFreezing the Screen Using the Magnify FeatureSignal Searching Selecting the Aspect RatioTemporarily Blanking the Screen Select a menu using Buttons Then press Or Enter button Using the Menu FunctionsSelect an item using Buttons, then press Or Enter button Press Buttons to adjust the levelOperating the PC Screen Available Functions Remote Control OperationHigh Voltage High Temperature High Pressure LampDo not use the projector with the lamp cover removed Replacing the lamp Caring for the air filter AIR FilterReplacing the air filter Other Care Caring for the cabinet and remote control transmitterCaring for the inside of the projector Caring for the lensFor Technical see the end of this manual Multifunctional Settings Main MenuMain Menu Picture 2 Menu Picture 1 MenuPICTURE1 Menu PICTURE2 MenuInput Menu Input MenuAuto VideoScreen Menu Screen MenuBlank Start UPOption Menu Option MenuAuto OFF WhisperRelated Messages Power Lamp Temp Regarding the Indicator LampsVol.2-2 Phenomena That May Easily Be Mistaken for Machine DefectsVol.2-3 Vol.2-6Dimension Diagram SpecificationsSpecification Unit mmWarranty and AFTER-SERVICE Signal Terminal Specification Signal Connector PIN AssignmentRGB in 1/2 Sub 15-pin ShrinkResolution FH kHz FV Hz Rating Signal mode Display mode Example of Computer SignalInitial SET Signals ADB Mouse Connection to the Mouse ControlSerial Mouse USB MouseConsist of header 7 bytes + command data 6 bytes Command dataRS-232C Communication ProtocolChanging the projector settings Set command Requesting projector status Get commandUsing the projector default settings Reset Command Increasing the projector setting value Increment command日本語 Command data chartBe EF BA D2 Be EF FD D3 Be EF Ntsc PAL Regulatory Notices Audio Visual Products