Changing the Resistance of the RGB B
Input Terminals
You can set the resistance of the two of the RGB B input terminals to either HIGH (1 kΩ) or LOW (75 Ω):
•HD/Cs (Horizontal sync/Composite) terminal
•VD (Vertical sync) terminal.
HIGH is the normal setting. Change the setting to LOW when you use a long connecting cord and the picture flickers and blurs on the screen.
1 Press MENU/EXIT (or MENU on the Monitor) to display the Main Menu.
|
|
|
|
|
| M A I N M E N U | ||||
Cursor (3) |
|
| P I C T U R E | A D J . | ||||||
|
| |||||||||
|
|
| S I Z E / P O S I T I O N A D J . | |||||||
|
|
| F U N C T I O N S E L E C T | |||||||
|
|
| S T A T U S D I S P L A Y | |||||||
|
|
| E N T E R : |
|
| S E L E C T : |
| E X I T : |
|
|
|
|
|
|
| M E N U |
| ||||
|
|
|
|
|
|
|
|
|
|
|
2 Press 5/∞ to move the cursor (3) to
“FUNCTION SELECT.”
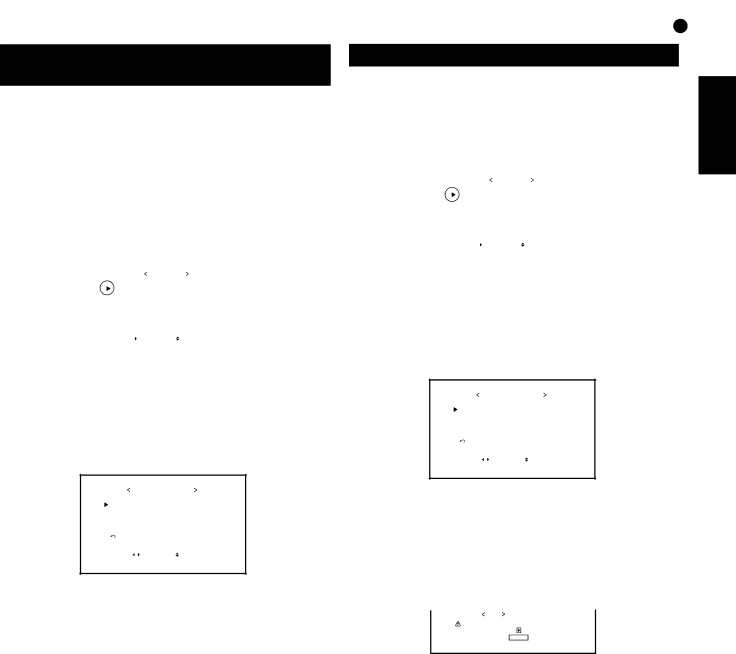
3 Press 3 to display the Function
Selection Menu.
F U N C T I O N S E L E C T
|
|
| C O L O R T E M P . | : H I G H * | |||||
|
|
| A S P E C T | : P A N O R A M I C | |||||
|
|
| S I G N A L M O D E | : A U T O | |||||
|
|
| R G B / C O M P O . | : R G B | |||||
|
|
| S Y N C T E R M . | : H I G H | |||||
|
|
| r e s e t |
|
|
| |||
|
| A D J U S T : |
|
| S E L E C T : |
| E X I T : |
| |
|
|
| M E N U | ||||||
*1 *2 *3
4 Press 5/∞ to move the cursor (3) to “SYNC TERM.”
5 Press 2/3 to select the terminal resistance.
Each time you press the button, the resistance alternates between “HIGH” and “LOW.”
HIGH: Initial setting. Normally select this.
LOW: When using a long connecting cord and the picture flickering and blurring on the screen.
6 Press MENU/EXIT (or MENU on the Monitor) twice to exit the menu operations.
Resetting the Function Selection Menu Settings
You can reset all the Function Selection Menu settings at a time.
1 Press MENU/EXIT (or MENU on the Monitor) to display the Main Menu.
|
|
|
|
|
| M A I N M E N U | ||||
Cursor (3) |
|
| P I C T U R E | A D J . | ||||||
|
| |||||||||
|
|
| S I Z E / P O S I T I O N A D J . | |||||||
|
|
| F U N C T I O N S E L E C T | |||||||
|
|
| S T A T U S D I S P L A Y | |||||||
|
|
| E N T E R : |
|
| S E L E C T : |
| E X I T : |
|
|
|
|
|
|
| M E N U |
| ||||
|
|
|
|
|
|
|
|
|
|
|
2 Press 5/∞ to move the cursor (3) to
“FUNCTION SELECT.”
3 Press 3 to display the Function
Selection Menu.
F U N C T I O N S E L E C T
|
|
| C O L O R T E M P . | : H I G H * | |||||
|
|
| A S P E C T | : P A N O R A M I C | |||||
|
|
| S I G N A L M O D E | : A U T O | |||||
|
|
| R G B / C O M P O . | : R G B | |||||
|
|
| S Y N C T E R M . | : H I G H | |||||
|
|
| r e s e t |
|
|
| |||
|
| A D J U S T : |
|
| S E L E C T : |
| E X I T : |
| |
|
|
|
|
| M E N U | ||||
*1 *2 *3
4 Press 5/∞ to move the cursor (3) to “reset.”
5 Press 3.
The confirmation screen appears.
r e s e t |
|
A r e y o u s u r e ? |
|
" Y E S " t h e n | k e y . |
" N O " t h e n M E N U k e y .
6 Press 3 again to reset the adjustments.
To cancel the reset, press MENU/EXIT (or MENU on the Monitor).
ENGLISH
23