

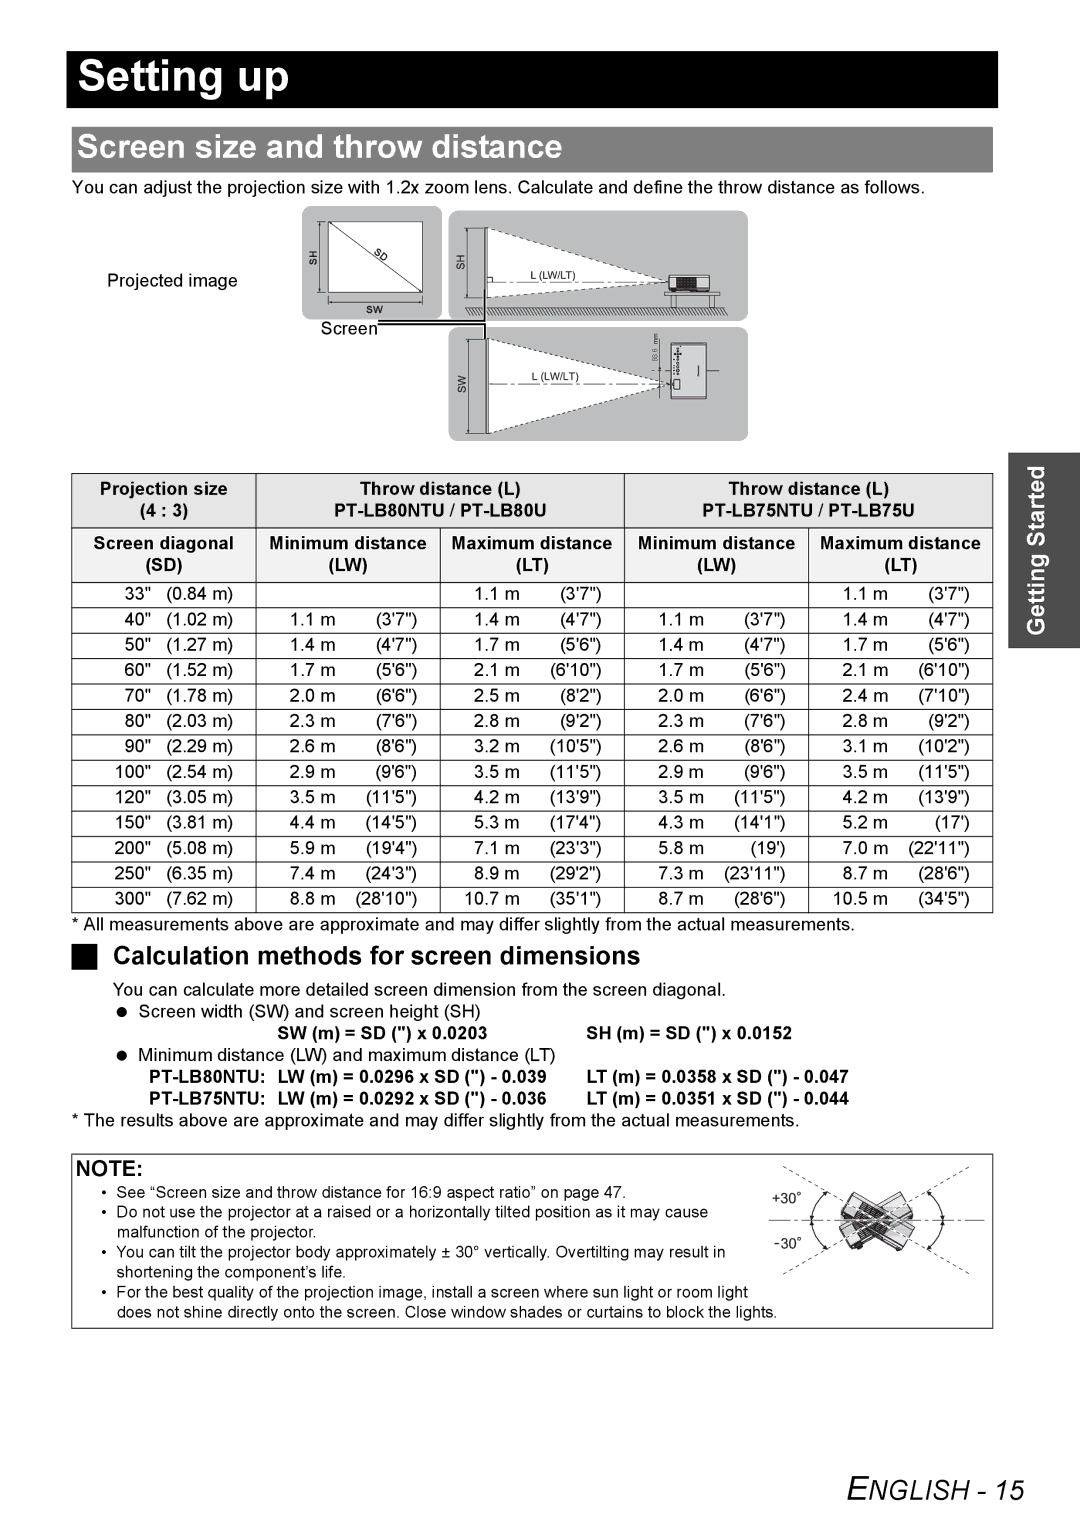


Remote control operation
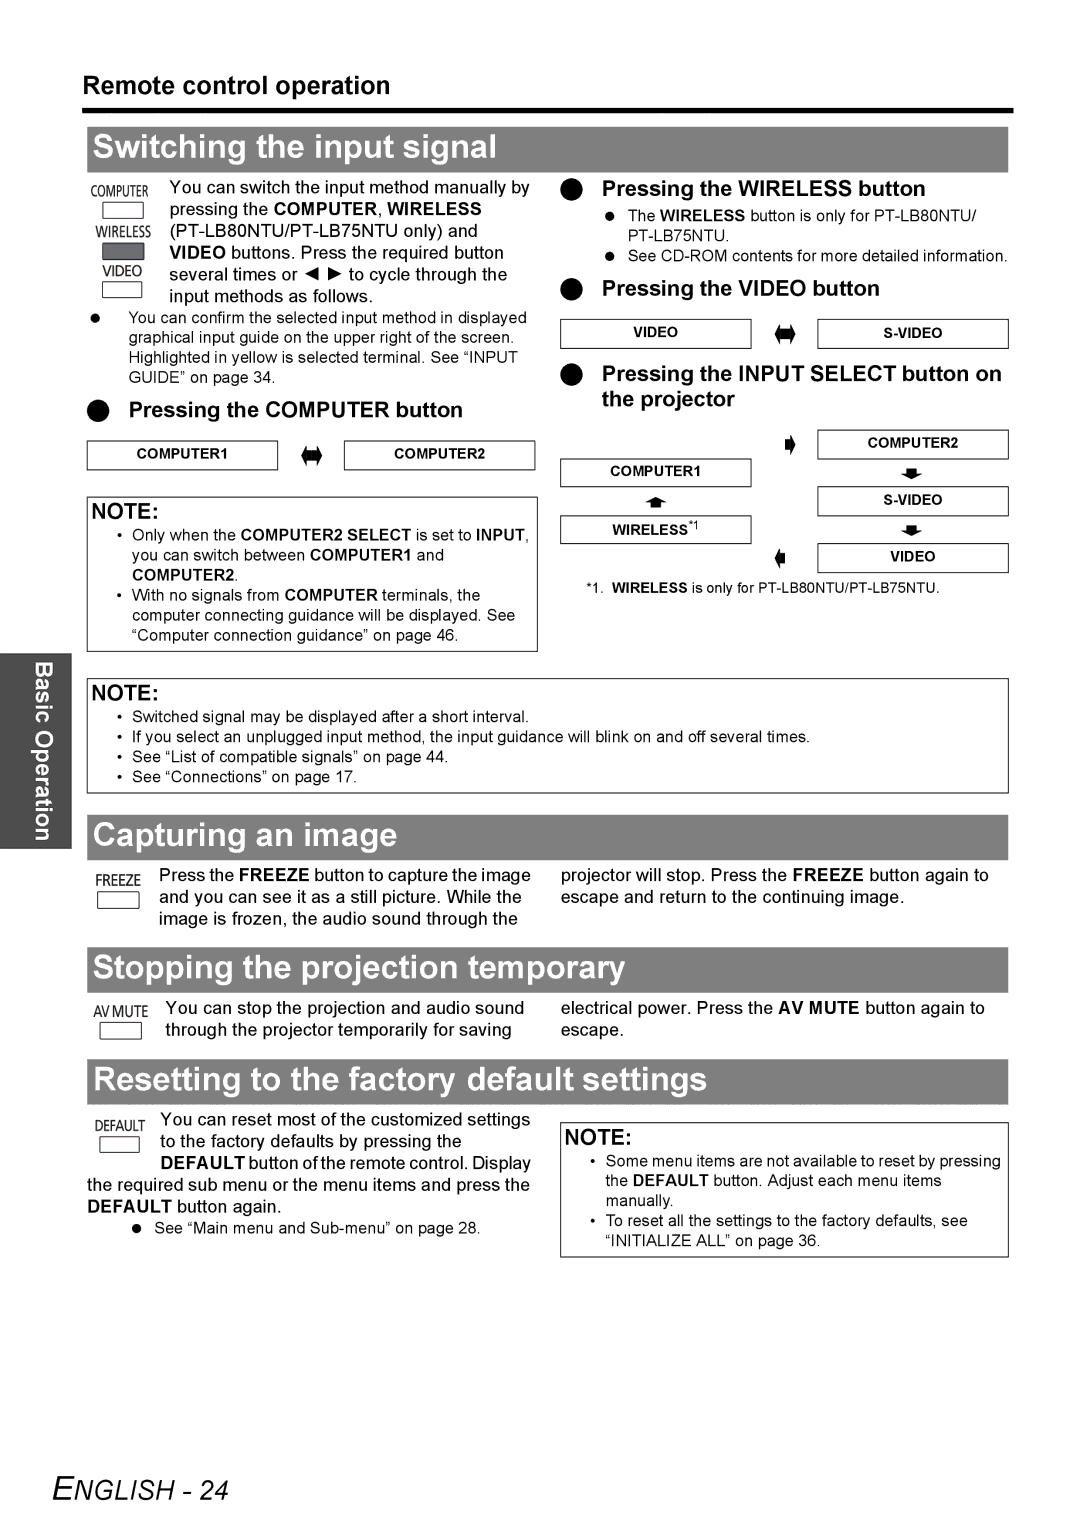
Projecting an image in INDEX-WINDOW mode
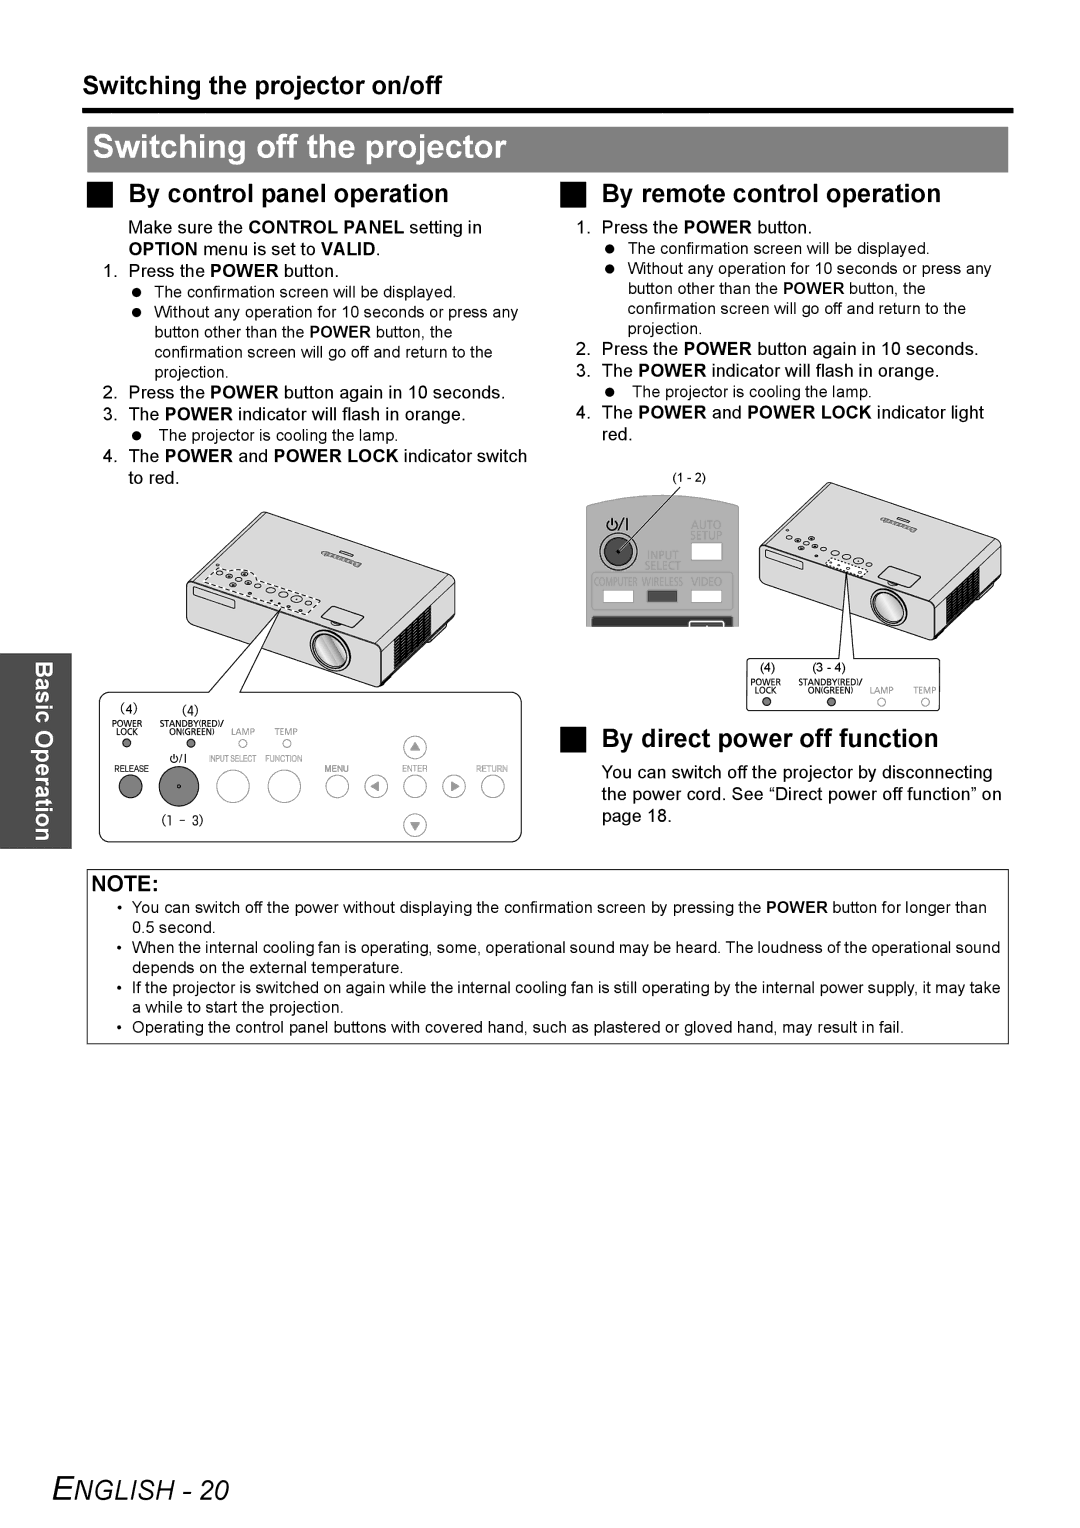
You can project an image split in 2 windows
as an
screen’s left side while displaying subsequent image continues on the right.
Press the MENU or RETURN button to escape.
Projected image | Frozen image |
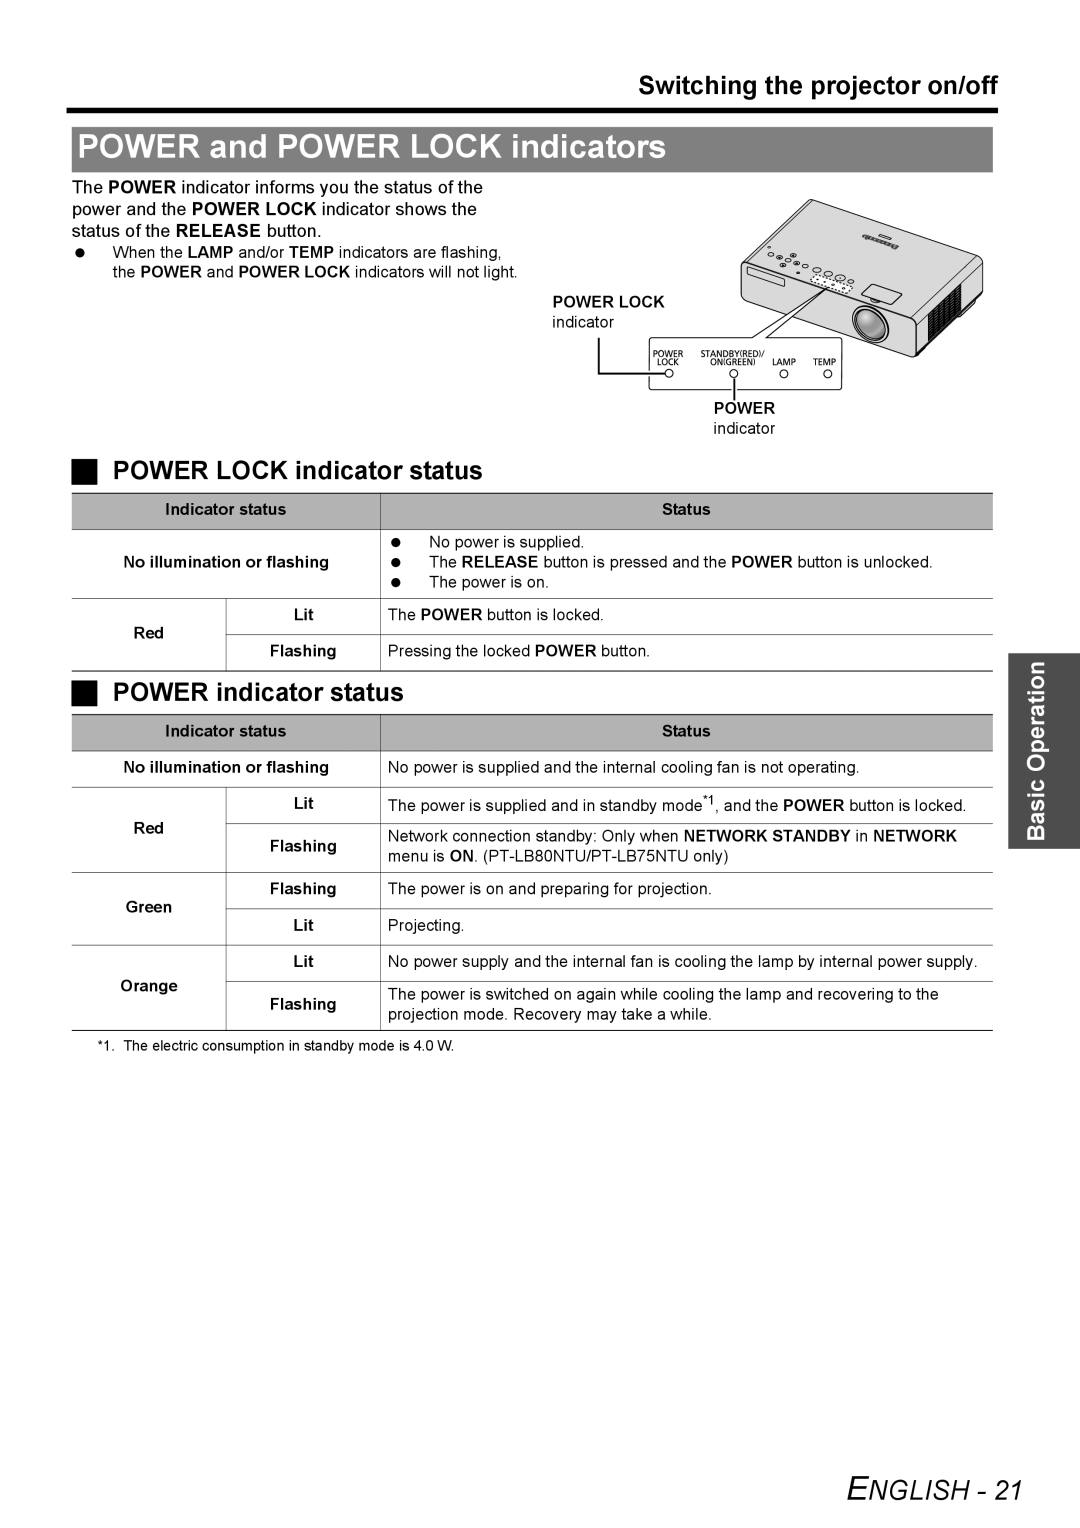
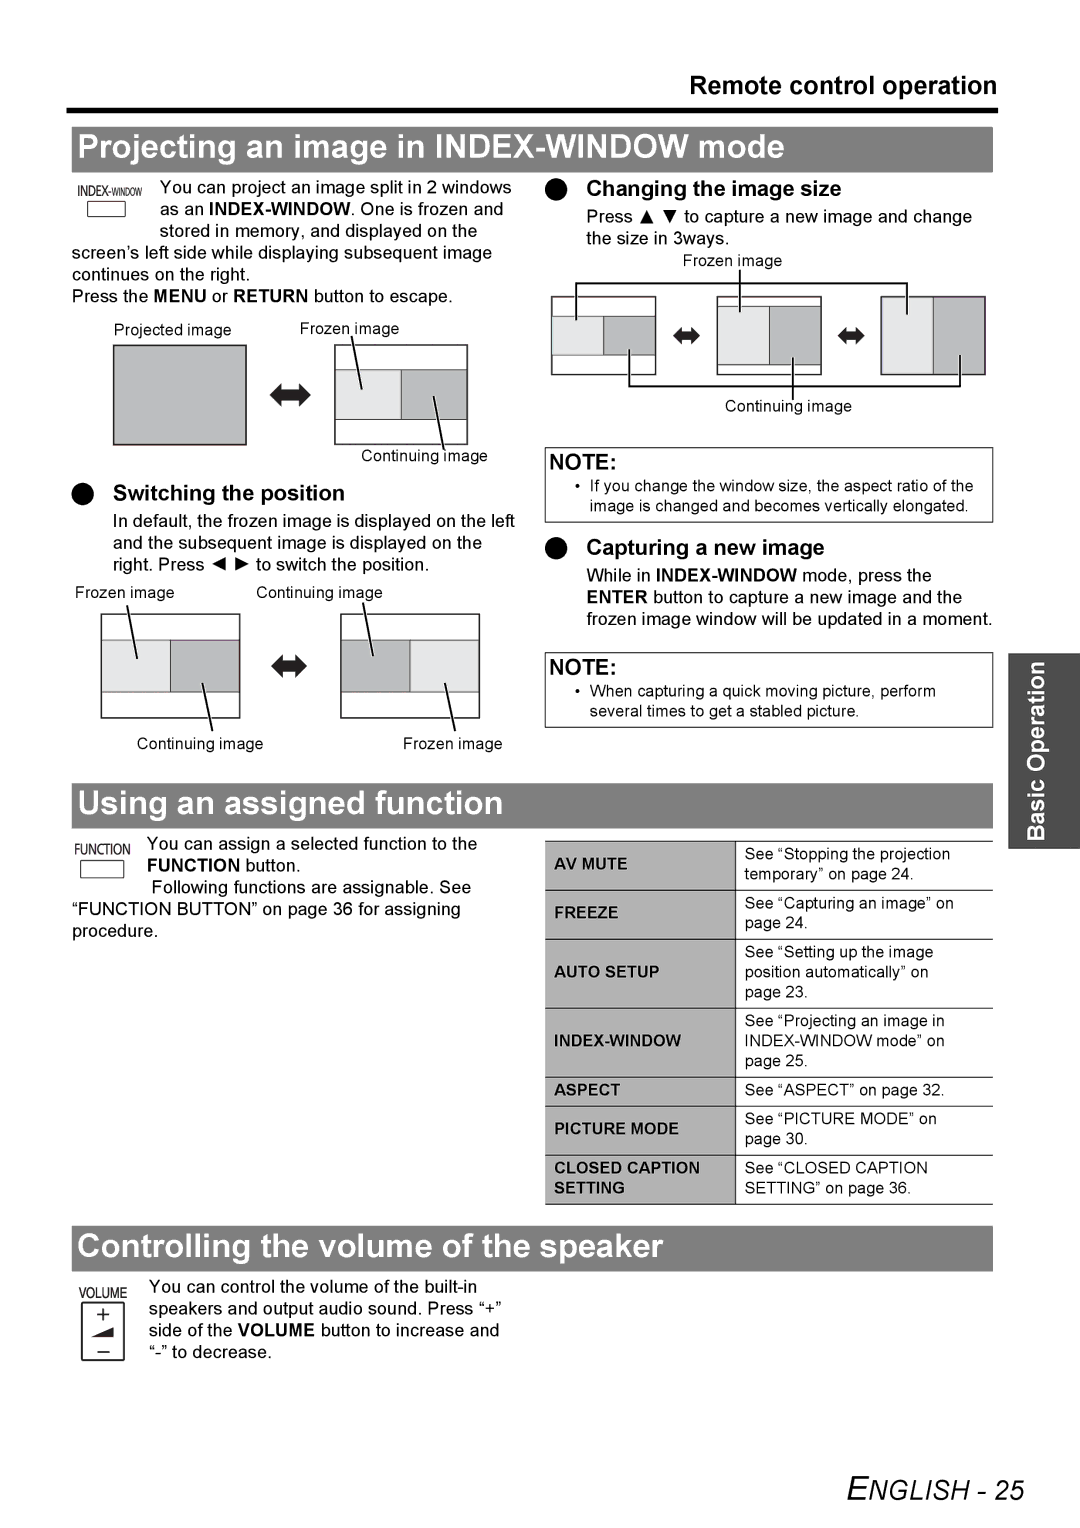
Changing the image size
Press F G to capture a new image and change the size in 3ways.
Frozen image
Continuing image
Continuing image
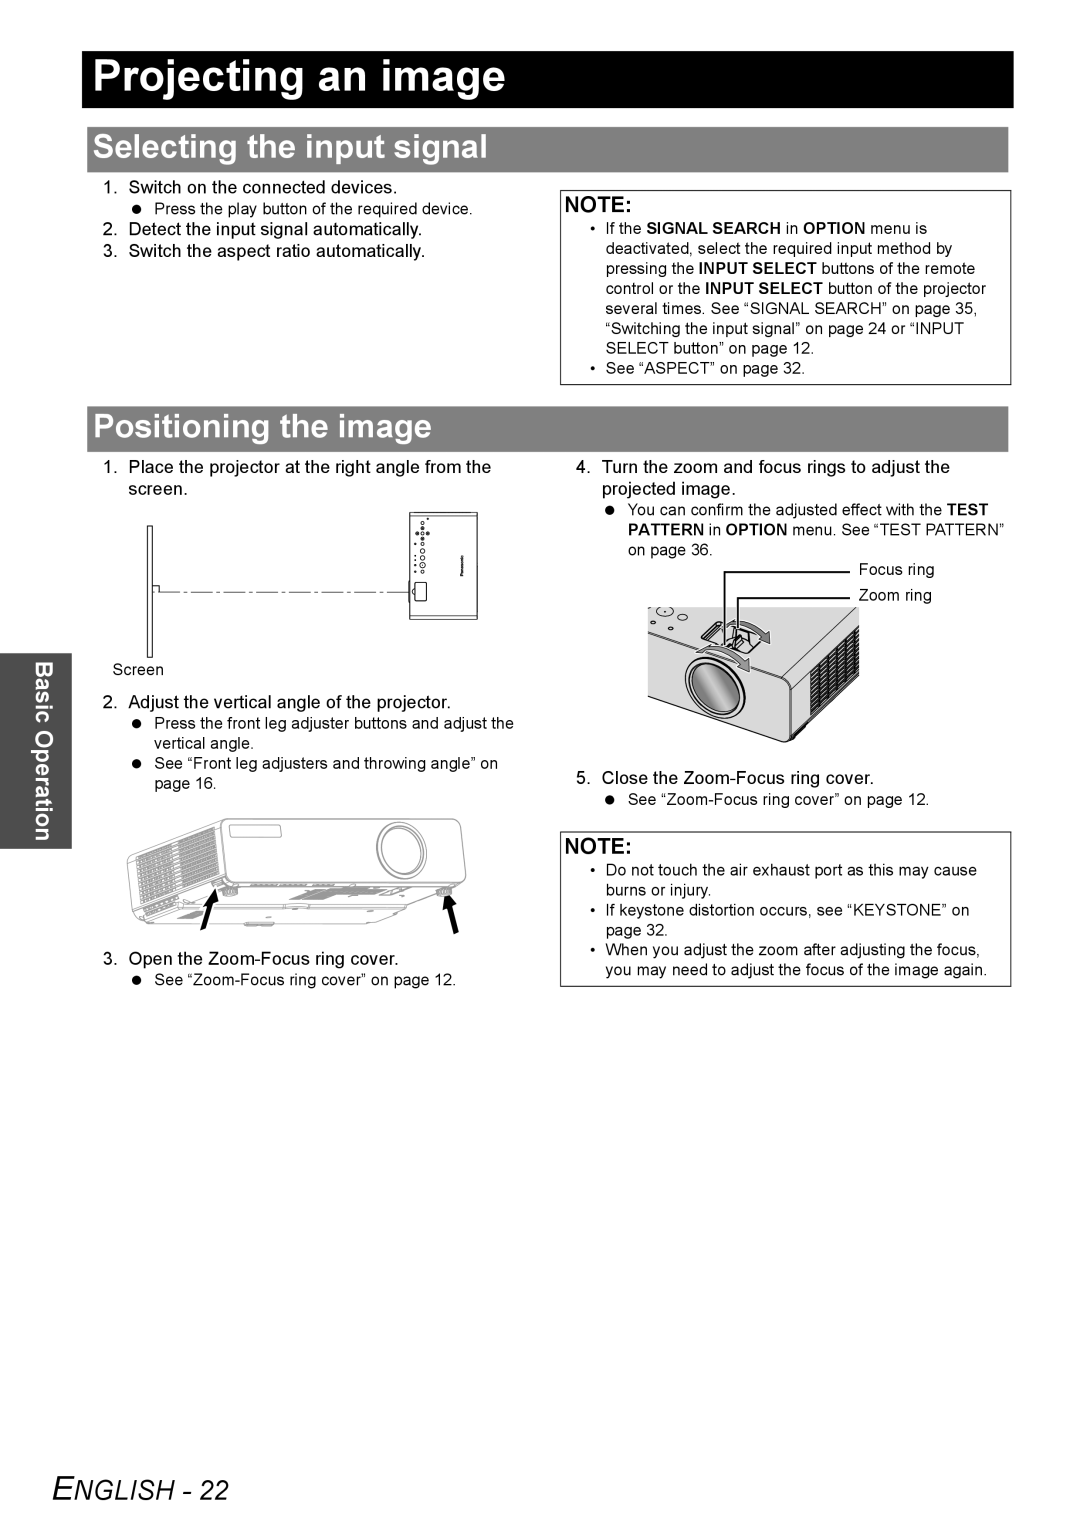
Switching the position
In default, the frozen image is displayed on the left and the subsequent image is displayed on the right. Press I H to switch the position.
Frozen image | Continuing image |
| |||
|
|
|
|
|
|
|
|
|
|
|
|
|
|
|
|
|
|
|
|
|
|
|
|
Continuing image | Frozen image |
NOTE:
•If you change the window size, the aspect ratio of the image is changed and becomes vertically elongated.
Capturing a new image
While in
NOTE:
•When capturing a quick moving picture, perform several times to get a stabled picture.
Operation
Using an assigned function
You can assign a selected function to the FUNCTION button.
Following functions are assignable. See “FUNCTION BUTTON” on page 36 for assigning procedure.
AV MUTE | See “Stopping the projection | |
temporary” on page 24. | ||
| ||
FREEZE | See “Capturing an image” on | |
page 24. | ||
| ||
| See “Setting up the image | |
AUTO SETUP | position automatically” on | |
| page 23. | |
| See “Projecting an image in | |
| page 25. | |
ASPECT | See “ASPECT” on page 32. | |
PICTURE MODE | See “PICTURE MODE” on | |
page 30. | ||
| ||
CLOSED CAPTION | See “CLOSED CAPTION | |
SETTING | SETTING” on page 36. | |
|
|
Basic
Controlling the volume of the speaker
You can control the volume of the