Smith Corona 200 instruction manual Connect Power, Setting

Page 5

CONNECT POWER

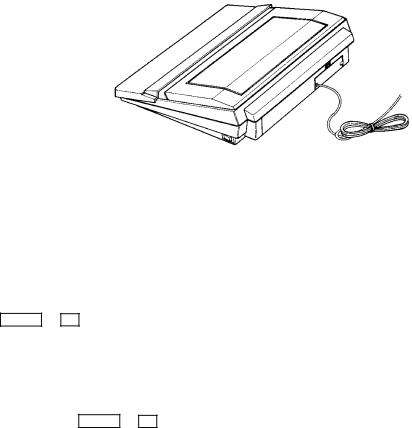
Power cord is located in the compartment located at the rear of the typewriter. And the power switch is located on the right side of typewriter near the rear.

1)Pull down the rear compartment door and connect the power cord to a proper AC outlet.

2)Push the power switch to the “I” position.

When the typewriter is switched on, the green LED on the keyboard will light up. The carrier will move to the extreme left of the typewriter then advance to the left margin.

The unit is now ready for typing.

NOTE: The Socket-outlet shall be installed near the equipment and shall be easily accessible.

Setting

When you open the printcover to change the RIBBON, DAISYWHEEL, CORREC- TION TAPE or other reasons, and if you want to re-initialize your typewriter, press the CODE + = (SETTING) key.

1)Open the printcover and change the RIBBON, DAISYWHEEL or CORRECTION TAPE. Close the printcover.

2) Press the CODE + = (SETTING) key, the typewriter will then initialize itself. All memories and carrier position will be maintained.

-4-

Image 5
Contents Electronic Typewriter Parts Description 35. * Right Margin Flush Keyboard LayoutContents Setting Connect PowerChanging The Print Wheel ChangingChanging The Ribbon Cassette Changing The Correction Tape Setting Impression Basic FeaturesSetting Margins Selecting PitchCaps Lock Shift and Shift LockSpecial Characters SpaceIndex & Reverse Index BackspacingIndent BoldCentering Decimal TabRight Margin Flush Checking Your Spelling OptionCorrection LP Line Print Mode Auto Automatic Return ModeAdvanced Operation Just JustificationPre-Description Word Processor ModeMemory All Clear File OperationBlock Operation Mark EditorPrint & Stop Code Function Code In WP ModeMaintenance Trouble ShootingSpecification 7301171