RCA HD61LPW164 manual Color Scheme, Translucency, Menu Language, Lamp Power

Page 64

Using the TV’s Menu System

0 Go Back

1 Closed Captioning

2 Screen Format

3 Time Menu

4 RecColordSchemeOutput

5Translucency

6Menu Language

7Lamp Power

Main Menu Preferences

Sky Blue

Emerald

Raspberry

Plum

You can select from one of four colors for the menu system and the channel banner.

Press 5 or 6 to point to an option, then press OK to select it. Press 3to return to the menu.

Color Scheme

Select from among four colors (Sky Blue, Emerald, Raspberry, and Plum) to change the color of the menu system and banner.

0 Go Back

1 Closed Captioning

2 Screen Format

3 Time Menu

4 Color Scheme

5Translucency

6Menu Language

7Lamp Power

Main Menu Preferences

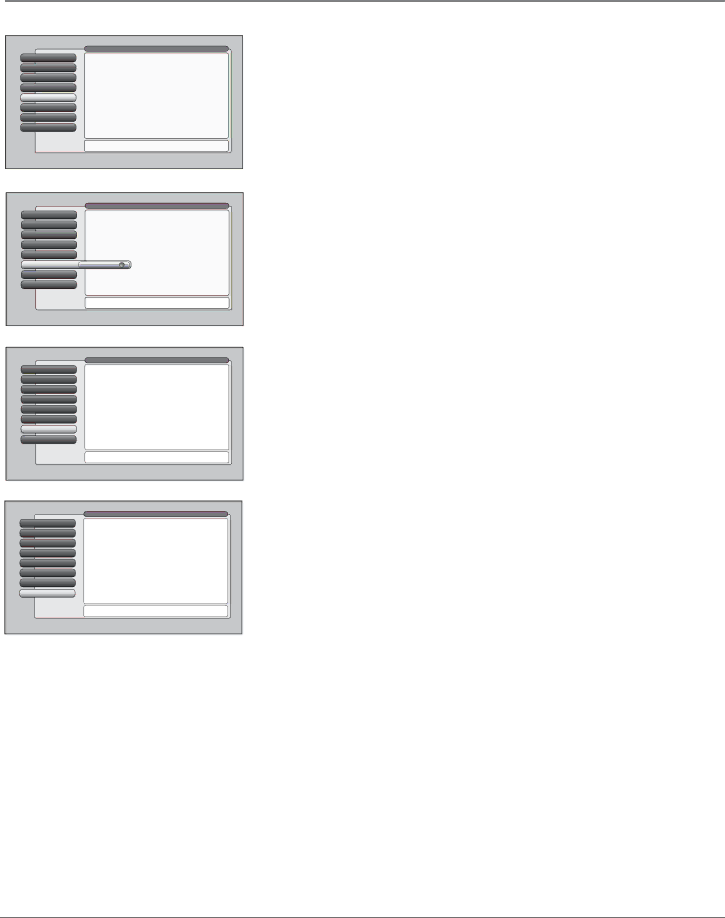
The translucency level you set is applied to the on-screen menu system and channel banner for all inputs.

Press3or4to move the indicator to the desired translucency level for the on-screen menus.

Translucency

You can change the translucency (see-through) level of the menu screens. Adjust the slider by using the left and right arrow buttons.

0 Go Back

1 Closed Captioning

2 Screen Format

3 Time Menu

4 Color Scheme

5Translucency

6MenuTra slucencyLanguage

8 Lamp Power

Main Menu Preferences

English

Highlight with the 5and 6 arrows. Select with the OK button.

Español

Resalte con las flechas 5 y 6. Seleccione con el botón OK.

Français

Mise en surbrillance avec 5 et 6. Sélection avec OK.

Press 5 or 6 to point to an option, then press OK to select it. Press 3to return to the menu.

Menu Language

The menu language can be changed to one of three languages: English, Spanish or French. The menu language can also be selected when using the Assisted Setup menu.

0 Go Back

1 Closed Captioning

2 Screen Format

3 Time Menu

4 Color Scheme

5Translucency

6Menu Language

7Lamp Power

Main Menu Preferences

The TV's lamp can be set to have either:

Brighter Picture

Longer life

You can choose the lamp's power setting. The "Longer Life" setting produces a picture that is less bright, however, it should extend the life of the lamp as compared to the "Brighter Picture" setting. Choose a selection that best fits your viewing environment and intended usage of the TV.

This TV uses Lamp Type __. Please make a note of it for future reference.

The lamp that lights the TV picture can be set for a brighter picture or a longer life (less bright). Press OK to continue.

Lamp Power

Your HDTV is equipped with a special lamp system. Eventually, the lamp (like a light bulb) will need to be replaced and you’ll need to know your lamp type. Check the menu for your lamp type and write it down on page 1 for future reference. The Lamp Power menu enables you to extend the life of the lamp (choose Longer Life), or provide the brightest possible picture (choose Brighter Picture).

62

Chapter 4

Image 64
Contents User’s Guide Important Information Product Registration Product InformationThank you for choosing RCA Scenium IntroductionPart 1 DLP- brilliance, in color, design, and technology Resolution it’s math...that works for you Part 2 Why RCA Scenium DLP is betterAspect Ratio Part 3 Other Key Features of owning an RCA Scenium Hdtv Digital Signal and SoundUser-friendly Features Help You Personalize Your TV Integrated Hdtv Tuner with Digital Cable Ready QAMAudio System Audio/Video Output JacksTable of Contents Using the TV’s Menu System ReferenceConnections & Setup Chapter OverviewConnections & Setup Things to Consider Before You ConnectChoose Your Connection Components Cables Needed Connection Title Go toLlit PagesExplanation of Jacks and Cables InputVIDEO/AUDIO Inputs Green PR red Cable Input Antenna Input Front Input Jacks Front of Your TVFront Panel How to Connect TV + VCR + DVD Player 2A 2B3A1 Go toHow to Connect TV + Satellite Receiver + VCR 2A1How to Connect TV + Component with DVI or Hdmi Viewing the ComponentSetting Up Digital Cable Television Service How to Connect TV + CableCARDYou should know How to Connect TV + A/V Receiver + Speakers How to Connect TV + Receiver with Dolby Digital + SpeakersGo to following page for connection diagram Audio ConnectionsAmplifier Use the Remote Control to Complete the Assisted Setup Complete the Assisted SetupPlug in the TV Put Batteries in the RemoteNext Steps Set the Menu LanguageComplete Channel Search Changing ChannelsUsing the Remote Control Using the Remote Control Buttons on the Remote ControlTips Using Automatic Code Search Programming the Remote to Operate Other ComponentsFind Out If You Need to Program the Remote Programming the RemoteHow to Use the Remote After You’ve Programmed It Using Direct EntryLearning Feature Adding a Learned FunctionClearing a Learned Function Deleting ALL Learned FunctionsVolume Punchthrough Feature Deleting ALL Volume Punchthrough CommandsUsing the Input Button Remote Code ListAudio Codes Cable Box CodesTV Codes DVD codesDVD/VCR Combo Codes PVR CodesUsing the TV’s Features Using the TV’s Features About the Channel BannerDirect Tuning to a Channel Digital or Analog TV ChannelsParental Controls Lock/Unlock TVUSA V-Chip TV Ratings How V-Chip Works for the USA and CanadaEditing Channels in the Channel Lists USA V-Chip Rating Limit Screen TV-14Blocking Age-Based Ratings Blocking Specific Content Themes Viewing Age-Based RatingsHierarchy of Age-Based Ratings Viewing Specific Content Themes Chip Movie Rating LimitBlocking Movie Ratings Viewing Movie RatingsCanada V-Chip Age-Based Canada V-Chip English Rating System 18+14+ C8+Age-Based Canada V-Chip French Rating System 18+ 16+13+ Canada V-ChipAuto Tuning Feature Front Button BlockPIP Picture-in-Picture Operation PIP ButtonsPIP Problems? Using the PIP FeatureEmergency Alert System EAS This page intentionally left blank Using the TV’s Menu System Using the TV’s Menu System Menus, On-screen Help, and Control PanelsNavigating the Menu System On-Screen HelpSliders Choice ListsNumeric Entries On-screen Menu ItemsPicture Presets Picture SettingsPicture Quality Menu Auto Color Color WarmthNoise Reduction Green StretchAdvanced Settings Main Menu Picture Quality Advanced SettingsContrast Expand Audio Menu Equalizer PresetsAudio Processor Audio Mode Sound LogicSAP Second Audio Program BalanceGo Back Fixed/Variable Out Digital Audio Out Go Back Fixed/Variable OutCenter Speaker Main Menu Audio Audio Connections Connections Menu Signal StrengthChannel Search Software Upgrade Signal SourceVideo Input Setup Auto TuningEthernet Setup Special FeaturesInitial Volume Maximum Volume CableCARD Tools Preferences Menu Closed Captioning Caption Display Analog CaptionsCaption Priority Digital CaptionsCaption Style Screen Format Time MenuLamp Power Color SchemeTranslucency Menu LanguageReference Troubleshooting ReferencesBlank screen Unusual sound qualityHumming or buzzing noise No picture, sound okayDon’t remember my password and I want to unlock the TV Can’t select certain channelNoisy stereo reception No picture, no sound but TV is onLamp Replacement Instructions Replacing the Lamp UnitStep Steps 7References Hdtv Specifications Convenience Accessory Information How to OrderLimited Warranty For how long after your purchaseCare and Cleaning Symbols IndexQAM USA TTE Technology, Inc