Special Settings
Subtitle Language | Camera Angles |
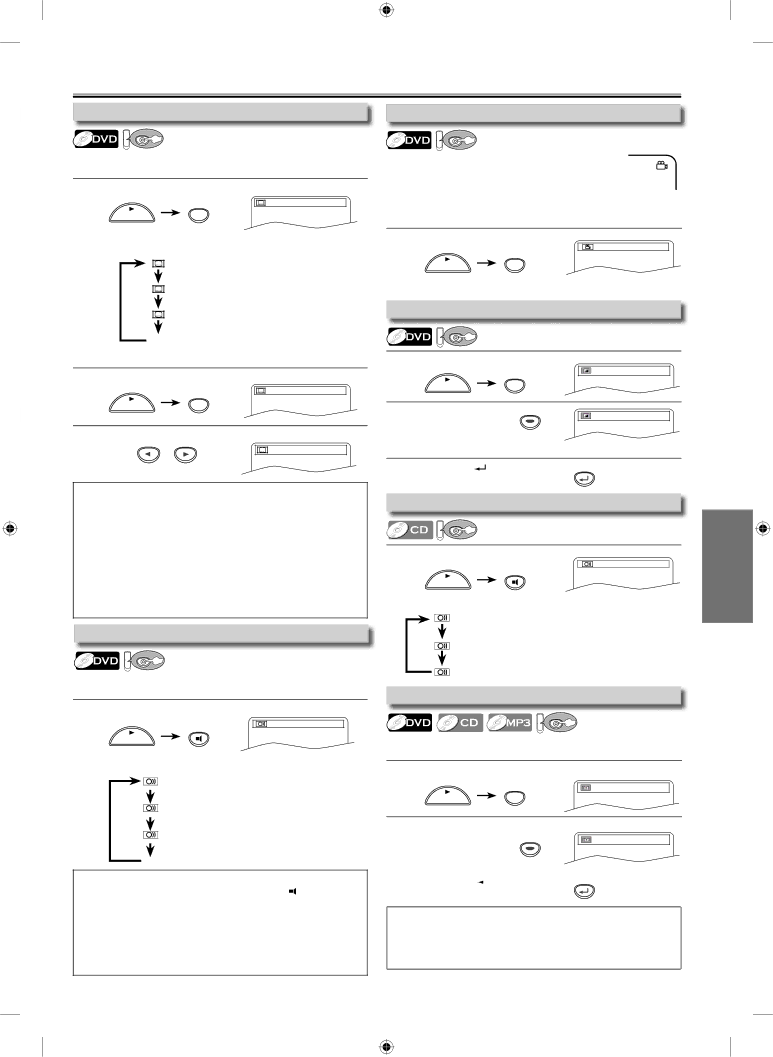
DVD | DVD |
This unit allows you to select a subtitle language (if available) during DVD playback.
1Press [SUBTITLE] during playback.
SUBTITLE | 1.ENG/6 |
PLAY
Each time you press [SUBTITLE], subtitle language changes as example below.
OFF | (no subtitles) |
ENG | (English subtitles) |
FRE | (French subtitles) |
...
To cancel subtitle
1Press [SUBTITLE] during playback.
SUBTITLE1.ENG/6
PLAY
2Press [s / B] to set subtitle to “OFF”.
or | OFF |
|
Note:
•If your language is not shown after pressing [SUBTITLE] several times, the disc may not have that language. However, some discs have the subtitle language setting on the disc menu. (Operation varies depending on the discs, so refer to the manual along with the disc.)
•When “NOT AVAILABLE” appears on the TV screen, it means no subtitle is recorded on the scene.
•If you choose a language that has a
•Some discs will only allow you to change the subtitle from the disc menu. Refer to the manual accompanying the discs for details.
Audio Language
DVD
This unit allows you to select an audio language (if multiple languages are available) during DVD playback.
1 Press [AUDIO ![]() ] to change audio language.
] to change audio language.
AUDIO | 1.ENG Dolby D 3/2.1ch 48k/3 |
| |
PLAY |
|
Each time you press [AUDIO ![]() ], the audio language changes as example below.
], the audio language changes as example below.
ENG | (English audio) |
SPA | (Spanish audio) |
FRE | (French audio) |
... |
|
Some DVD may contain scenes which have been shot simultaneously from various angles. You can change the camera angle if ![]() appears on the TV screen.
appears on the TV screen.
If the “ANGLE ICON” is set to “OFF” in “OTHERS” menu, ![]() will not appear. Refer to pages
will not appear. Refer to pages
1 Press [ANGLE] during playback.
1 / 8
ANGLE
PLAY
Each time you press [ANGLE] or [s / B], camera angle changes.
Black Level Setting
| DVD | Adjust the black level to make the dark | |
|
| areas of the TV picture brighter. | |
1 | Press [MODE] during playback. | ON | |
|
| MODE | |
|
|
| |
| PLAY |
|
|
2 | Press [ENTER] to | ENTER | OFF |
|
|
| |
| adjust the black level. |
| |
| ON: makes the dark areas brighter. |
| |
3 | OFF: shows the original picture as recorded. | ||
Press [RETURN | ] to exit. | RETURN | |
|
|
| |
Stereo Sound Mode
DVD | This unit allows you to select a sound mode |
| during CD playback. |
1Press [AUDIO ![]() ] during CD playback.
] during CD playback.
STEREO
AUDIO
PLAY
Each time you press [AUDIO], sound mode changes as example below.
STEREO | (right and left channels are active) |
(left channel is active) | |
(right channel is active) |
Virtual Surround
DVD
You can enjoy stereophonic virtual world on your existing 2 channel stereo system.
1Press [MODE] twice (once for CD and MP3) during playback.
MODE | OFF |
PLAY
2Press [ENTER] for the desired effect.
1: natural effect | ENTER | 1 |
2: emphasized effect
OFF: no effects (original sound)
DVD FUNCTIONS
Note: | 3 | Press [RETURN |
|
| ] to exit. | RETURN | |
|
| ||||||
• If your language is not shown after pressing [AUDIO ] several times, |
|
|
|
|
| ||
|
|
|
|
|
| ||
the disc may not have that language. However, some discs allow audio | Note: |
|
|
| |||
language setting on the disc menu. (Operation varies depending on the |
|
|
| ||||
disc, so refer to the manual along with the disc.) | • For audio CD, virtual surround will not be effective if the sound mode is | ||||||
• When “OFF” appears on the TV screen, it means audio language is not | |||||||
set to something other than “STEREO”. Refer to “Stereo Sound Mode”. | |||||||
available. | |||||||
• For DVD when playing back 96kHz with virtual surround function, the | |||||||
• Some discs will only allow you to change the audio setting from the | |||||||
sound will be down sampled to 48kHz. |
| ||||||
disc menu. Refer to the manual accompanying the discs for details. |
| ||||||
|
|
|
|
|
| ||
– 19 –
EN
E8E0AUD_DV220SL8A_EN_v1.indd 19
2009/09/17 13:53:53